A PDF pattern is a good thing for many reasons, but it can be a bit annoying that PDFs don’t have an inbuilt way of re-sizing patterns to the exact size for your project. But it can be done and below I’ll show you how!
One thing to keep in mind when using this technique: the quality of enlarging a pattern depends on the quality of the original PDF. If the original PDF is of good quality, you should be able to enlarge sections by 200-400% before you start to see too much pixelation.
First of all, make sure you have Adobe Reader installed on your computer. You can download it here for free. Other PDF readers may be able to do a similar thing as well.
Right, got Adobe Reader installed? Good to go?
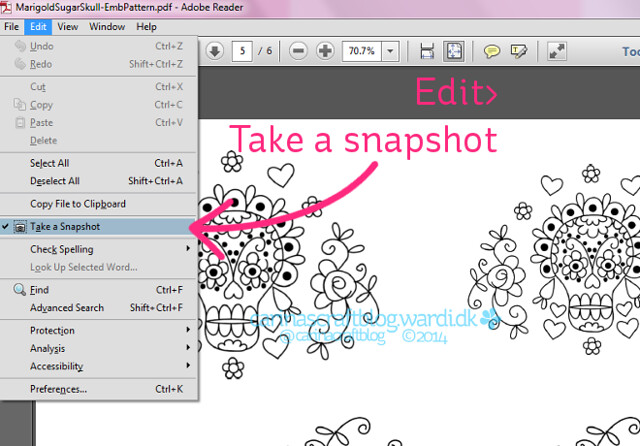
Open the pattern in Adobe Reader and then click on ‘Edit’ in the toolbar. Make sure there is a tick next to the ‘Take a Snapshot’ option.
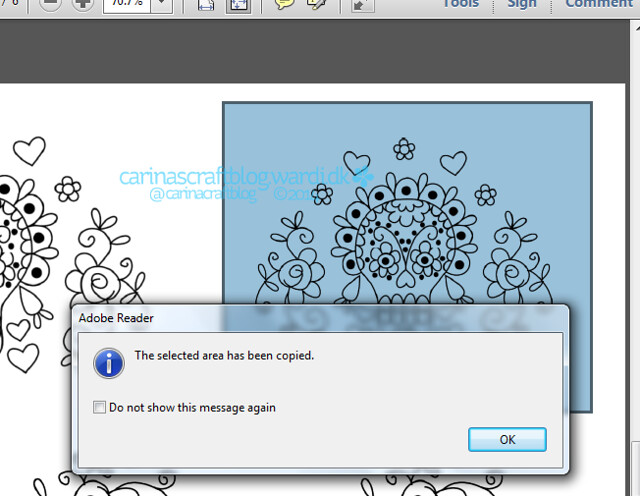
Draw a rectangle with your mouse around the section you want to scale. Once you release the mouse, this pop up box will appear. Click on ‘Ok’.
If you are not happy with the selection, you can always re-draw it.
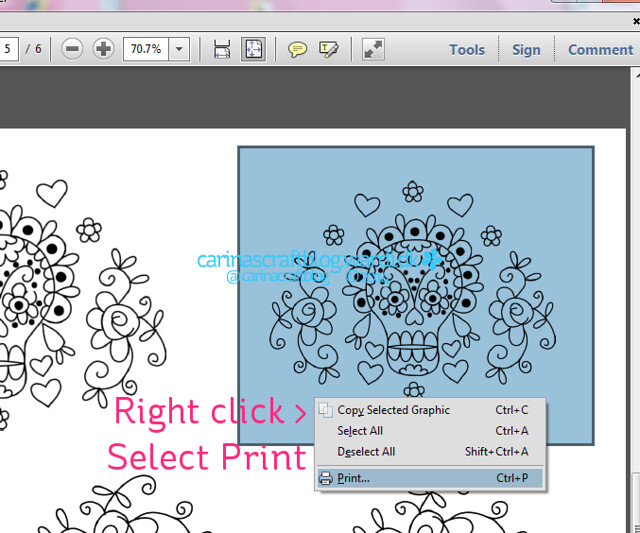
Right click inside the highlighted blue area and select the ‘Print’ option.
If you have a PDF printer program installed on your computer, I recommend using that to test the print so you don’t waste paper. :-)
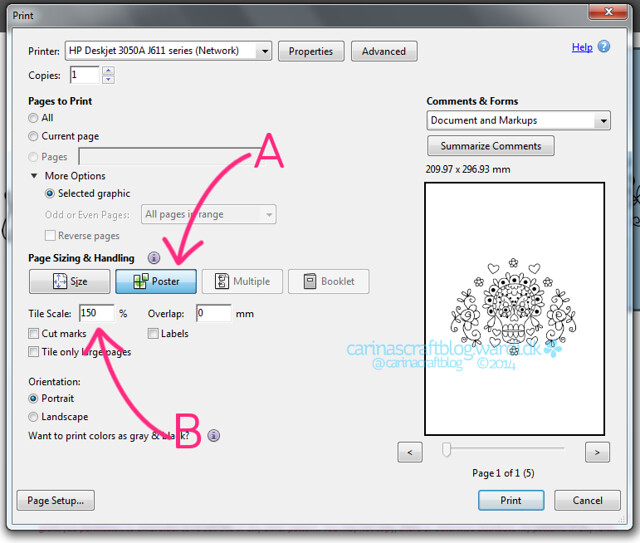
In the printer dialogue, select your printer at the very top.
Then select the ‘Poster’ option (A). In the ‘Tile Scale’ box (B) write the percentage you want to scale the pattern.
Click on ‘Print’.
If you are using an actual printer, the selection should print. If it doesn’t, check that the printer is turned on. ;-)
If you are using a PDF printer, you will probably get a dialogue box asking you where you want to save the PDF.
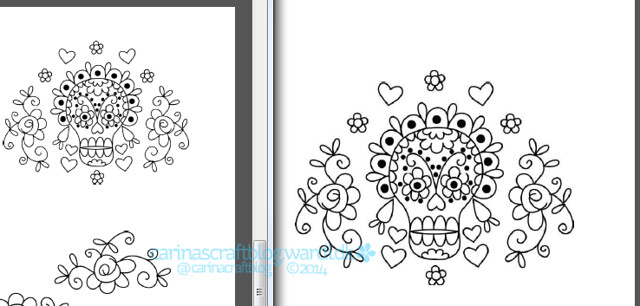
Here’s the original pattern on the left and the enlarged pattern on the right.
P.S. Pattern used as an example is my Marigold Sugar Skull pattern.
