
Just a warning before we get started with the tutorial, there’s LOTS of pictures and I may go into too much detail, but that’s just what I do. ;-)
Dc/treble: this refers to the same stitch. Dc if you use US crochet terms and treble if you use UK terms.
Please note: my interests have changed and I do very little crochet these days. I’m sorry I do not have the time to answer emails about help with crochet (I can barely even remember how to do it myself). Try the Ravelry site for help instead. Thank you for understanding. :-)
Por favor, respeta mis derechos de autor. Por favor no copies y pongas este tutorial y mensaje en tu blog en ningun formato. Esto incluye traducciones del tutorial. Por favor, respeta el tiempo y esfuerzo puesto en escribir y fotografiar este tutorial. Si ves este tutorial en cualquier tipo de formato en alguna pagina o blog, por favor, dimelo. Gracias. Felices creaciones. :-)
Please respect my copyright. Please do not copy this tutorial and post it on your own site or blog in any form. This includes translations of the tutorial. Please respect the time and effort that goes into writing and photographing a tutorial. If you see this tutorial posted on someone else’s site or blog in any form, please let me know. Thank you. Happy crafting! :-)
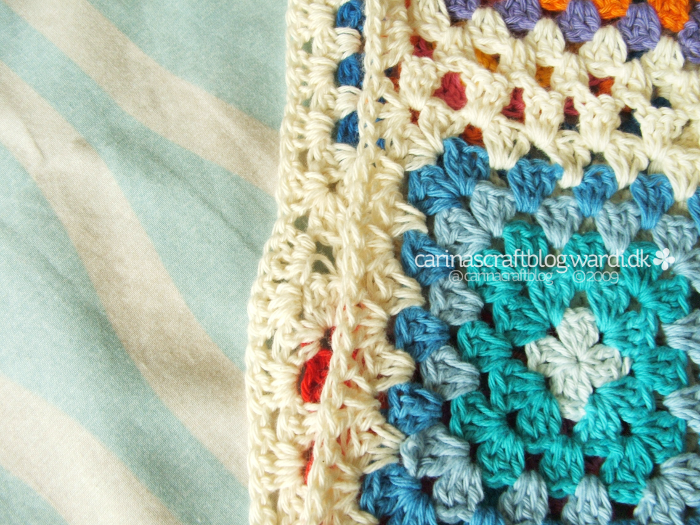
There are loads of methods of joining (granny) squares, my method is just one, and may not even be the best. But I like this one because once you get it -and to be honest, there isn’t that much to get!- you can do it without much thinking. And I also like how the joining ‘seam’ looks almost seamless. Especially if you use the same colour as the final round in each square. Plus it’s a pretty quick method, nice!
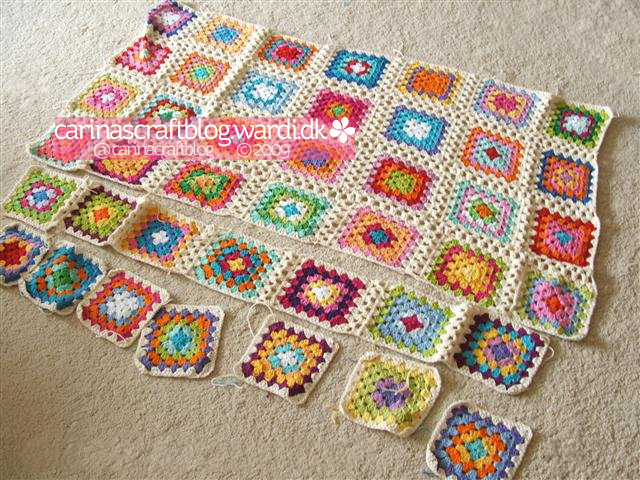
If you have particular layout for your blanket in mind, lay out your squares in that pattern.
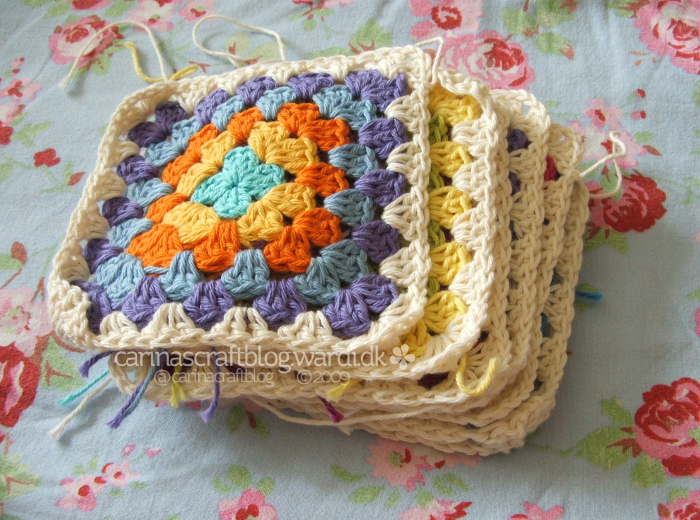
Then stack your squares so you can keep track of what goes where. Unless you are fortunate enough to be able to leave the squares on the floor for the duration of the joining of your squares.
Because of how this method works, it is best to have as few squares in each stack as possible. For example, there’s 70 squares in my blanket, 7 x 10, so I have 10 stacks with 7 in each. Don’t worry, if this sounds a bit confusing, it will make sense later.
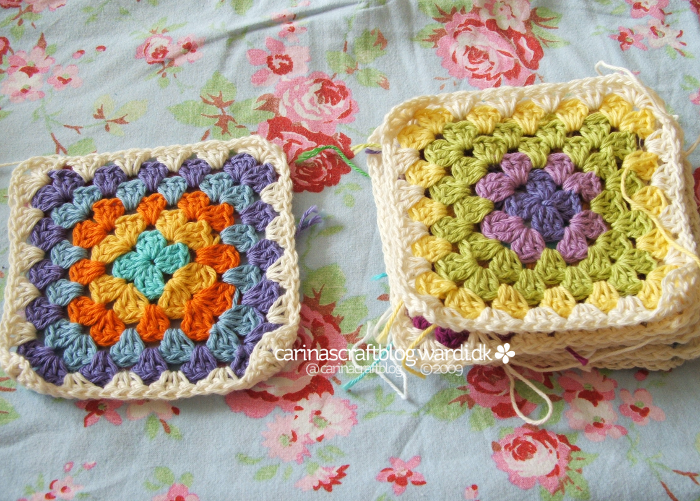
Take the top square and put it on the left and then the next square and keep that on the right.
Now put those 2 squares together, with the back of the squares facing each other. The one on the left is showing the back, the one on the right shows the front. When you work in rounds, crochet work does have a front and back.
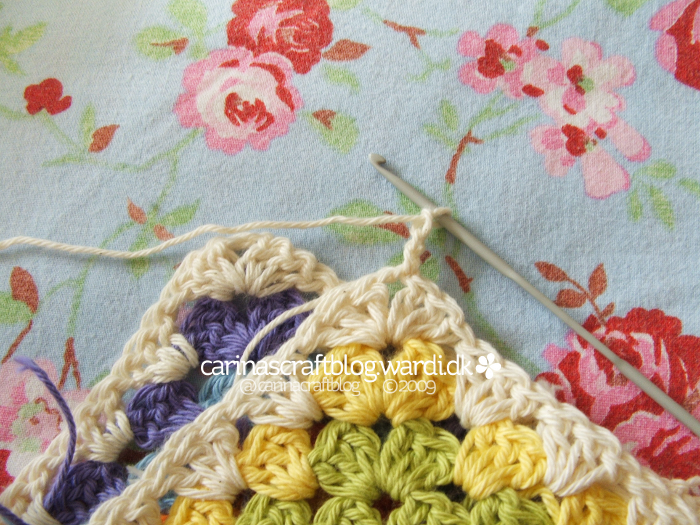
Chain 3 in the corner of the front square (from now on I’ll call that the yellow square).
Then make 3 dc/trebles in the corner of the purple square (the back one).
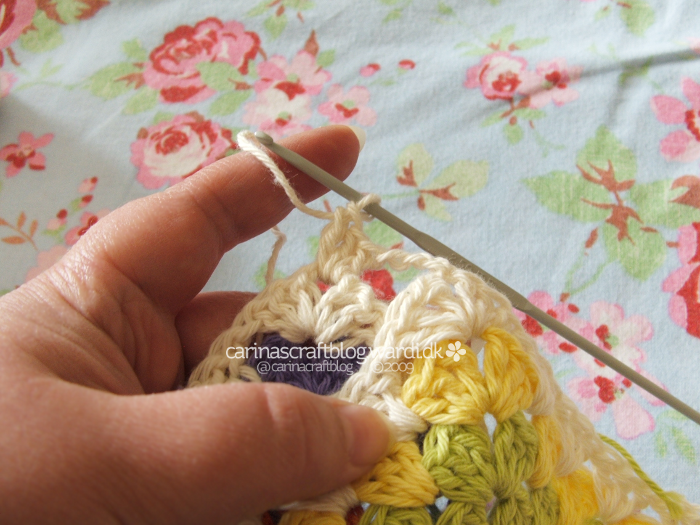
It may take a bit of getting used to holding the 2 squares while you work them, but this might give you an idea. Holding the work like this works for me anyway.
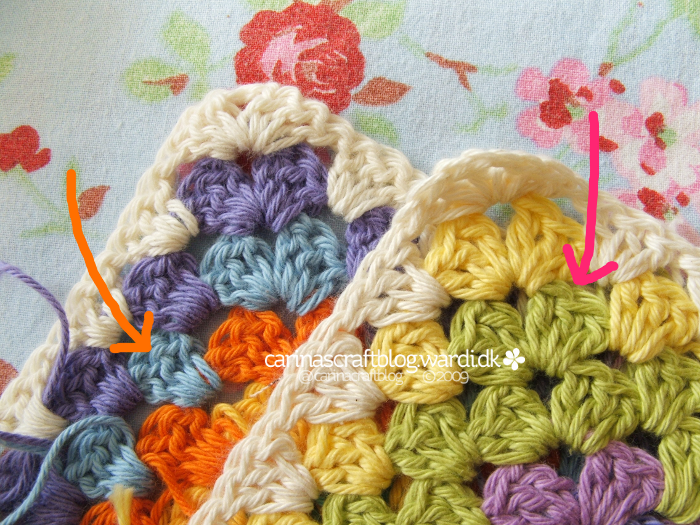
Next make 3 dc/trebles in the next space in the yellow square.
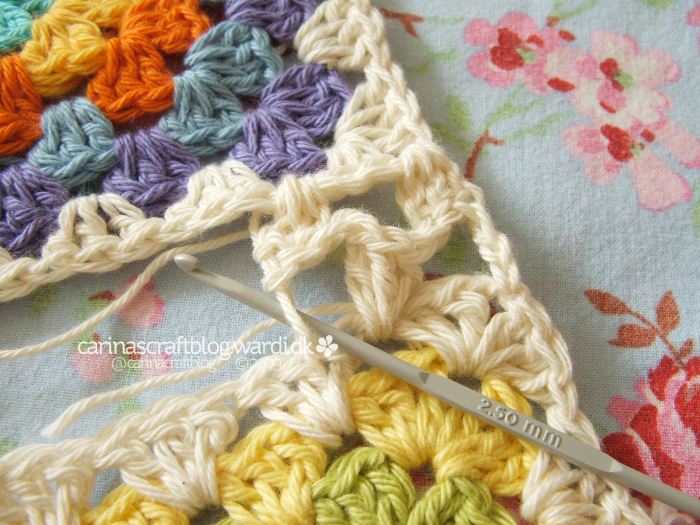
Then 3 dc/trebles in the next spaces in the purple square.

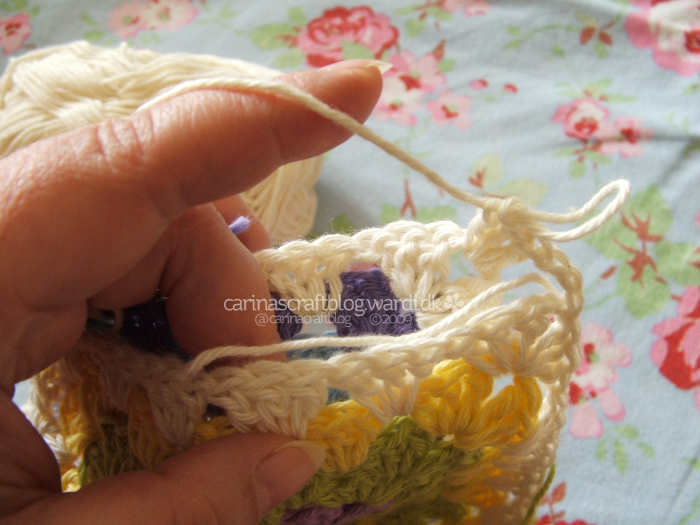
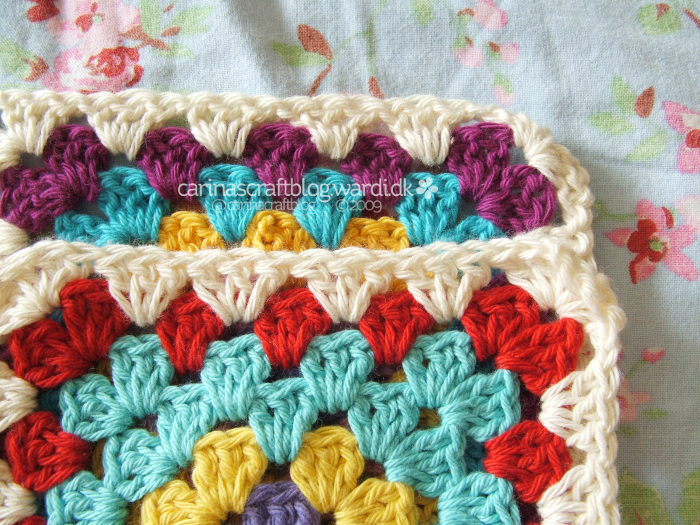
Continue in this manner, alternating between the two squares until you get to the end. In the corner space of the purple square only make 1 dc/treble. Then bind off. Keep doing this for the rest of the squares in the stack. And when you’ve done one stack, do the next one. And the next one and.. you get the picture.
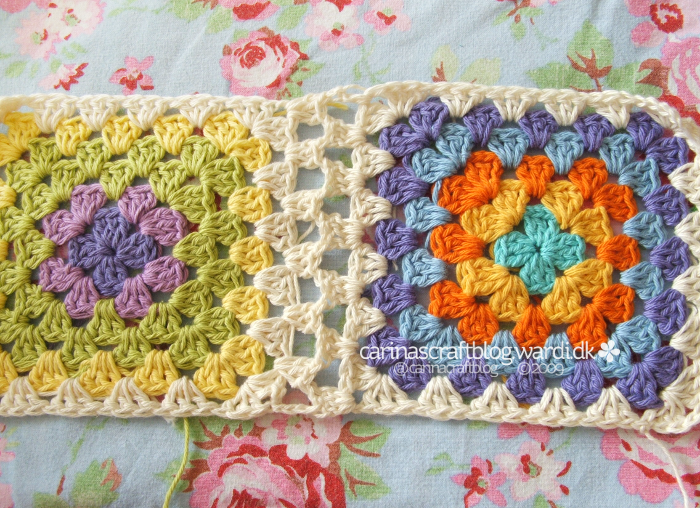
The squares will look a bit wonky on one side, but that will be sorted out later on.
And aren’t you glad you have as few squares as possible in your stacks? It is a bit tedious joining each square – it will get better later on.
Oh, just in case you are wondering why you don’t do ch 3 + 2 dc/trebles in the first corner, this is why: it would stick out in a weird way that is in no way helpful. So don’t do that, m’kay? ;-)
Right, so you’ve got all your (short) rows all joined together? Now it’s time to join row with row.
It’s the same principle as joining square with square.
Lay the rows together with backs facing each other.
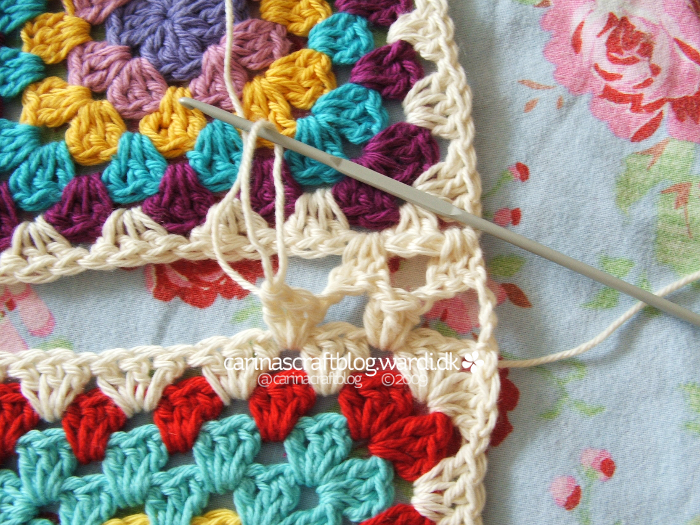
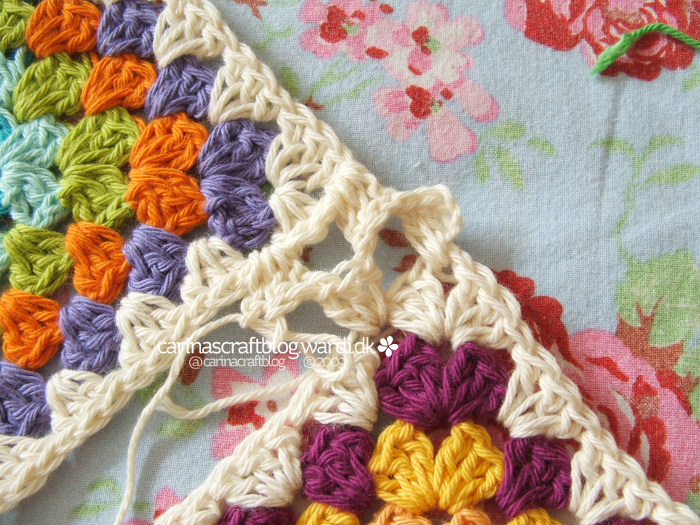
Then do as before, starting with ch 3 in corner space of the front row, 3 dc/trebles in the corner space of the back row. Then 3 dc/trebles in each space, alternating between front and back.
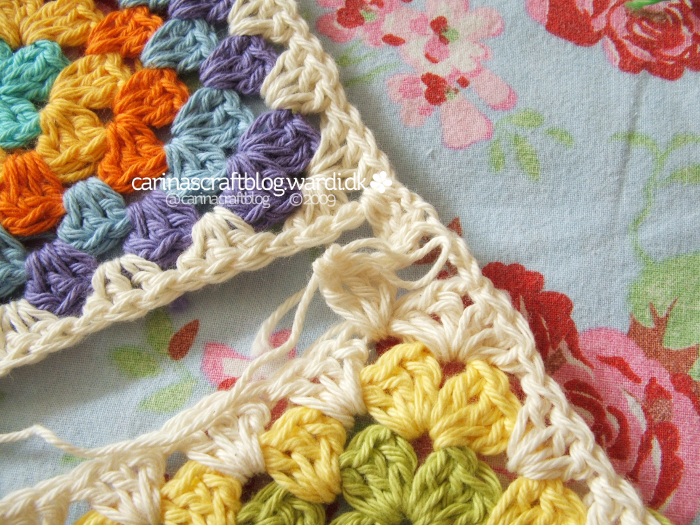
When you get to the join between 2 squares, the space created by the ch 3 in a corner should be treated like any other space, so make 3 dc/trebles in that too. Continue joining the row, front, back, front, back and so on. Ending with 1 dc/treble in the last corner space, which should be in the back row.
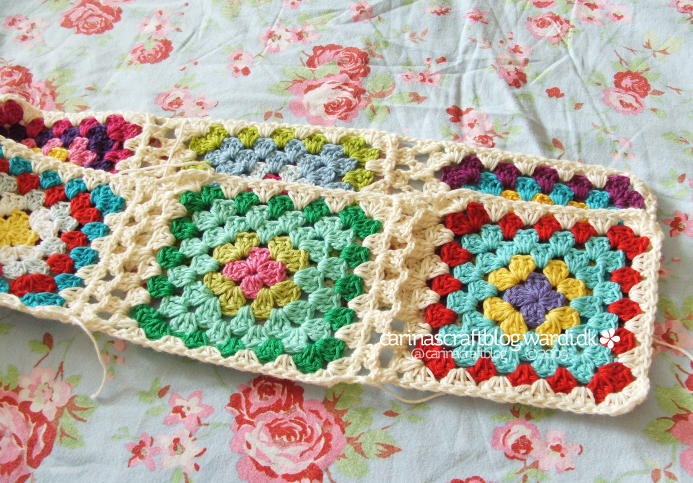
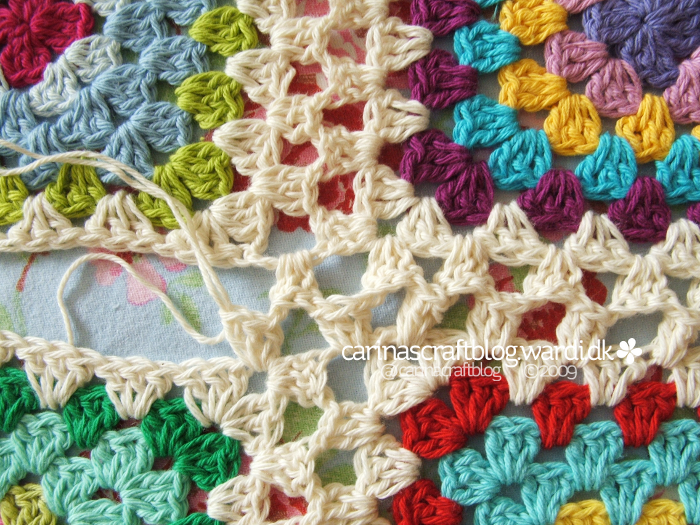
How fun is that? Just zooming along, joining the rows? Far better than the individual squares, right.
And there you have it, 2 rows joined. Now you just have to do that with all your rows!
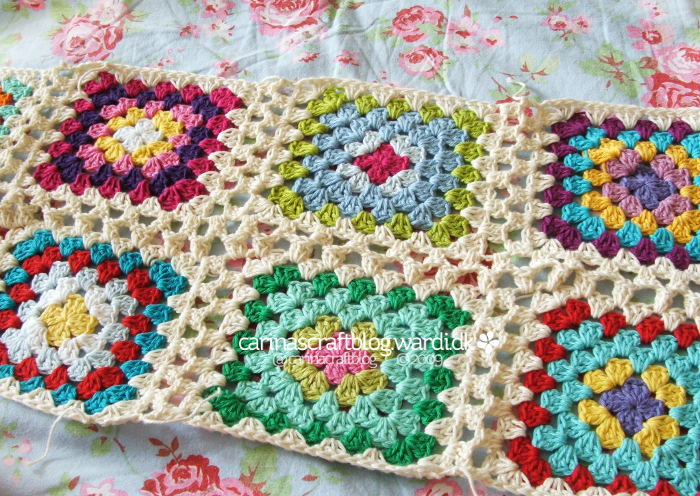
Once everything is joined together, make atleast one ‘granny’ row around the edge, it will help straighten the edge and it will make it look more finished. Seriously, you’ve spent all this time making your blanket, you should take the little bit of extra time to finish it properly.
Joining the squares in this way the blanket will not look completely straight, but that just adds charm I think. If the ‘wonkiness’ bothers you, you can block it if you have the room to do that. The wonkiness also lessens with time and use.

thank you so much
xxoo
maria
such a beautiful work of art. Wondering what kind of yarn you used–cotton?
Thanks
Thank you so much for this, I'll be trying it out very soon. And having lots of photos is very helpful – I really struggle to folow tutorials that are pictureless!
This was incredibly helpful, thank you so much!
It seems all the other tutorials make their methods so unnecessarily complicated. I'm going to try this once I get my squares completed, and I was already planning on using a white or cream to connect them, so this is a marvelous visual for me to follow!
I absolutely LOVE this technique! I've been searching for the perfect one for my pillows & blankets that I'm making & I choose yours! Thanks so much for such great detail & crisp pictures!!!
Love the blog btw!
xoxo
Thank you so much for doing this tutorial.
I'm a beginner half-way done with a crochet blanket. I was worried that it was going to be smaller than I wanted it and this will finish it off perfectedly. And make it a bit bigger. :)
Thank you so much for this amazing and easy to follow tutorial.It is a wonderful way to finish my "granny square" blanket.It is much appreciated.
I'm loving this!! Now I now how to joing my grannies :)
I have been crocheting since I was eight (and am soon turning 45 yikes!) and I have never come across such a neat (both meanings: tidy and awesome) way to join grannies! My next granny will be done with your method. Thank you thank you thank you.
Lh my goodness – this is AWESOME. I just can't wait to start crocheting.
I guess I'd better get some yarn.
I'm interested in what type of yarn you used here.
Thanks a lot for this great tutorial! It was very helpfull! Great with all the pictures, these made it all very easy to follow!
I've linked to your tutorial at my blog today (http://prizzl.blogspot.com/2012/01/tutorial-granny-squares-samenvoegen.html) and I pinned it to my pinboard 'crochet techniques'.
Greetings from Priscilla (Holland)
Love your method of joining. A hint: I put my squares out in the arrangement I want and take photos – then I just refer to my camera when putting them together. I've mixed up too many piles too often previously! ;)
Carina, THANK YOU so much for your tutorial. I don't like granny squares because they were endless cutting, tying in ends and no fun way to put them together. Well, I've made two blankets with groups and exchanged squares making it more fun. Now I have found your wonderful way to join them. I like GrandmaFlea's photo suggestion too to keep the squares in order. Now I can enjoy the art of making granny square blankets. Thank you again!
Una preciodidad de manta y de colores
Abrazos
Thank you for your method of joining the squares…I will finish some more squares & start by joining…
I love the way this joining method looks and am using it for a baby blanket I'm making. How do I do the final border – you said do at least one granny row. Do I do 3 dc and then a ch 1 in each space and 3 dc/ch2/3dc in each corner? Do you have any tips for weaving in the ends of the yarn. Mine just do not look good.
Thanx alot,Thats's really helpful for begginer people like me,I always surffing the net for crochet and knitting,then do. Thanx again ??
Thank you so much for this method of joining. I had some large squares, not Grannies, that I wanted to join, and adapting this made the perfect throw.
I’m going to try this, I’m just joining my squares. Do you happen to have a video?
Author
Thank you, glad you like it. Sorry, no video.
This looks so much easier than any of the other lacy joins! I too wish you had a video, but I’m diving in and trying anyway! Thanks so much!