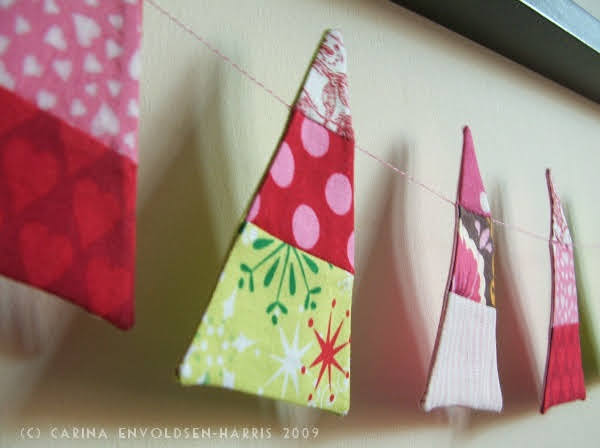
Supposed to be Christmas trees, but you know, kinda abstract-like. Isn’t it fun how there’s a bit of ‘reflection’ of the back of the trees on the wall?
It is very easy to make. And quick too – unless you can’t get your act together and finish it already! You’ve just got time to make this before Christmas, too!
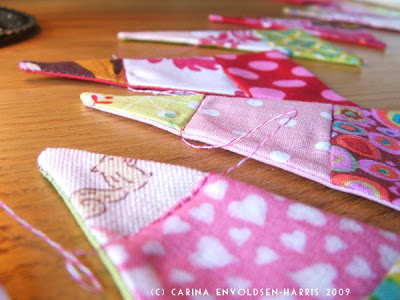
Sew together Christmassy fabric strips that are approx. 5cm/2″ wide (incl. seam allowance). You need 3 strips for each ‘colourway’. The base of a finished tree is about 9cm so your strips have to be atleast that long + seam allowance. My strips were about 40cm long so I could have made several of each one. If the fabrics you use don’t have a right way up, you can cut them with the base at either end.
Ok, I hope that wasn’t too confusing! Once you have sewn your strips together, cut into triangles. For the back you can use either the same stripes or different fabrics. I used plain cottons in matching colours (red, pink and green).
Sew your triangles together with right sides facing each other, leaving a small opening at the base so you can turn your trees. Cut off the corners, turn inside out. If you are lazy like me, don’t bother about sewing the opening together. But do iron the trees because it will make them look relly crisp and lovely.

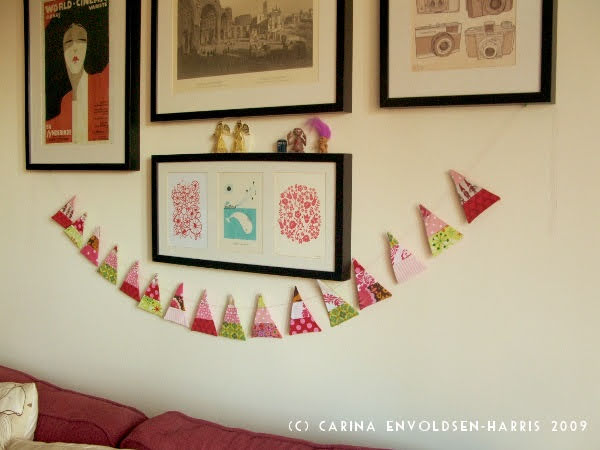
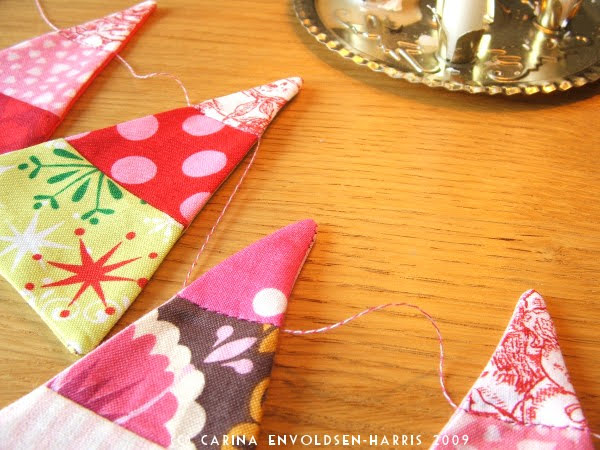
Leaving a long tail of thread (to hang your bunting), sew the trees together where the top and middle strips of fabric are stitched together. Make sure that there’s atleast the width of the base between the trees because otherwise they will be on top of each other. Once you have sewn them all together, make sure you leave a long tail at this end too. And you’re done!
I used two different colours of thread, but you can of course use just one. I think it looks pretty with the two colours twisting together, though. :-)
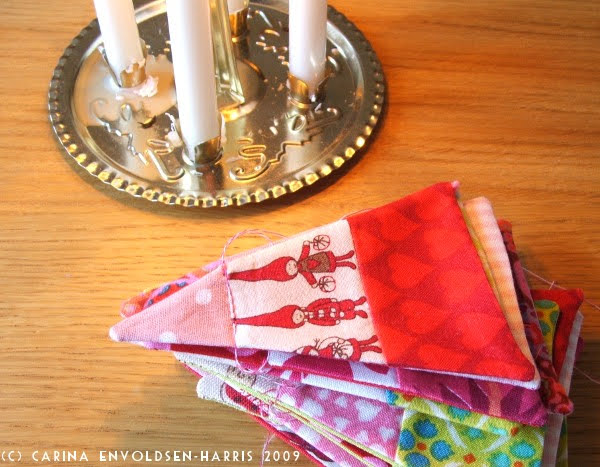
Ok, there’s some more pictures of the bunting below. Just because, you know, I could. Oh and the angel chime! Who doesn’t love an angel chime?! (Apart from my dear husband…)


I love this idea…I will definatly be trying it soon. Thanks for sharing :)