Today I have something pretty awesome to share with you! Or rather, I have the pleasure of introducing you to a pretty cool lady who will share the awesome! I can not wait to try this fun technique!
Meet Jenny Stevenson, she’s a paper artist and printmaker based in Derby here in the UK. She has a great blog where she writes about the things that inspire her, creative classes she takes and sometimes also about her job as an art technician. It’s usually a very colourful blog and I think you should follow it. And be inspired by Jenny! :-)
You can also find Jenny on Flickr and she’s also busy creating art for her shop.
Thank you, Jenny!
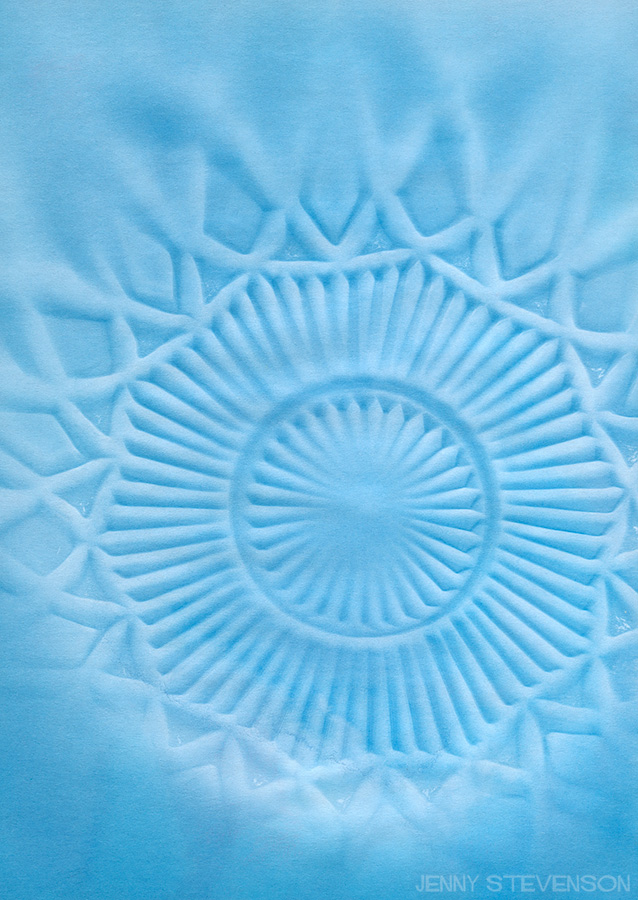
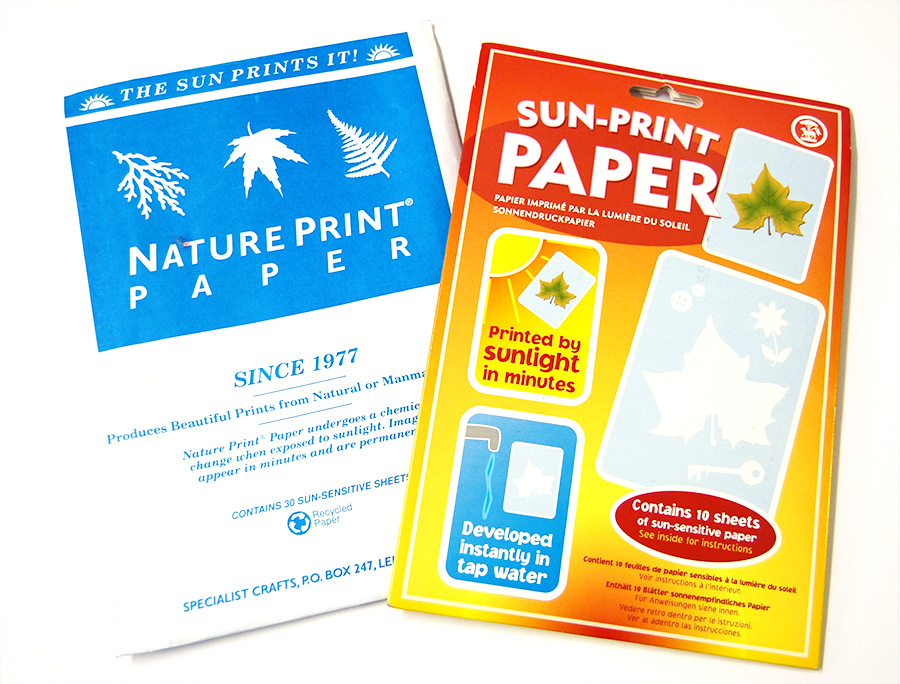
I’m so excited to share this tutorial with you allon how to create your own Cyanotypes. This technique is simple, low-cost and very quick. I’ve managed to get great results from sun/nature print paper which is available from amazon, ebay, and even some toy/gadget shops now stock it. Pre-coated paper is a great way to start learning about Cyanotype prints. [Please note, the links in this tutorial are to English websites, but you should be able to find the materials elsewhere too! ~ Carina]
You may have heard of the term ‘blueprints’ – engineers used Cyanotypes to reproduce notes and diagrams like we use photocopiers today. Anna Atkins was the first to use this technique for art photography and she created beautiful nature prints that I have recently seen for sale in Ikea- but now you can create your own!
The equipment you will need is:
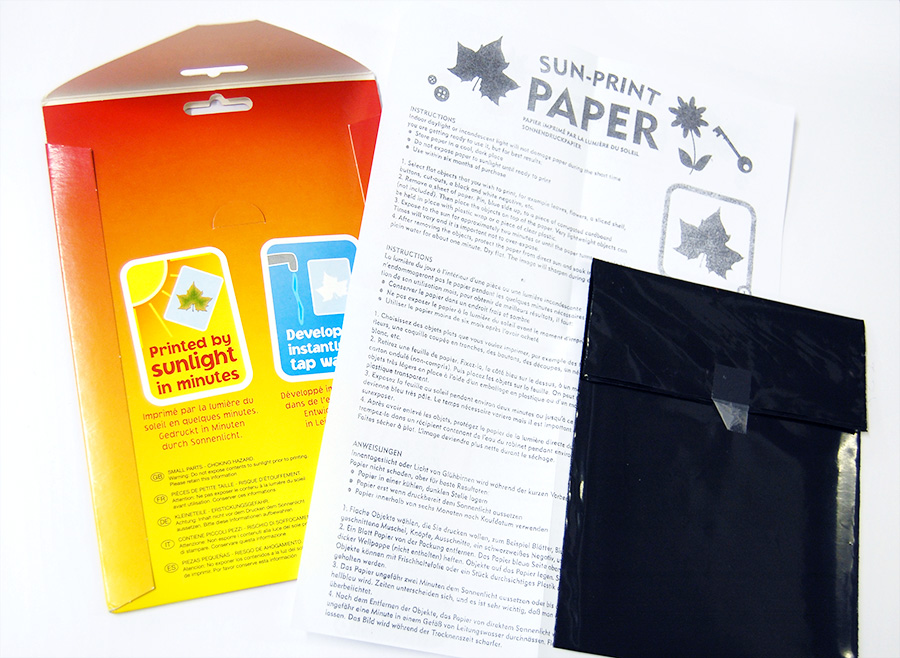
Sun-Print/NaturePrint/Sunography paper/Sunography fabric
Clip frame
Elastic Bands
Objects to place on top of the paper
Kitchen timer or stopwatch
Developing Tray
Tap water
Piece of corrugated card

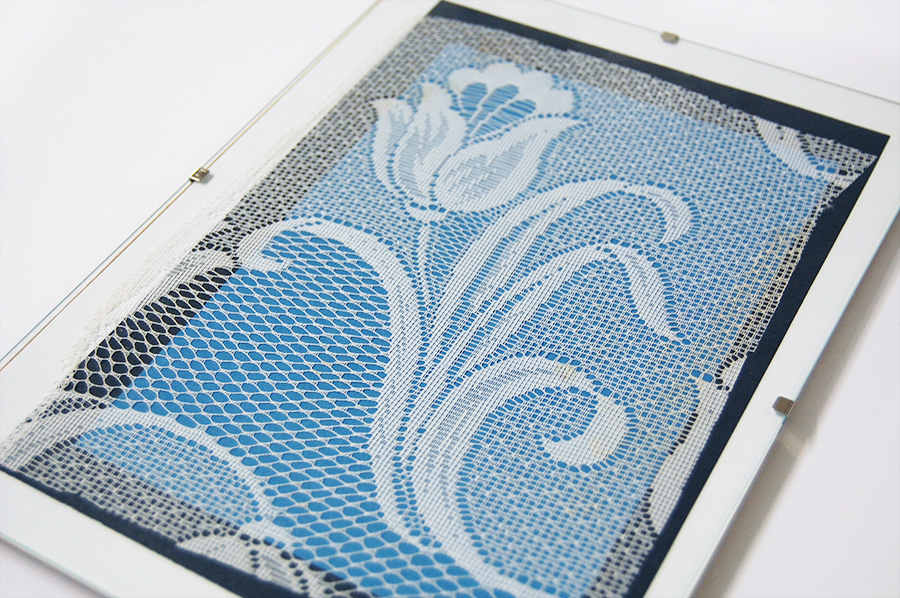
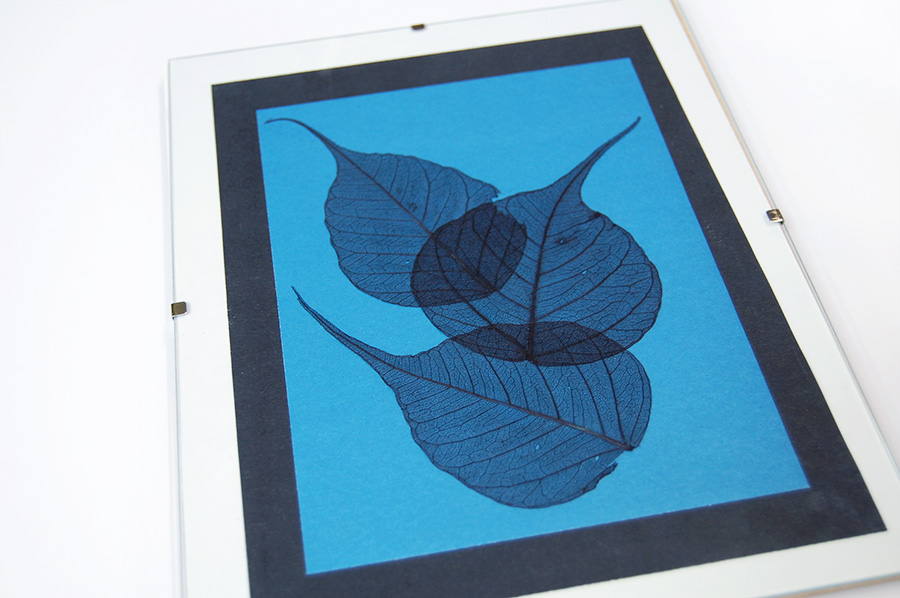
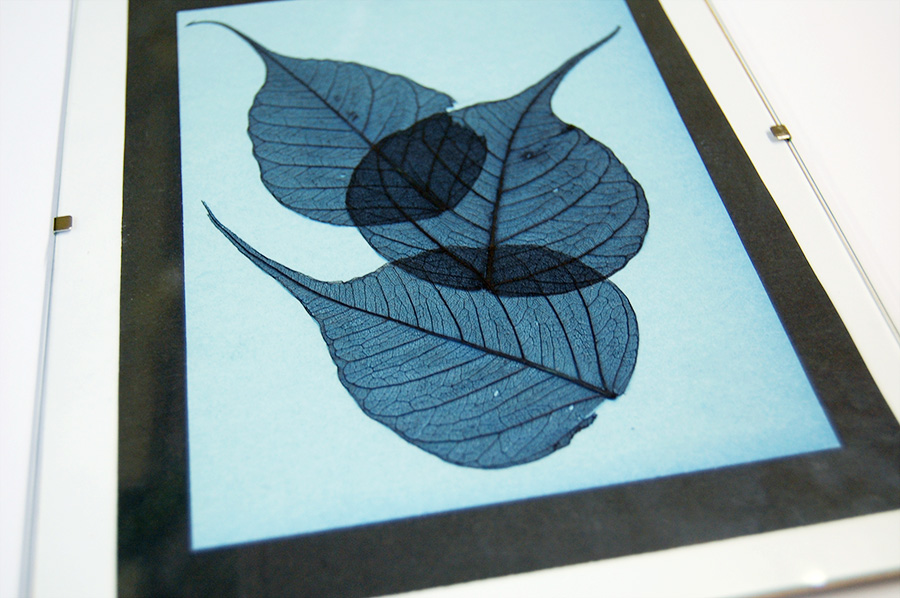
First of all gather up the equipment on the list and a variety of objects that will work well for the Cyanotypes. I love to use lace, glass bowls and pastry cutters but you can also use leaves, ferns, feathers, photocopies or drawings onto acetate, buttons – just have fun and experiment!
The first step should be done inside with no daylight – a household light bulb won’t affect the paper so I tend to shut the curtains and use a small lamp so I can see what I’m doing.
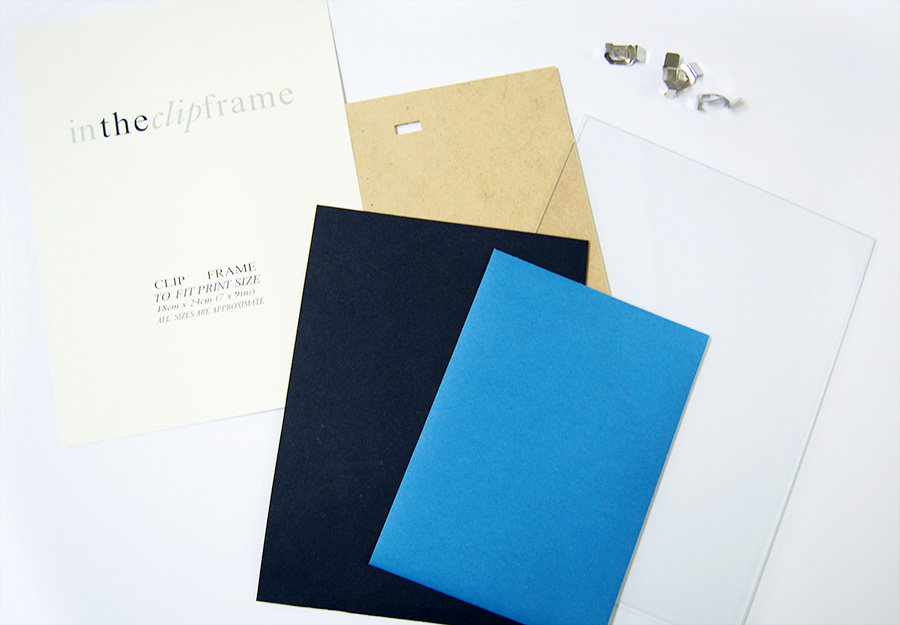
I lay a piece of black paper down first (I find it helps to soak up the light rather than reflect it away) then the Cyanotype paper blue side up. The paper is stored inside a black plastic bag to protect from the sunlight so make sure you close it up after you take each
piece of paper out.
Arrange your objects on top of the paper – sometimes less is more! Then clip the glass on the top. If the objects are slightly too bulky for the clips to go on then you could put some elastic bands around the top and bottom of the frame being careful not to cover the cyanotype paper.
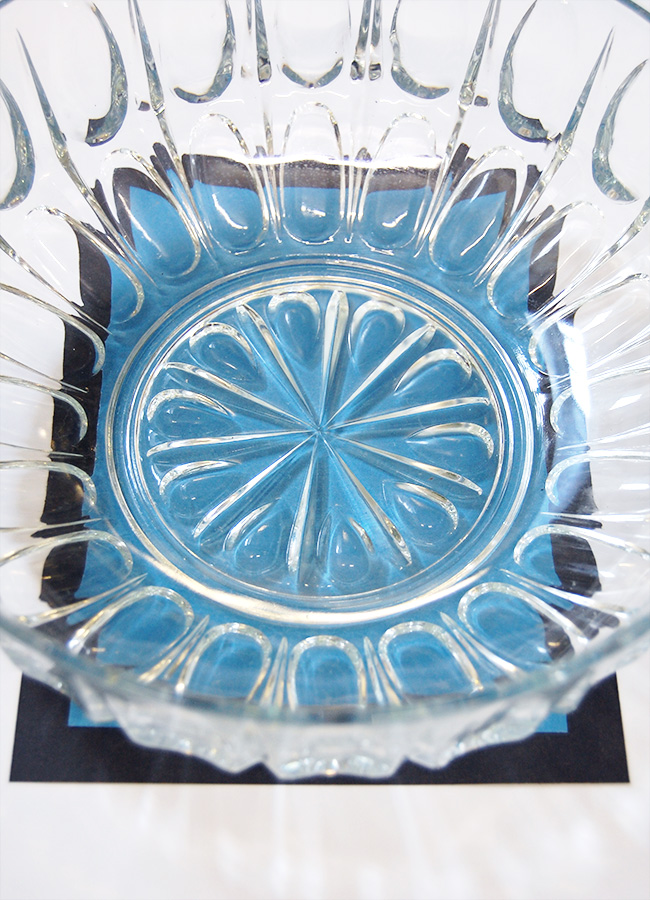
For 3D objects such as glass bowls, pastry cutters etc. I use a piece of mount board or thick card with a piece of black paper taped down, then the Cyanotype paper blue side up which can be secured with pins or tape just on the edge. Next arrange the item/s on top. I have also tried taping the paper around a small glass bowl which also works well.
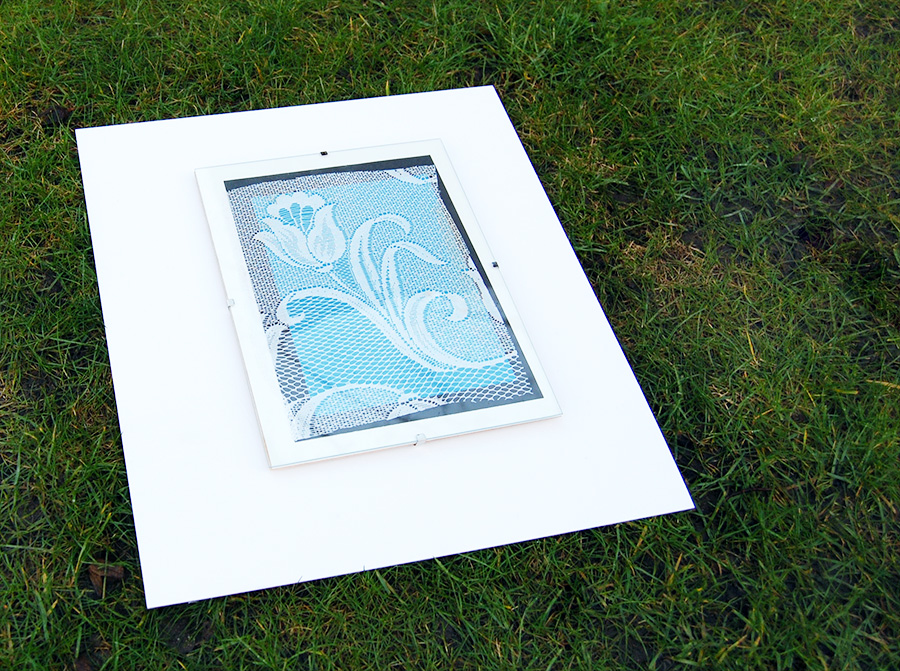
It’s time to take your paper outside and expose it to sunlight – the time it takes really depends on how bright the sun is that day. I have given some timings to give you an idea but with practice you can tell when it’s ready. If it’s a windy day or a bit rainy you can still get
results by putting it on a window sill, I would just leave it 5-10 minutes longer.
Sunny day = 5 minutes
Semi-sunny day = 10-15 minutes
Overcast day = 20 minutes
NB: Set your timer so you don’t forget to check it!
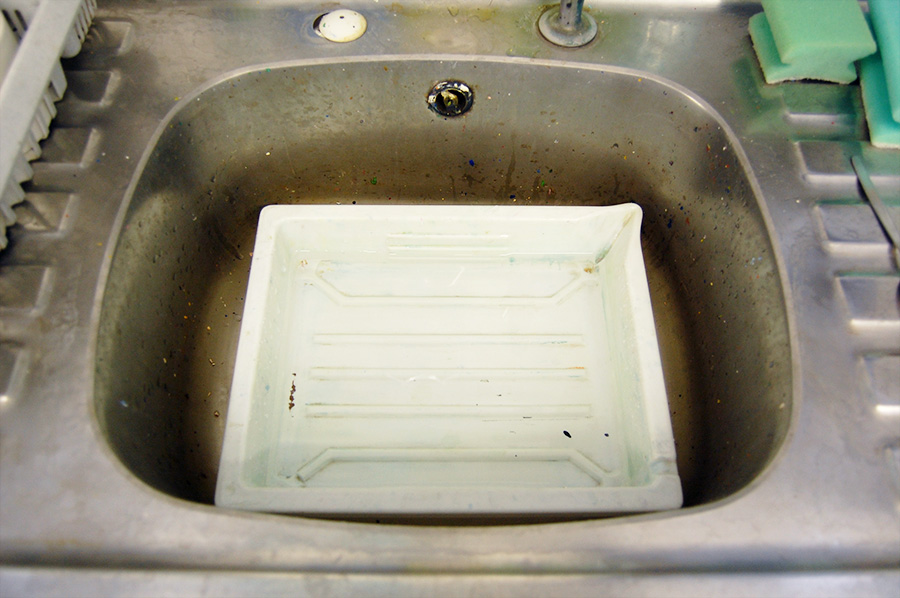
While the paper is being exposed you can go back inside to prepare for developing. Pour a couple of inches of tap water into a developing tray or plastic container slightly bigger than your piece of paper. Please don’t use anything that you intend to store food in later as the paper has been covered with chemicals which will be washed off when developing.
When the timer goes off go outside to check on the paper – it should have gone very pale blue on the parts of the paper you can see. If there are 3D objects on the top take them off but the key is to take your paper back inside out of the daylight as quickly as possible as any more sunlight will effect the print.
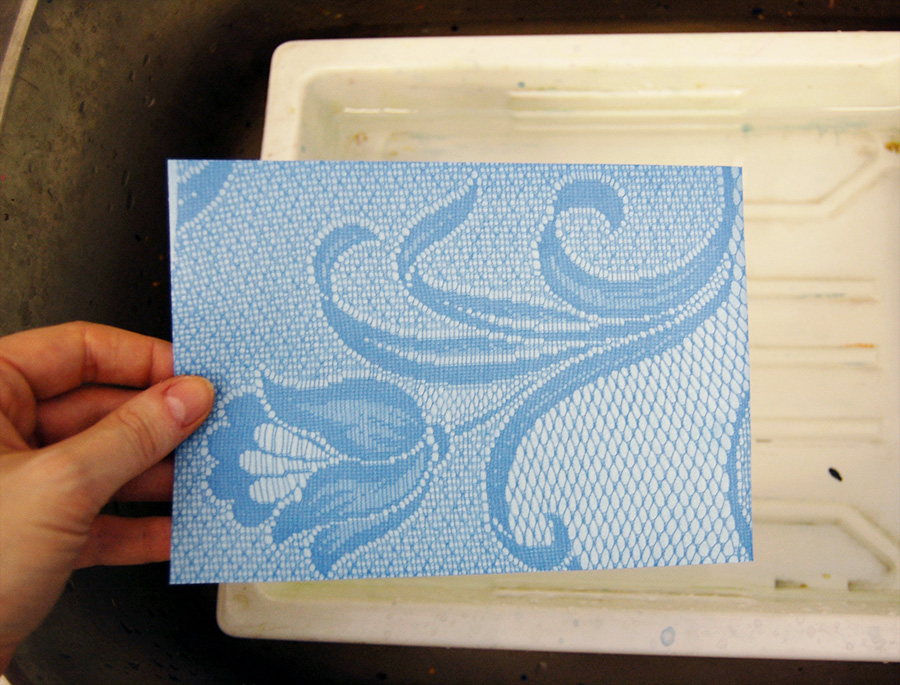
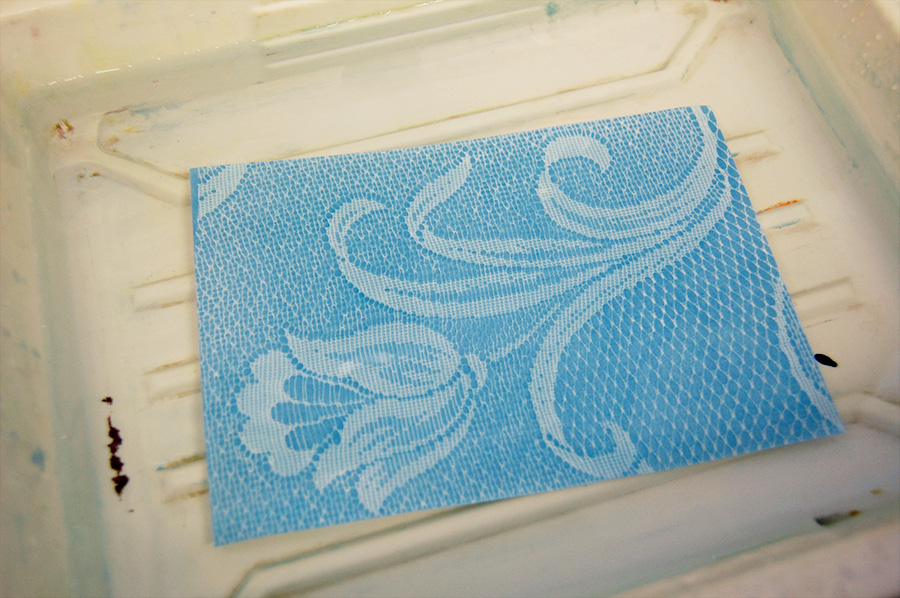
Submerge your Cyanotype paper into the tray of water and leave for about a minute – you will notice that the light areas become dark, and the dark areas become light.
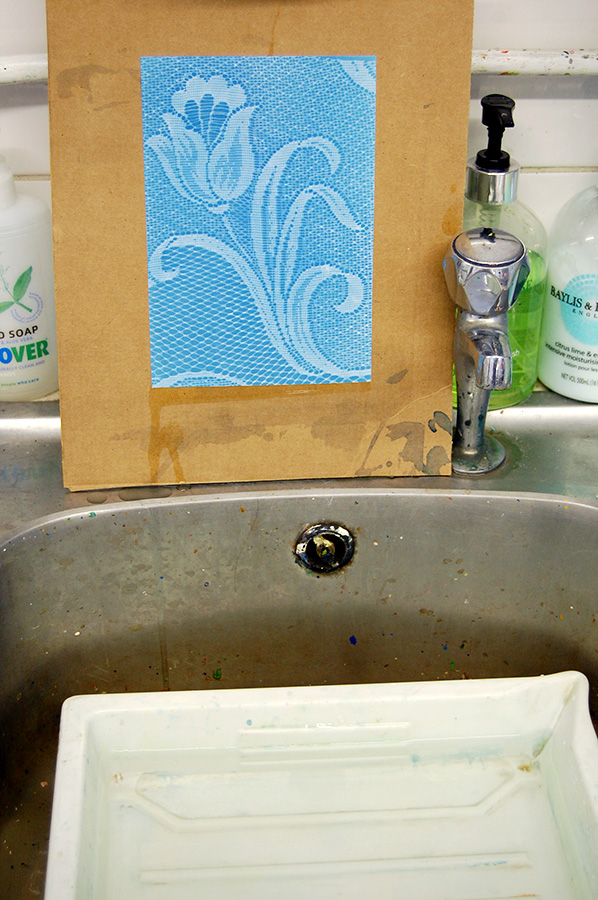
Next pick up the paper and drain off the excess – place on top of an absorbent surface like cardboard box card and leave tilted upright in the sink to drain the rest of the water, when the paper starts to dry you can lay it flat. The print will become a more intense cyan colour as it dries.
A few troubleshooting tips
If the print is too light then the paper needs more sunlight – next time increase your exposure time in the sun.
If the print is too dark decrease your exposure time.
If the image came out blurry then there is a chance your objects moved during exposure.
If there is not enough contrast in the print your objects maybe too transparent – experiment with different objects.
The sun/nature print paper is very thin and so does dry with a crinkly surface, the Sunography brand uses watercolour paper so is much more sturdy and so dries a lot flatter. You can also buy Cyanotype kits with chemicals and coating tools which allow you to coat any surface such as paper, fabric and wood and gives a much deeper blue colour.
I love Cyanotypes and I hope this tutorial has inspired you to have a go.
Thanks, Jenny :)
