A little while ago, Dutch Label Shop got in touch asking if I’d be interested in trying their custom woven labels. I occasionally get requests like this, but I usually turn them down because they are usually not relevant to this blog or any of my interests. But it just so happened that I’d been thinking about getting some labels made for the quilts I make, so this was a perfect match!
Dutch Label Shop provided me with store credit so I could try out their labels, but other than that, I was not compensated for this review, and the following is my honest opinion of the product and using their site!
There’s a discount code for you at the bottom of the post in case you want to try out Dutch Label yourself. Yay! :-)
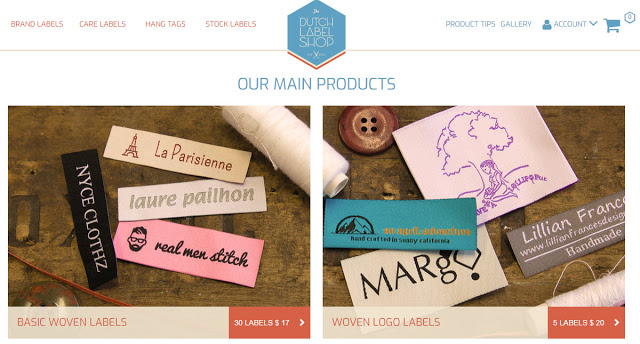
Dutch Label Shop has a wide variety of labels, for lots of different types of handmade goods. Labels you can customize to a great degree with your brand colours and logo etc. They have size and care labels for garments, as well. All the labels are woven (not embroidered or screen printed), washable, and available in iron-on or sew-on versions. You can order low minimum quantities, but the prices per label drop quite dramatically if you order larger quantities.

I decided I’d make two different labels, a double-sided for adding to quilts and one with a design on one side only to sew onto my handmade bags.
Both of my labels are woven logo labels, which can be pretty much completely customized how you want them, so my review is of this type of label.
The other option for labels is basic woven labels. These can’t be customized with your own logo, but instead you can use a range of symbols and fonts to create your labels. There aren’t as many colours available for the basic labels, but the price is cheaper, so if you don’t have a logo/need super specific customization for your labels, I’d definitely check out this option.
On the woven logo labels page it’s not completely clear that the size you make your label is the exact size it will be made. Luckily, I’d come across another review of Dutch Label and they mentioned this, so when I set about designing my labels, I kept this in mind.
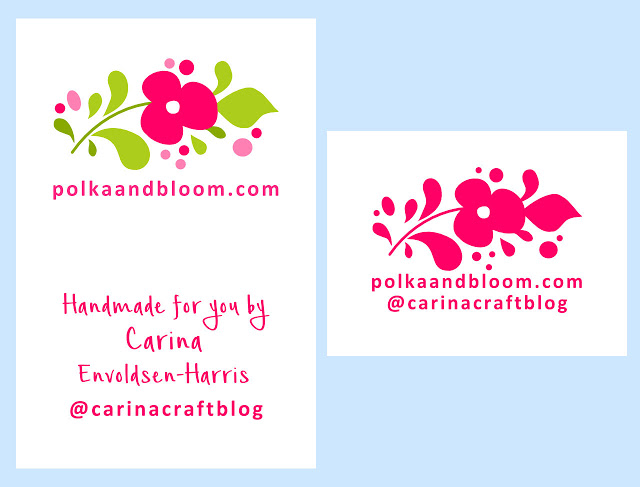
These are the label designs I uploaded, click on the image if you want to see them full size. The double-sided label measures 2″ x 3″ which means it will be 2″ x 1.5″ once folded. The one-sided label measures 2″ x 1.5″. As you can see, I added a nice wide margin, about 1/4″ on all sides to make sure all my text and logo were ‘safe’.
When you have designed and uploaded your design and have selected the quantity you want, you also have the option of getting a photo proof (for a small fee) of how your label will look before they are all woven and shipped to you. Since I had store credit, I decided I’d say yes to this option. I thought I might as well test the process as much as possible, right? ;-)
I was happy with the photo proof they emailed me a few days after I uploaded my designs. And then I could just sit back and wait for my labels. Except, I was worried that I’d get slammed with customs fees plus Royal Mail’s hefty handling fee. So I had the labels shipped to my sister and then she sent them to me. But it wasn’t too much of an extra wait and then I had my shiny new labels! :-D
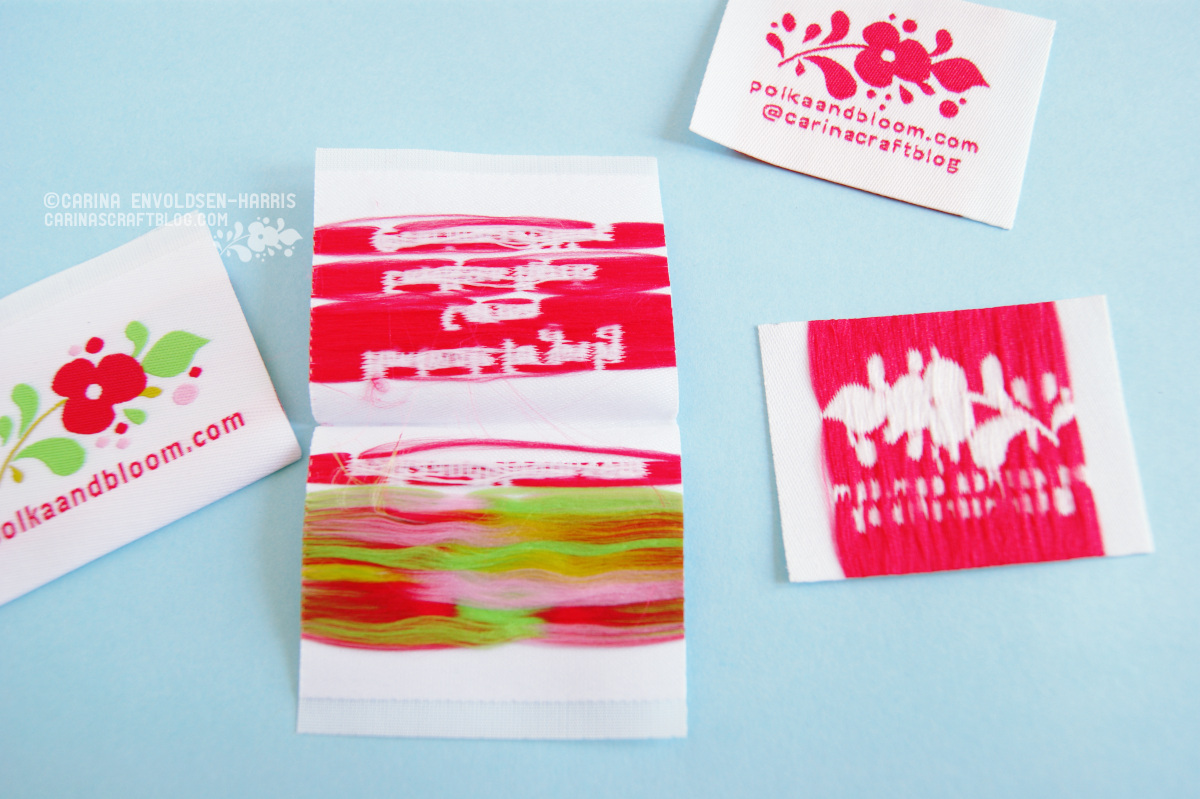
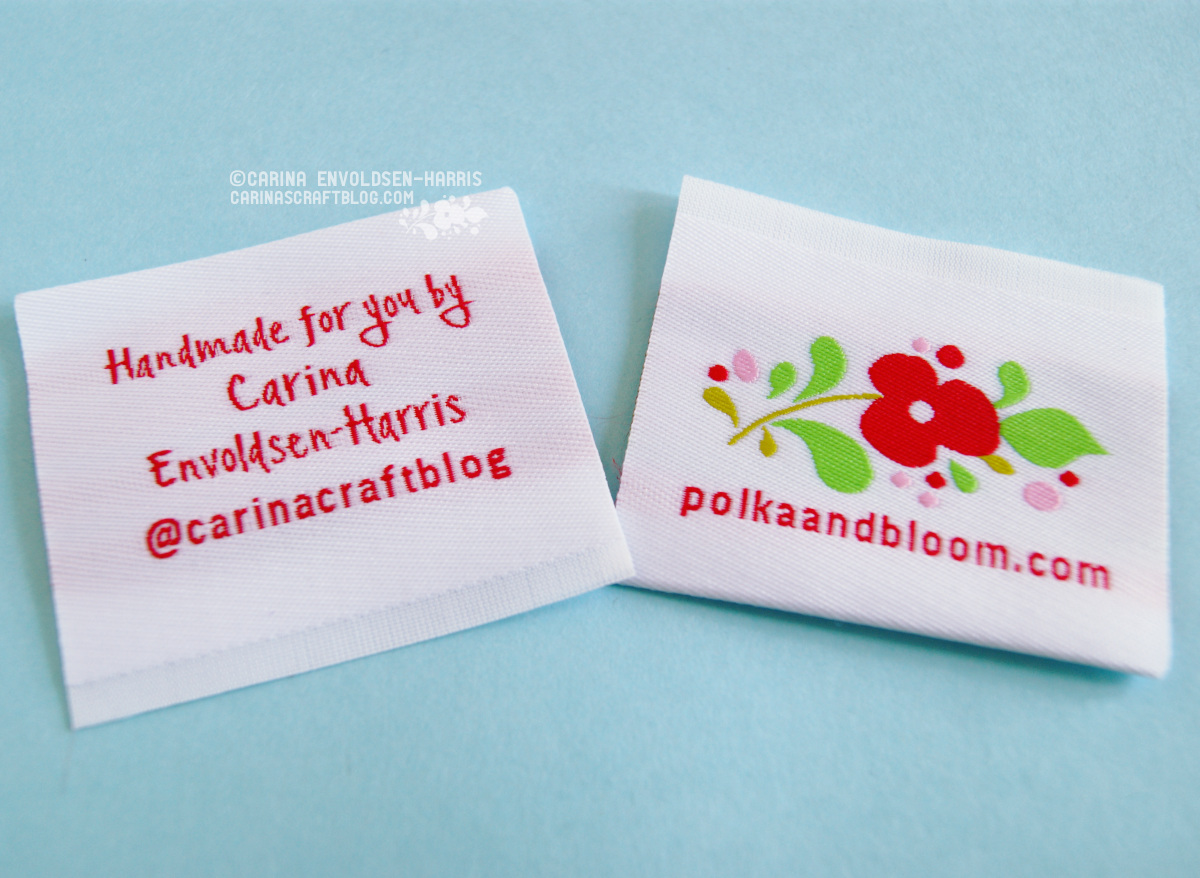
In case you’re wondering what the labels look like on the back. I quite like the watercolour effect on the back of the double-sided label.
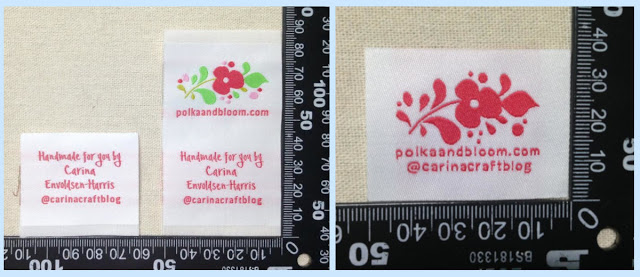
The colours are not 100% like the image I uploaded. I think I could have made more specific colour choices, so that’s something you should definitely look into if you order labels and the colours must be just so. For me it’s not a big deal and I am pretty happy with the result. I love how vibrant the colours are! The photos make the darker pink look more red than it is in real life, for some reason my camera thinks it’s more of a red colour..
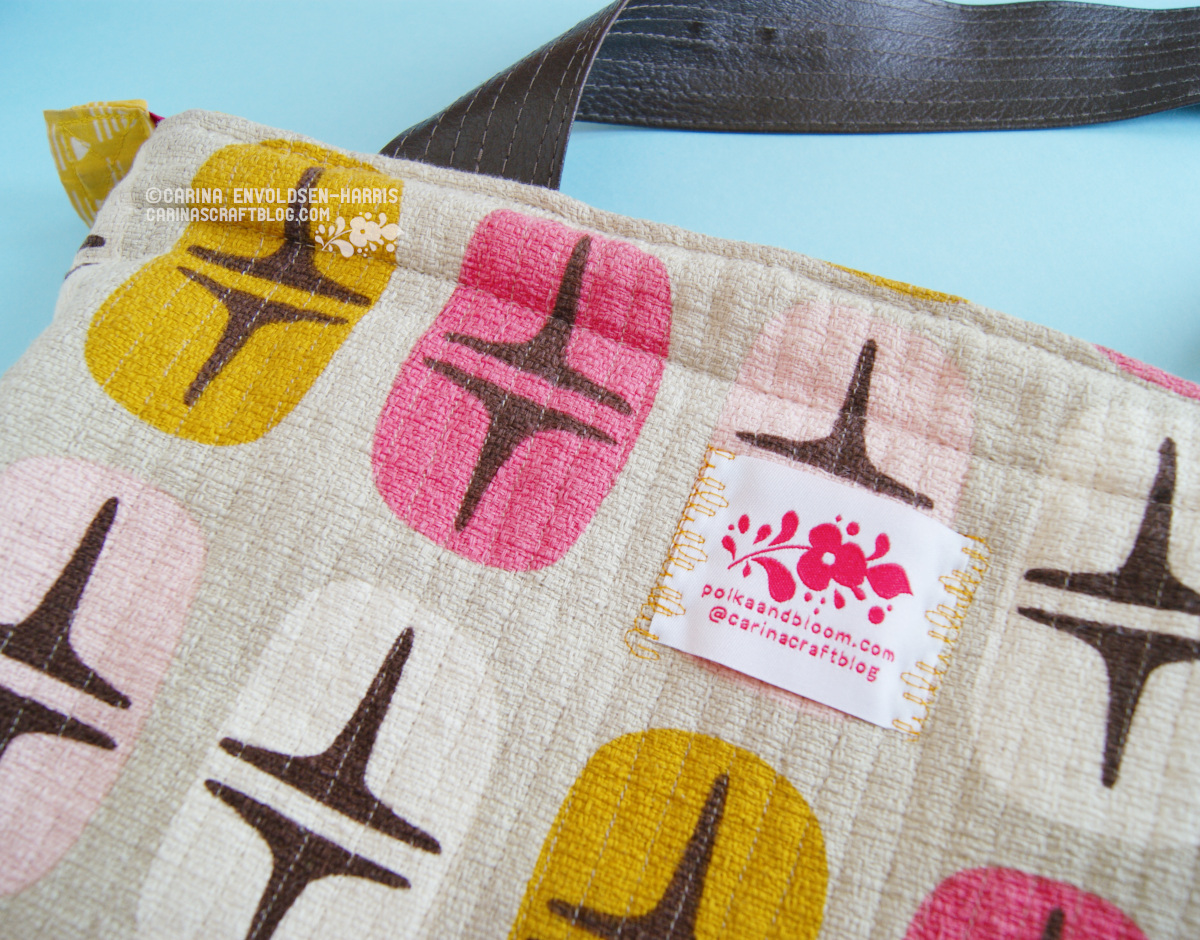
I sewed the ‘bag label’ onto the Time Warp bag I made a few years ago. I used a fancy stitch in a thread colour that matches the bag.
For this label, I decided to only use one colour, because I have no idea what colours future bags I make will be. And I think it would bother me to have a multi-colour label that maybe didn’t go very well with the fabric in question. I used the dark pink for this label, because it’s more likely that I’ll make a bag that matches with pink than with green.
I’m really pleased with how the label looks on my bag! Although I felt a little bit self-conscious when I went out in public with it the first time! But that’s silly, coz who’s going to know that I made the bag AND put my own label on it?! ;-D
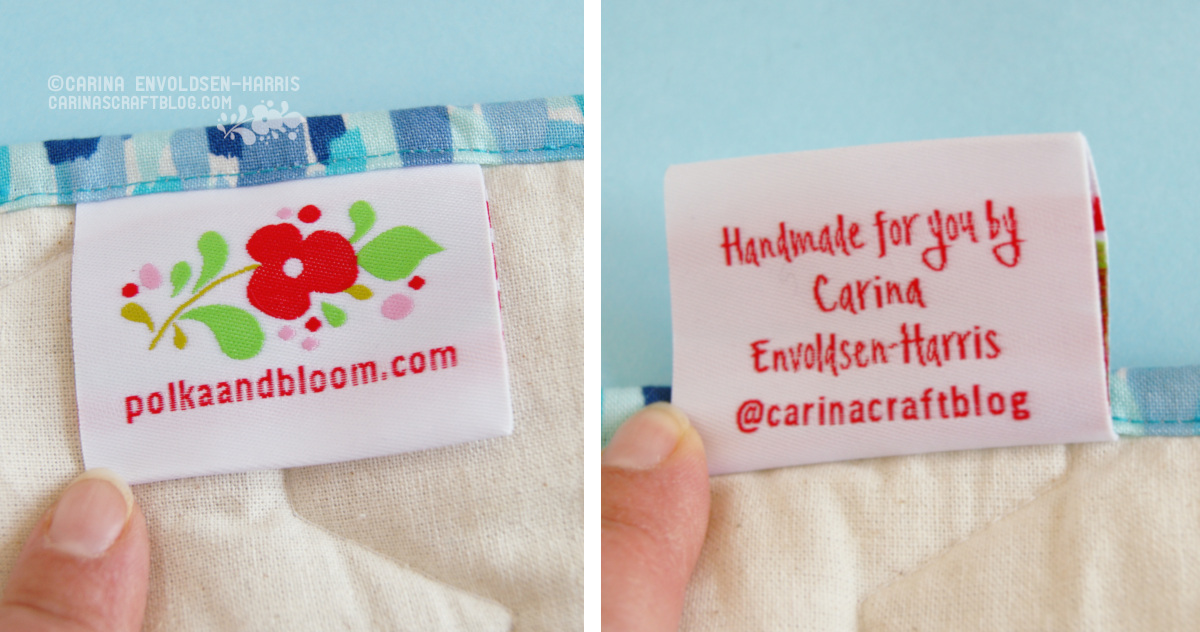
My ‘quilt label’. I added this to a quilt I already had. Ripped the binding seam so I could attach it and sewed it closed again. And now all my future quilts will have this label! :-)
Here I used the multi-colour version of my logo. It’s a nice pop of colour on the back of the quilt. And the quilts/quilt backs I make are often pretty scrappy so the label will probably blend in nicely with most fabrics.
Because this label type is meant to be sewn in, it actually does have a bit of extra edging along the short edges. If you scroll back up, you can see it in the other pictures of it.
I am really happy with both my labels! I found it relatively straight forward to design my labels, although there are so many ways to customize them it felt a little bit overwhelming (but in a good way!) I didn’t take advantage of their customer chat, but by the sounds of it, they’re very helpful. Check out my friend June’s review of Dutch Label too. She made different labels from the ones I made, of course, and it’s always nice to have something to compare with.
If you need labels for your handmade goods, I’d definitely recommend Dutch Label. And if I need more labels at some point, I’ll come back myself. One little extra thing that impressed me: I had ordered 50 of the quilt label and 10 of the bag label, but I received several extra labels of each one. Maybe it was a mistake, but I hope not, because it felt very generous and something nice for a company to do to surprise and delight their customers. :-)
A few tips if you go ahead and make your own labels:
• If you don’t need a label with a particular logo, check out the basic labels for a cheaper option.
• If you do need a particular logo but are unsure of the process, stick with one colour for your design to keep things simple.
• If your custom logo has a lot of detail, stick with a white background because some of those details may get lost on a colour background.
• It may be worth it to get a photo proof of your design. It would be a shame to order 500 labels and it turns out they weren’t quite right!
So now, if you’re inspired to try Dutch Label for your label needs/wants, they are offering 15% off on their site. Type in this code at checkout: carinascraftblog15. It is valid for 60 days after this post was published (on July 18, 2018). Thank you, Dutch Label! :-)
Ah, now I see why you were admiring my labels yesterday ;) Yours look amazing, especially the multicoloured flowers (I haven't seen anyone else using more than one colour yet – it's good to see how effective it can be).
Thank you! I was a little bit worried about how they would turn out in multicolour – I don't think I've seen anyone else use that either – because the process wasn't 100% clear, but I'm glad I tried it. :-)