This is part one in a mini series on making fabric hexagons. You can find part two right here. :-)
Hexagons. Hexies. I really never thought I’d get into paper piecing, but I could happily sit and make hexies all day long. Seriously hexagonemad. Under the hexie spell. So I thought I would pass on the obsession love! You may not thank me once you get the hexie bug. ;-)
You will need some (quilting) fabric, paper or card stock, thread, needle and scissors. Oh and a pair of scissors for cutting paper.
You need a template for your hexagons, so pop over to the Hexagonal Graph Paper PDF Generator and create your own. It’s really simple to do. You can make them any size you want. I’m using 1″ hexies below. The measurement applies to the sides of the hexagons, not the ‘diameter’. This used to confuse me when I first went looking for hexagon templates. Which by the way you can buy in various places if you can’t be bothered with cutting them out yourself. ;-)
I’ve used regular printer paper for my templates, but if you want to make large hexagons you might want to use card stock. They may be a bit floppy otherwise. But experiment and see what works.
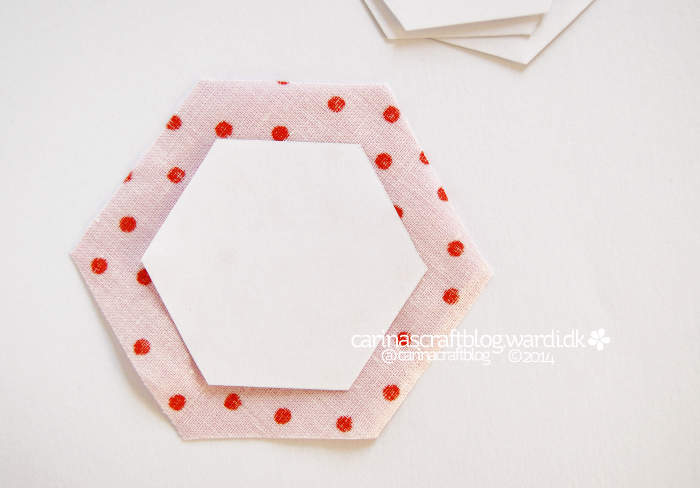
Ok, so you’ve cut out a bunch of templates, now cut some fabric that is larger than the template. Minimum 1/4″ (6mm) all around. And until you get the hang of making the hexies I would recommend doing about 1/3″ (1cm) because as you work around the hexagon things may shift and you could end up with just the tiniest ‘seam allowance’.
You don’t have to cut the fabric to a hexagon shape, you can use a square piece of fabric too. I haven’t tried this myself, but I think I may have to since it would be a lot quicker to cut a bunch of squares than hexagon shapes. If anyone has tips for using squares, do leave them in the comments. :-)
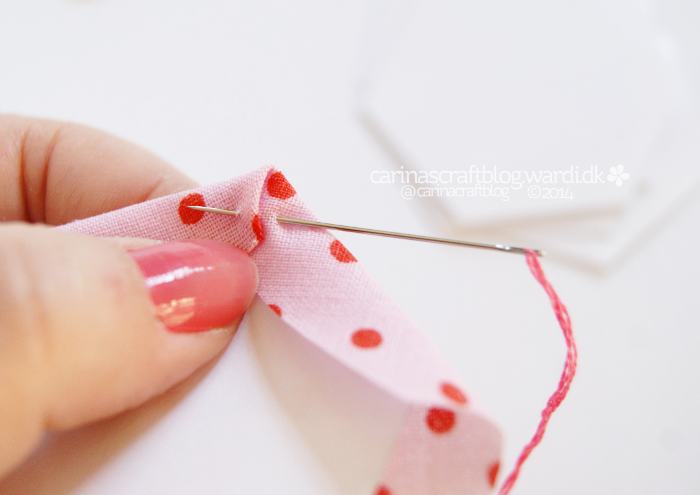
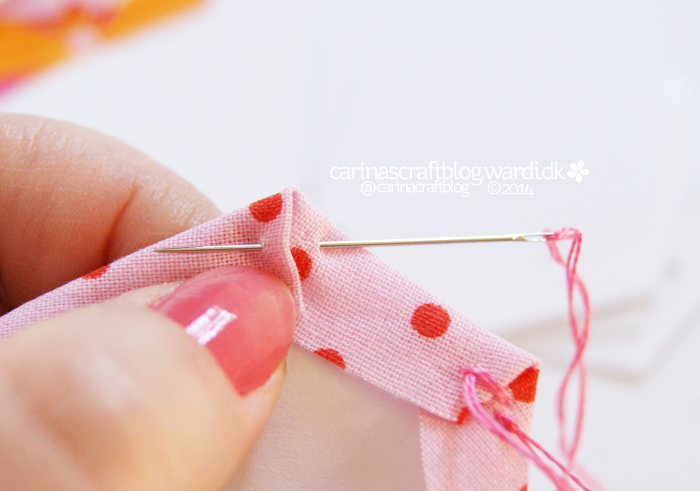
Place the template on the wrong side of the fabric and fold the fabric towards the centre along one side. Fold the neighbouring side so it overlaps the previous fold. Insert needle and thread from the lower fold and push it out through the top fold.
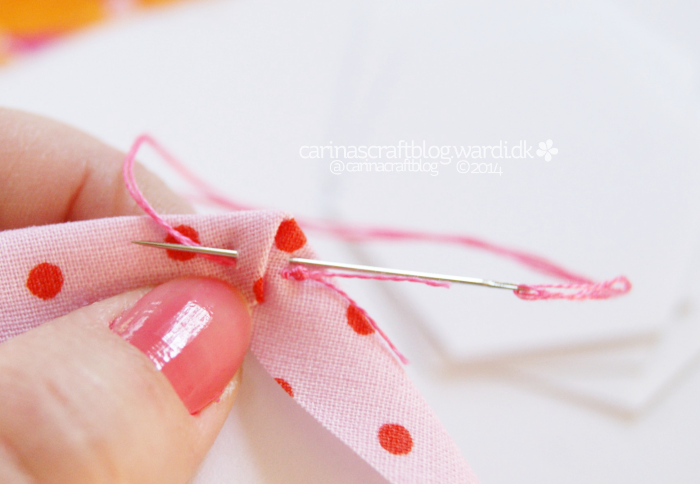
Repeat the stitch from lower to top fold to secure the corner.
Move along to the next side, fold towards the centre and secure the corner with two stitches.
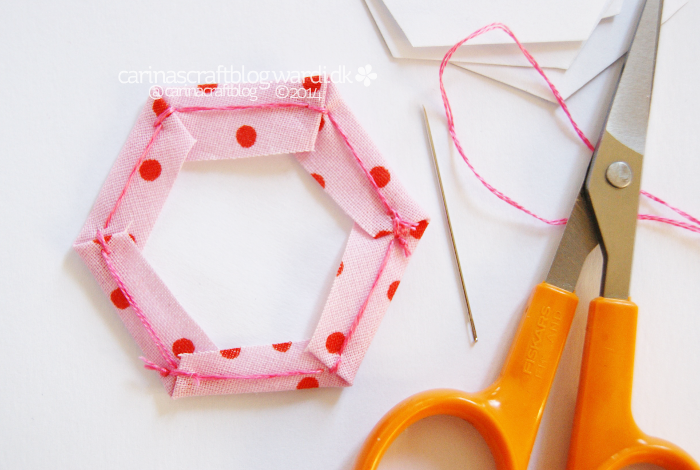
Continue in this way (fold, secure corner) all the way around and finish off with a small knot in the corner where you started.
Hooray! You made a hexagon! That really is all there is to it. :-)
Now go make a pile of ’em and I’ll be back soon with a tutorial for how to put multiple hexies together. :-)

