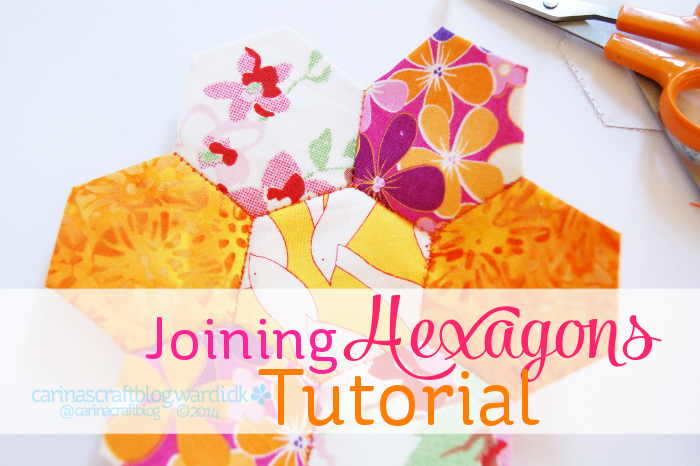
This is part two in a mini series on making fabric hexagons. You can find part one right here. :-)
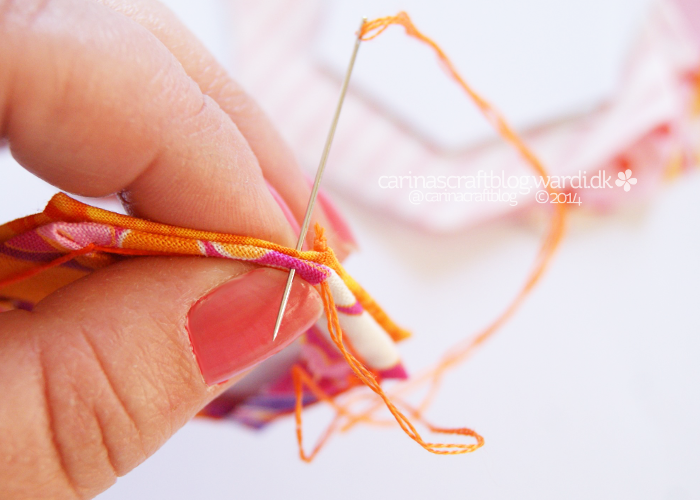
Put two hexagons together, with right sides facing each other, lining them up at two corners. Starting at one corner, whip stitch the hexagons together along the edge. You want to catch them right at the fold and preferably not sew through the paper template. But don’t get all stressed out if you do happen to sew through the edge of the paper, it will still come out!
I find that stitching towards myself makes the way I hold the hexagons less cramped, but maybe you find stitching away from yourself more comfortable. Try it and see what works for you.
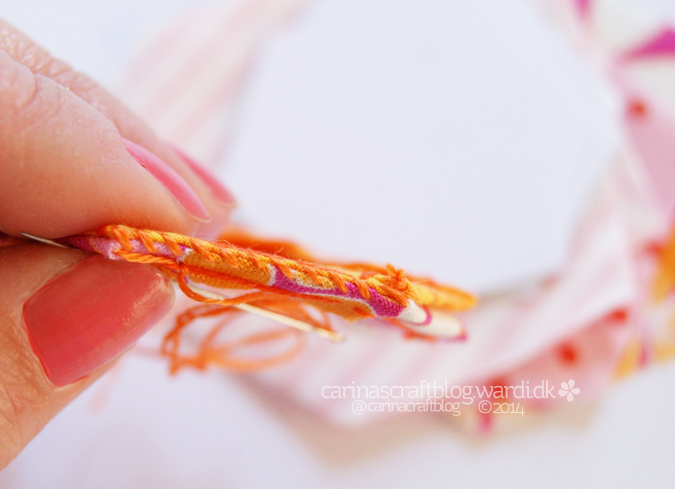
If your whip stitching is at an angle on the wrong side it will be straight on the right side. :-)
Finish off at the other corner with a small knot. Don’t weave the thread through the stitches in the seam or it might be visible on the front.
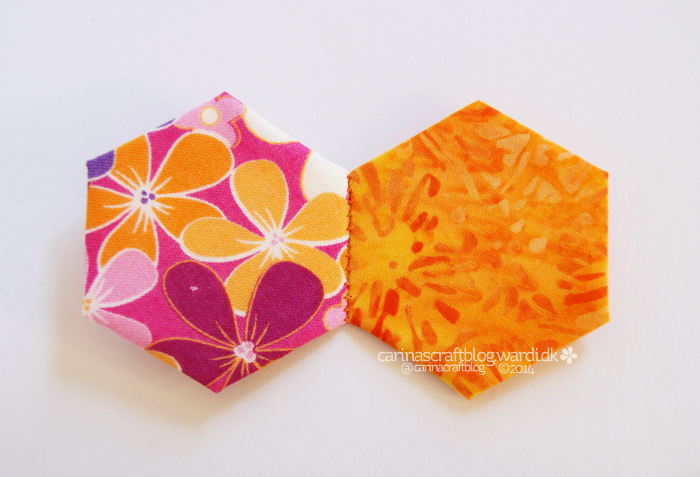
Voila! Two hexagons sewn together.
Wait. You can see the seam there! I don’t mind being able to see the seam, I like seeing the ‘hand’ in the work. As long as the seam is even. That isn’t always the case with mine I must confess. You know how it is, you get a case of the ‘must join hexies’ way too late in the evening while watching some trash on the telly and then the seams go slightly wonky. Oh well. ;-)
Anyway. There are ways to try and get rid of the visible seam:
– use a thinner thread and needle. I’ve used two strands of embroidery floss in this example, that’s obviously quite thick and bound to show up.
– do the stitching very close together.
– if you find the seam is most visible at the corners, try making extra stitches there and pull them extra tight. Without pulling holes in the fabric of course.
– if you really don’t like any seam being visible, you can use the invisible/hidden stitch (also known as Ladder stitch) where the stitching is pretty much hidden inside the fabric. But this does take more time to do than using the whip stitch.
Alright, so now that we know how to join two hexagons, we can move on to joining multiple hexagons. There are several ways of doing this, but I find this method the easiest.
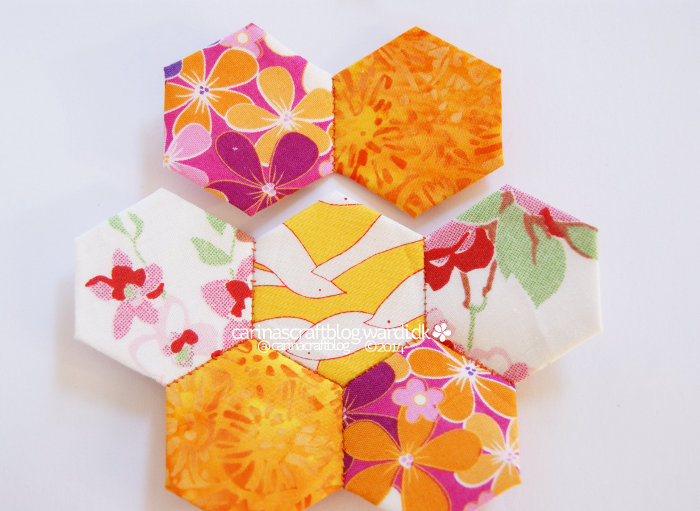
I like joining my hexagons in strips. Even when you have a flower type shape like this one. So first I will join hexagons into (short or long) strips. Here, for example, I made strips of 2, 3 and 2 hexagons, and then join those together.
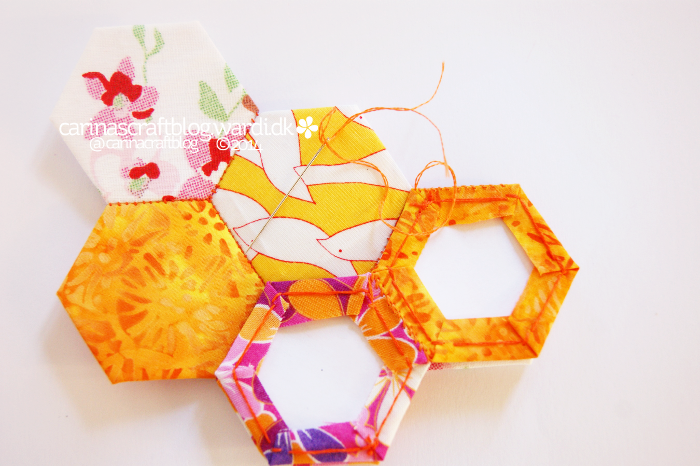
I’ve joined two strips already so I’m ready to join the third one.
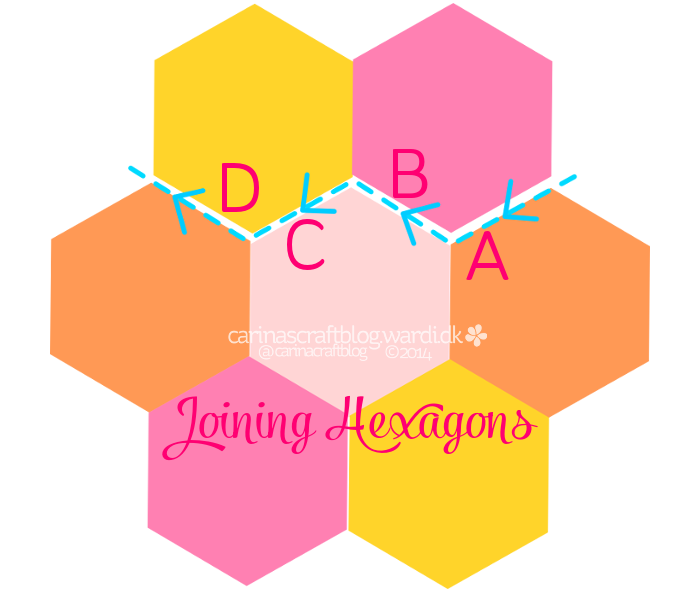
Here’s a wee diagram that I hope will help illustrate how the joining method works. Photos below.
This may look a bit odd, the 2-hex strip seems to be going in the wrong direction. But of course that’s because we’re joining angled strips, not straight lines. First join up the edges along (A in the diagram) and stitch together.
When you have joined the first section (A), flip the strip you’re joining around to line up the edges along (B) and stitch together. You’ll see that the hexagon to the right of where you’re working will have to be bent to accommodate working at an angle to it.
It may feel a bit weird at first to have the fabric bending all over the place, but you’ll soon get used to it. And I think the bending of the hexagons also helps soften the paper, making it easier to remove later on.
Continue working along your hexagon edges (C) and (D) and so on, flipping the work this way or the other as you go..
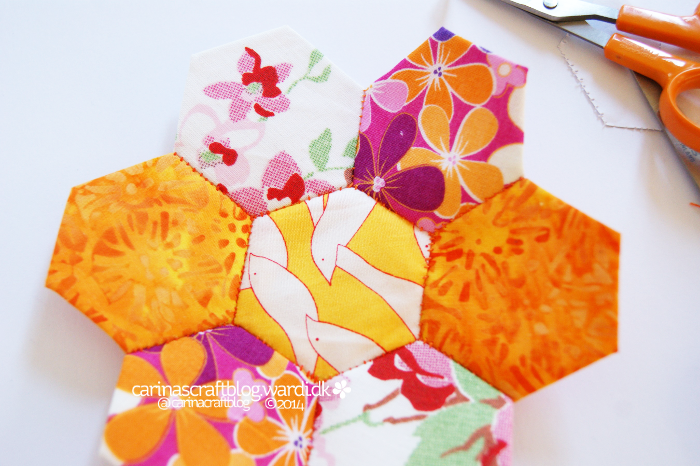
And here we have the joined hexagons.
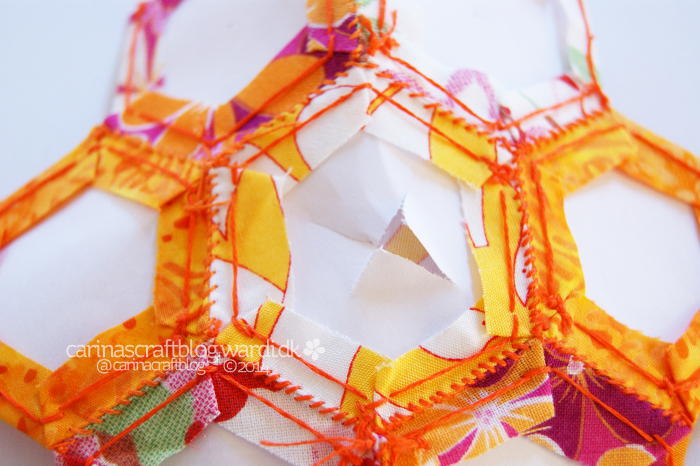
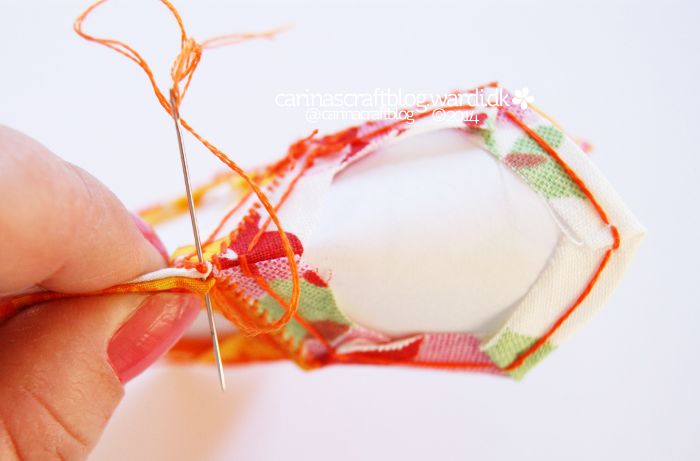
When it comes time to removing the paper, you can use a pair of scissors to cut them (but be careful not to cut through the fabric!)
I usually just scratch an ‘x’ with my needle and that allows me to pull out the paper hexagon. It also reduces the risk of cutting into the fabric.
If you want to be super organised, you can also use a hole punch in the centre of the paper hexagons before you start sewing the hexagons.
Don’t pull the paper out until you are ready to use your hexagons, the paper helps them keep their shape. Before pulling out the paper I always give the hexagons a light press with the iron (but not so hot/long that the paper burns!), this will also help them keep their crisp edges. Start in the centre of your hexagon ‘fabric’ and work outward.
When you have removed the paper, give the hexagon another press with the iron and move on to making your project. :-)

