Last week it was 1year since we moved into our house and I realised that I’ve not shared the re-decorating we’ve done to it! So far we’ve done our bedroom and the bathroom. Both were actually done before Christmas.
Both rooms were in dire need of a makeover – as you will see! Let’s start with the bedroom.
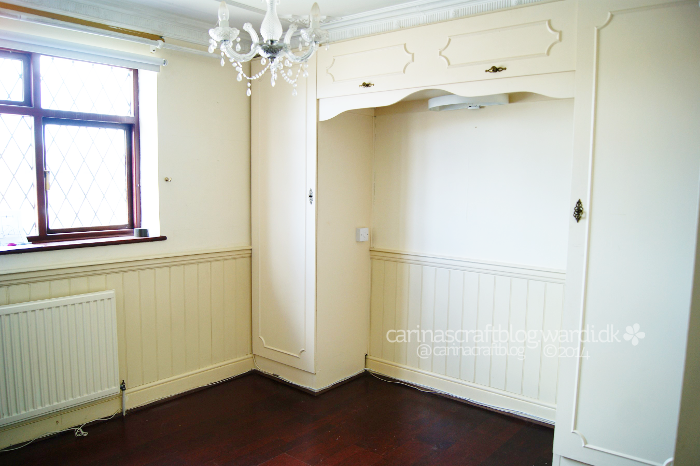
Horrible wardrobes that were only slightly larger than cupboards, and our bed wouldn’t have fitted in the gap anyway. So that had to go. As did the paneling on the walls. They didn’t fit the room at all, only made it feel smaller.
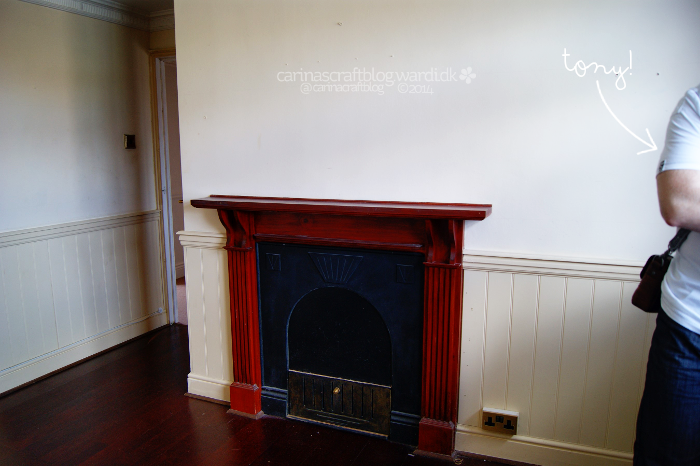
Another space stealing feature: a fake fire place. Seriously, what is it with fake fire places? That had to go too!
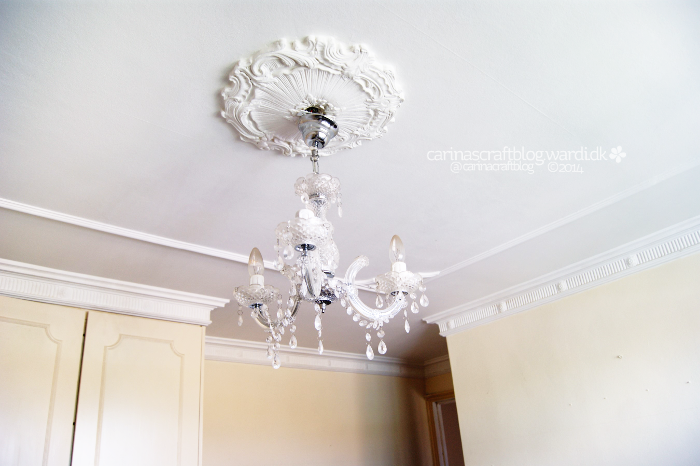
As well as all the ‘decorations’ on the ceiling and that ghastly chandelier.
On the left here you can see part of the ‘wardrobe’ which is actually not a wardrobe at all, but hides the chimney breast and some kind of water boiler. We had to keep part of this structure, but we were able to get rid of some of it to reclaim a bit of extra space.
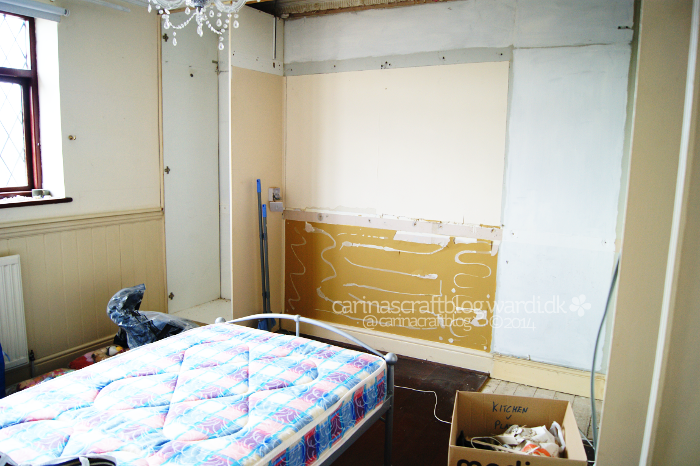
The tear down began the day we moved in – since we already had the big van, it made sense to use it to haul all the debris to the dump. First, those wardrobes. And then we discovered that the wooden floor had been put down after the wardrobes and so there were gaps in the floor under them.
The floor was otherwise in good condition so we had planned on keeping it for the time being. But because of those gaps we thought we’d have to replace it sooner than we’d expected. Boo.
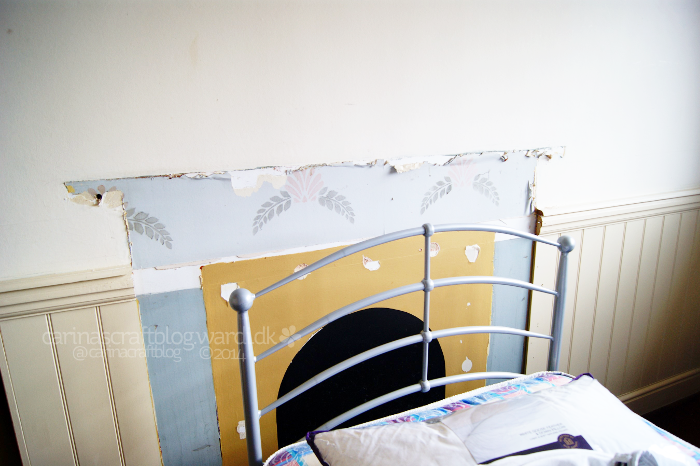
Oh hello, layers of ancient wallpaper, paint and stencilling under the fake fire place. Of course, there were also gaps in the floor where the fake fire place had been. Brilliant.
When we had ripped out everything – and I mean everything, the only thing left was the radiator! – we spent about a week steaming and scraping off layers of wallpaper and paint. So boring. So many rubbish bags filled. I’m sure I took pictures of that too, but I can’t find any right now – you’ll just have to imagine the fun…
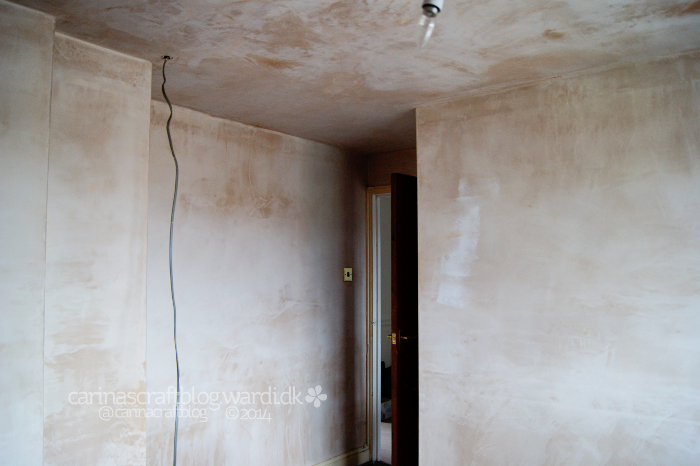
Then it was time to have the whole thing re-plastered, walls and ceiling. I kinda liked the look of the plaster, but we did paint it properly.
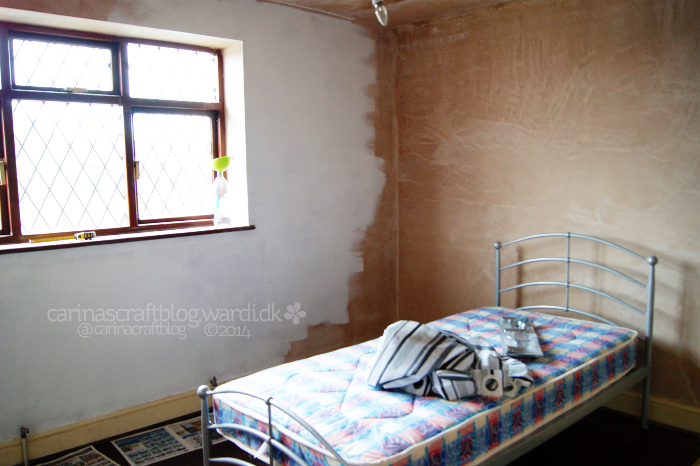
First layer of paint going on. Oh and that bed is not one that was left behind. ;-)
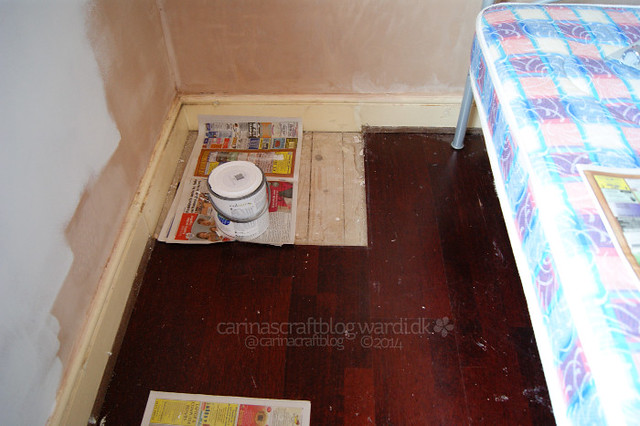
Just look at that big gap left by one side of the wardrobes. Because we thought we had to replace the floor, we weren’t being particularly careful with the floor during the redecorating process. Gloopy bits of old wallpaper was left to fall down onto it, plaster splattered onto it and there were paint drips etc.
But then! When we emptied the shed in the autumn, we found a few bits of leftover flooring that were still in usable condition and there was enough to patch the gaps! So then we could keep the floor for now as we had planned.
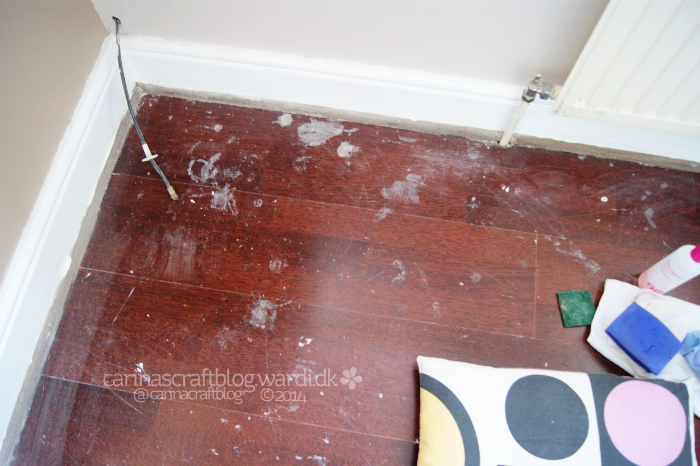
But since most of the floor now looked like this, it had to be cleaned. Thoroughly. I spent the better part of a week on my hands and knees, scrubbing every inch with nail polish remover with acetone. Then cleaning it with soapy water and finally putting on some kind of wood polish.
It took forever and it was really boring but it was so worth it in the end because it looked almost like new. Apart from a few scratches, which are hidden under our bed now anyway, you’d not think it had been covered in all that.
Next post I’ll show you the finished bedroom. :-)
