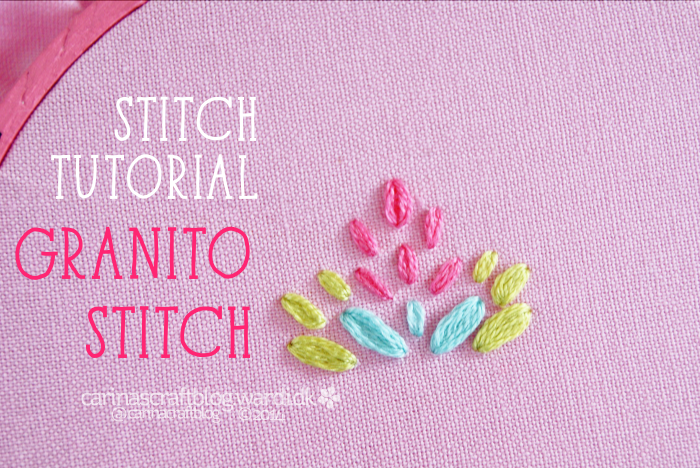
Today I want to show you how to do the granito stitch. The name means ‘little grain’ and that is exactly what it looks like. If you make a larger stitch, it looks more like a plump little petal. It’s a really cute stitch that can be used for lots of things. And for some reason I find it rather sophisticated, not sure why! ;-)
You can use this stitch to make flower buds or little leaves like I did in the example. Or animal eyes. If you want to make marks that are larger than a French knot but not so large you need to make it with satin stitch. I think it would also be fun to use as a sort of loose fill stitch.
And it’s really easy to do as well!
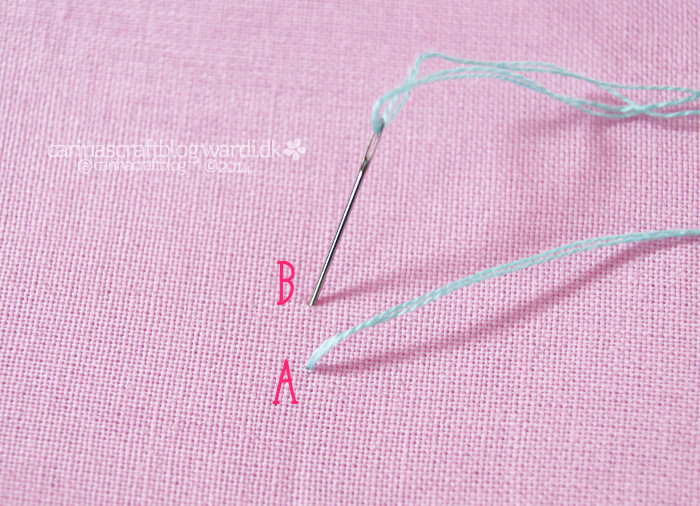
:1: Make a short stitch, approx. 5mm / ¼” long, starting at A), finishing at B). (You can do a longer stitch, but I don’t think I would do it longer than 1cm / 3/8″.)
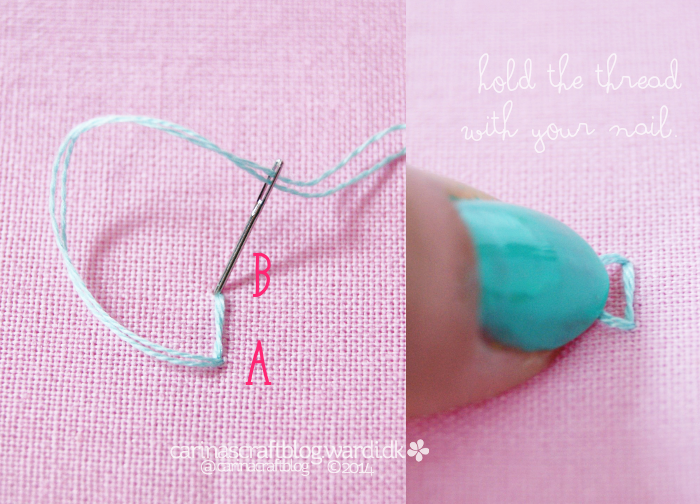
:2: Pull the needle through the fabric at A) and push it through at B). But don’t just push it through, hold the thread to one side of the first stitch and then gently push the needle and thread through. By holding the thread, the second stitch should sit right next to the first one, instead of directly on top of it.
:3: Pull the needle through at A) to repeat step :2:, but holding the thread on the other side of the first stitch.
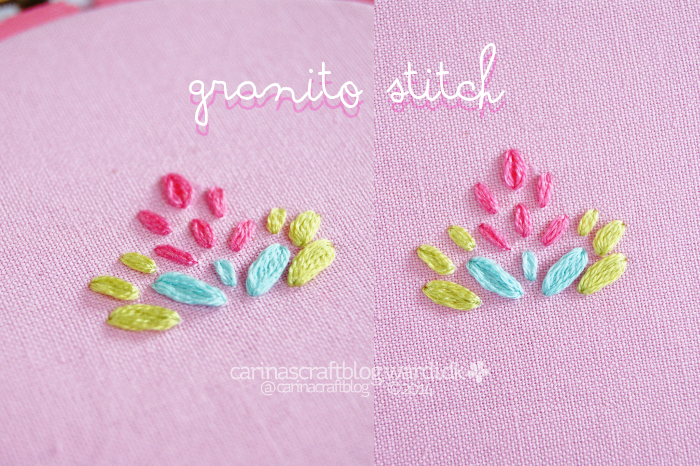
The more stitches you add, alternating between the two sides, the wider the finished stitch will be. Use different sizes together to create a cool effect.


Cool! Thanks for sharing!