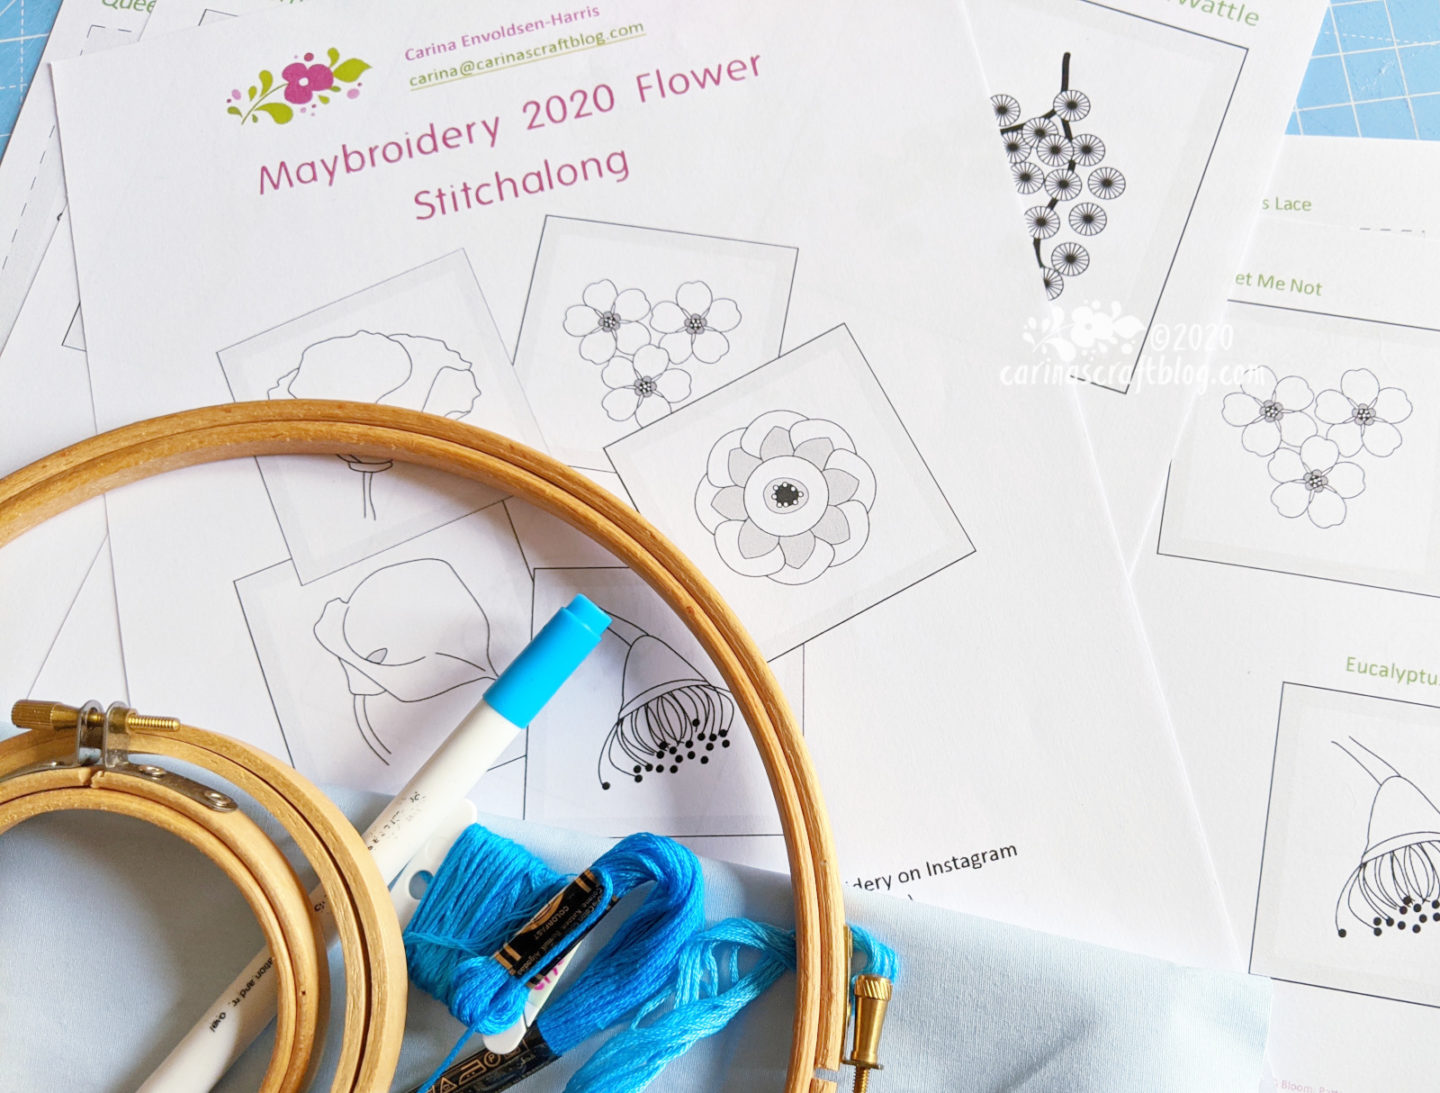
Are you joining me in stitching nine flowers in the next nine days? Obviously, you don’t have to finish it in nine days! I’m hoping I’ll finish mine in that time, but we’ll see! :-)
You can download the patterns here. (If you want the full set of 31 flowers, they are available in my Payhip shop and Etsy shop.)
Please use #Maybroidery2020 if you share your embroidery on Instagram and also please tag me! I’m @carinacraftblog. :-)
I wasn’t sure what to make with my stitched flowers, but then it occurred to me that this would be a great project to try out a dual hoop embroidery! I used this tutorial.
I was going to do a blue on blue project as the colours in the top picture suggests, but as is mentioned in the tutorial, 100% cotton fabric doesn’t work so well. Luckily, I had some linen fabric which worked a lot better.
So I had to rethink my colours because the linen fabric is white and I didn’t fancy blue on white. Although that is one of my favourite colour combinations!
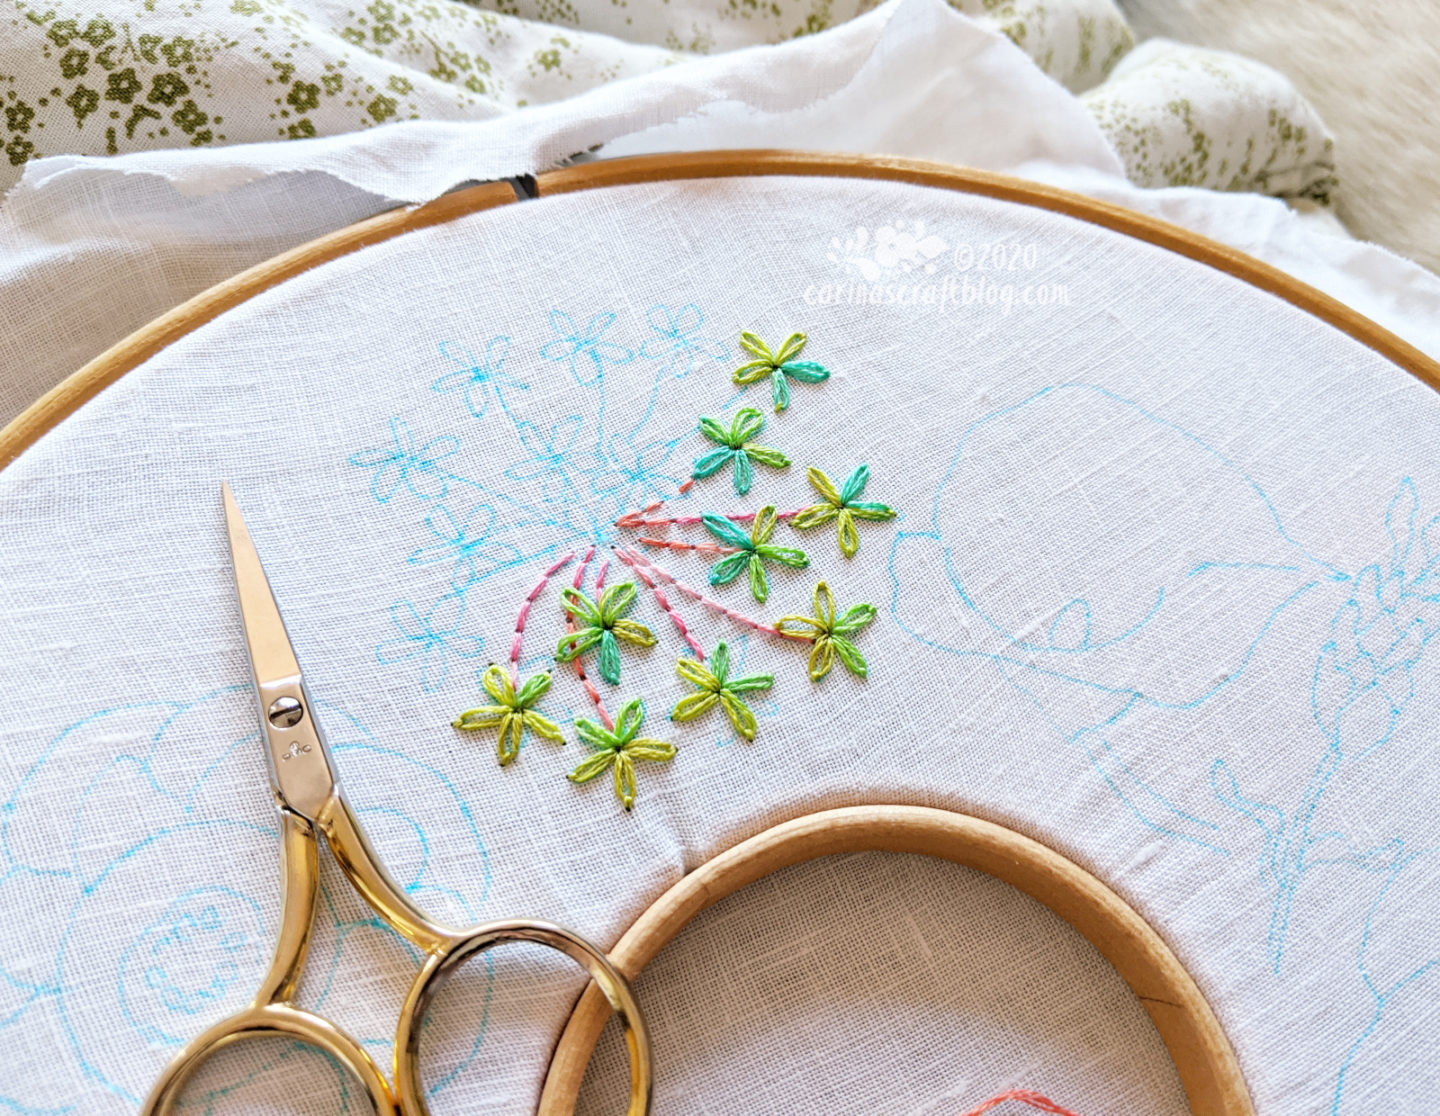
These are the colours I am using, a variegated green and a variegated orange/pink. I want to keep it simple, but I also thought I might get a bit bored with just two colours (although I was originally going to do this in monochrome blue?!) so variegated thread adds a bit of…interest.
Because of the dual hoop set up I had to figure out a way to get the patterns transferred to the fabric as I couldn’t use my usual method. So in case you want to try the dual set up too, here’s how I did mine.
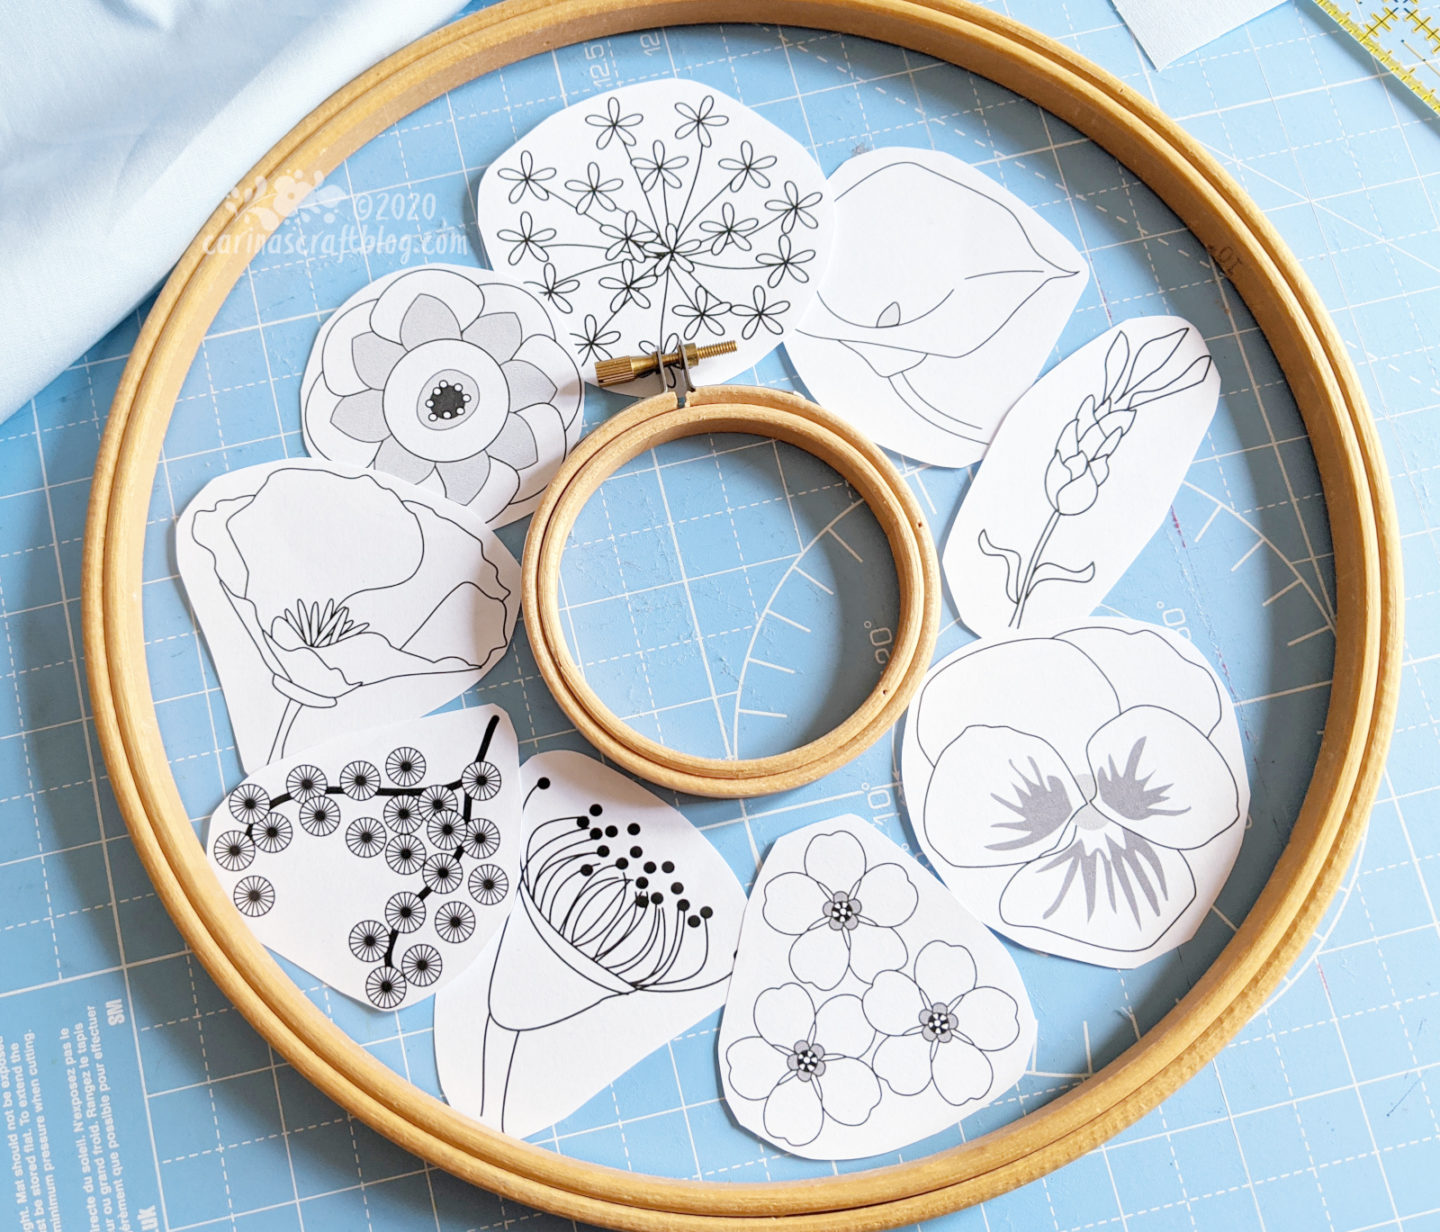
First I cut out all the flowers and laid them out inside the space between the two hoops to get an idea of where to put them. My hoops are 3″ and 10″.
I drew a 3″ and a 4″ circle in the centre of a piece of A4 paper. 3″ is the size of the inner hoop in the set up, but to account for the outer ring on that smaller hoop, it’s important to add that extra half inch margin around the hoop. Otherwise you’ll be stitching right up against the inner hoop and that’d be really awkward.
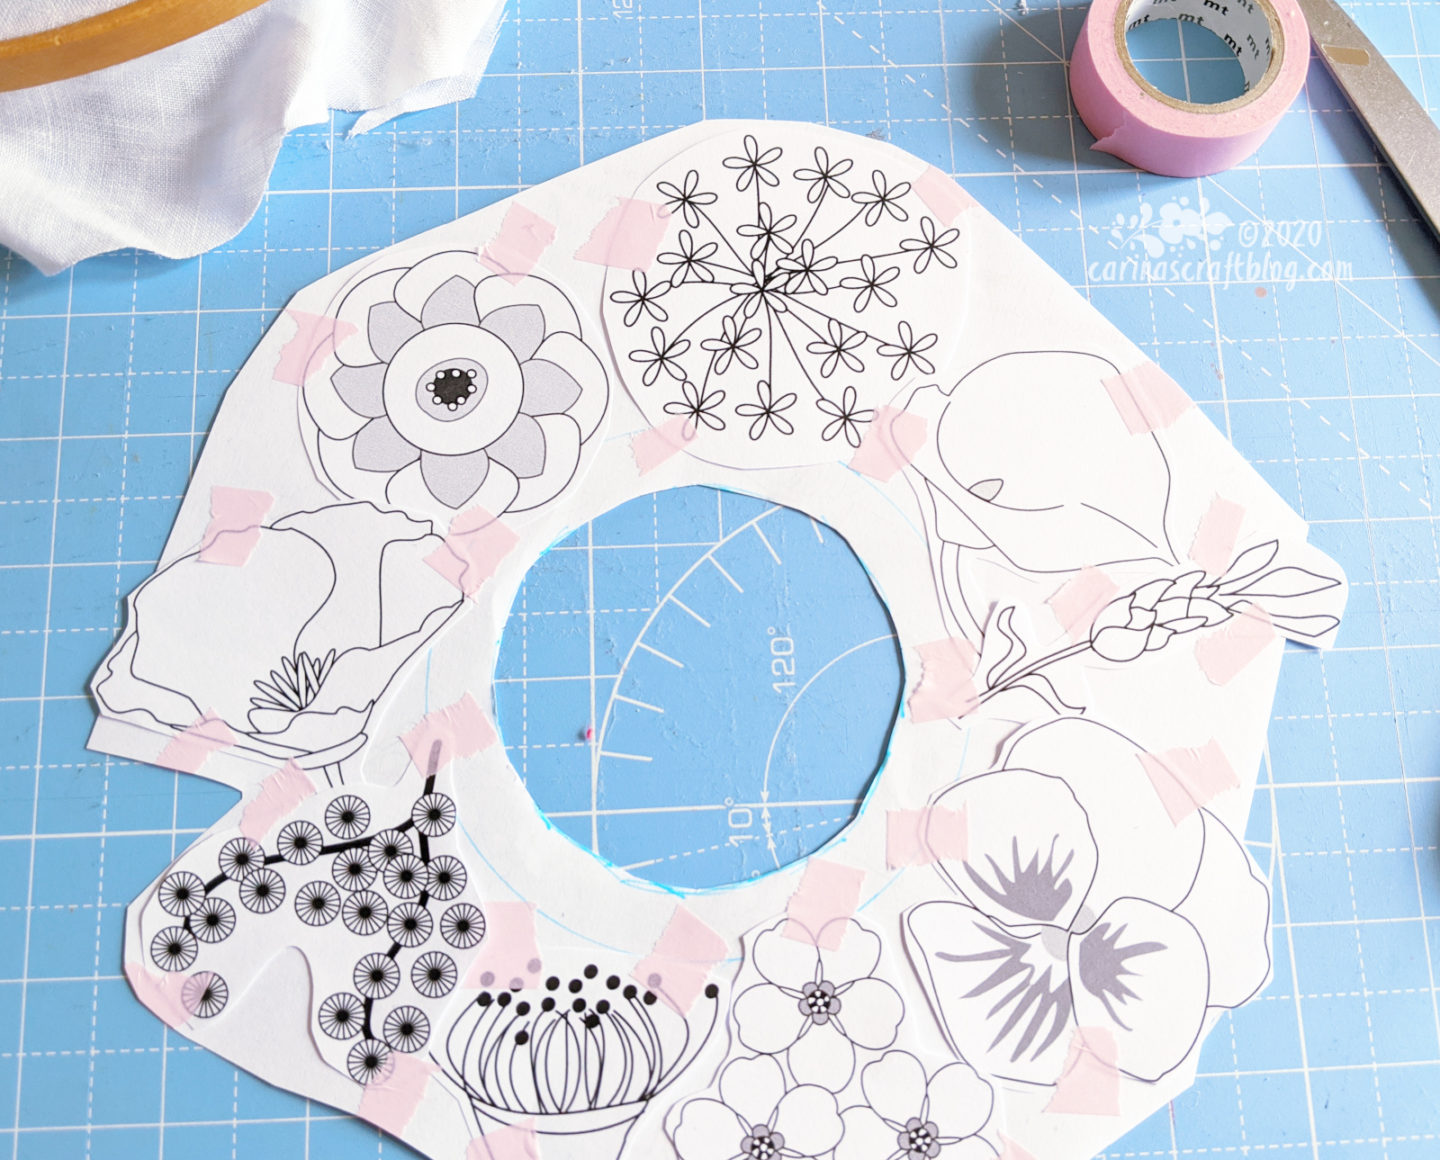
I cut closer to the flowers, so they wouldn’t overlap and obscure each other, and laid them out again, adjusting as necessary to make sure they would fit inside 9″ approximately. Again to account for the inner ring of the large hoop. Then taped the flowers to the A4 paper using light coloured washi tape.
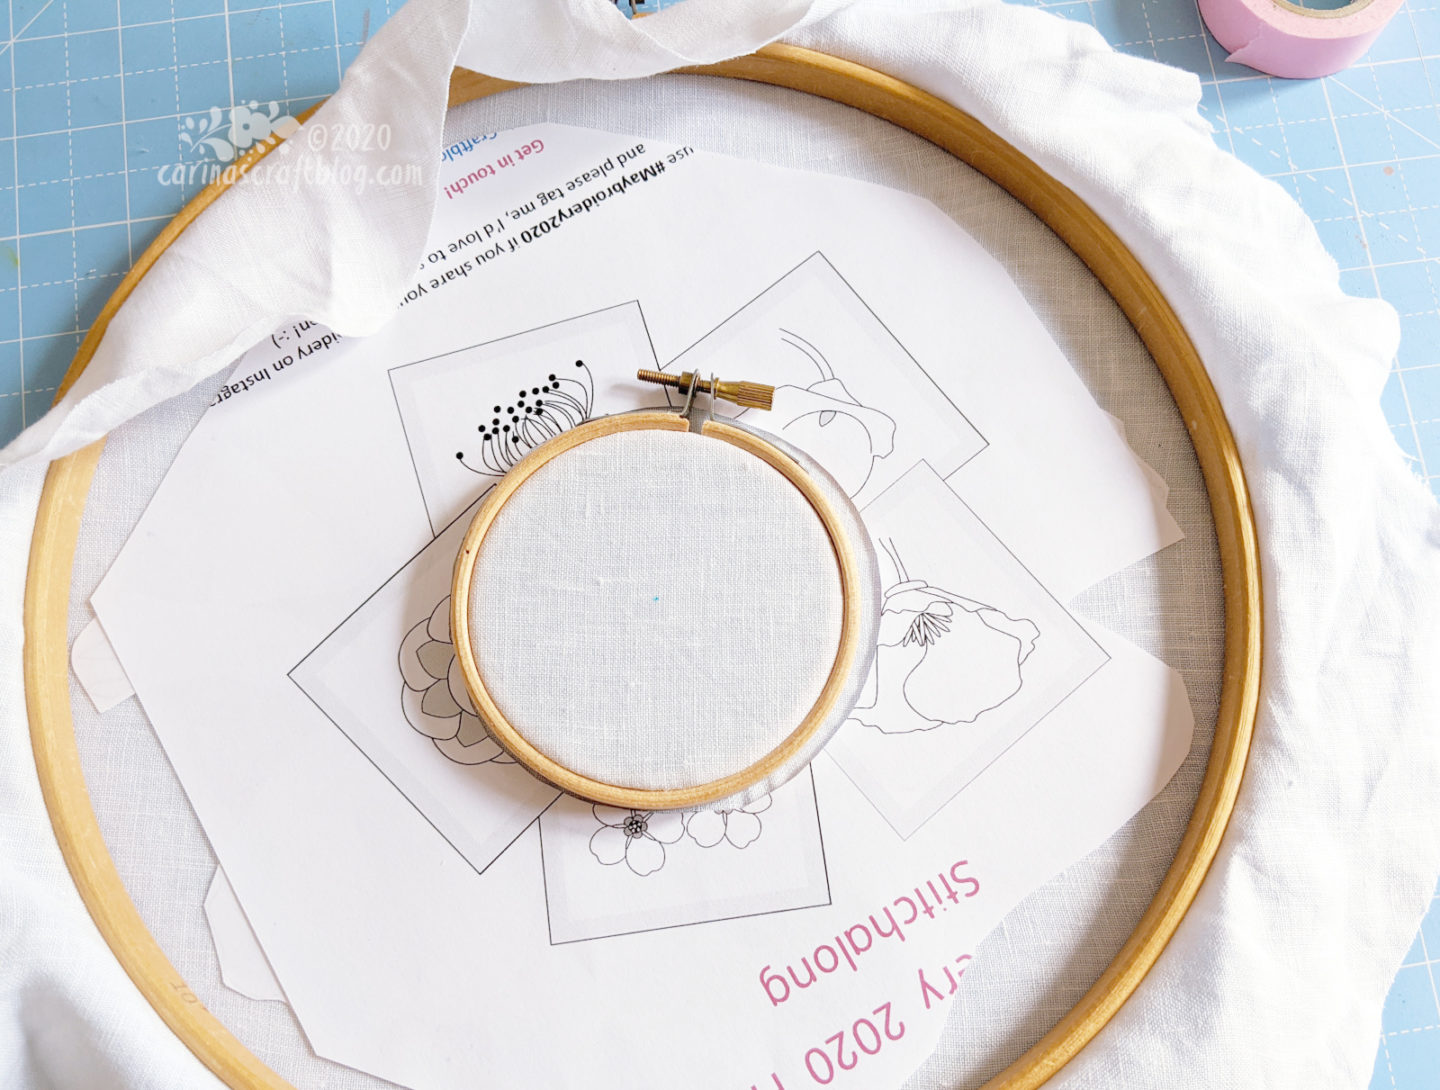
I decided to use a glue stick and lightly glue the pattern front which I then stuck to the back of the fabric. I cut out the 3″ circle on my paper to slide the pattern over the inner hoop. I hadn’t taken the screw into account so I had to cut that 3″ circle a bit bigger.
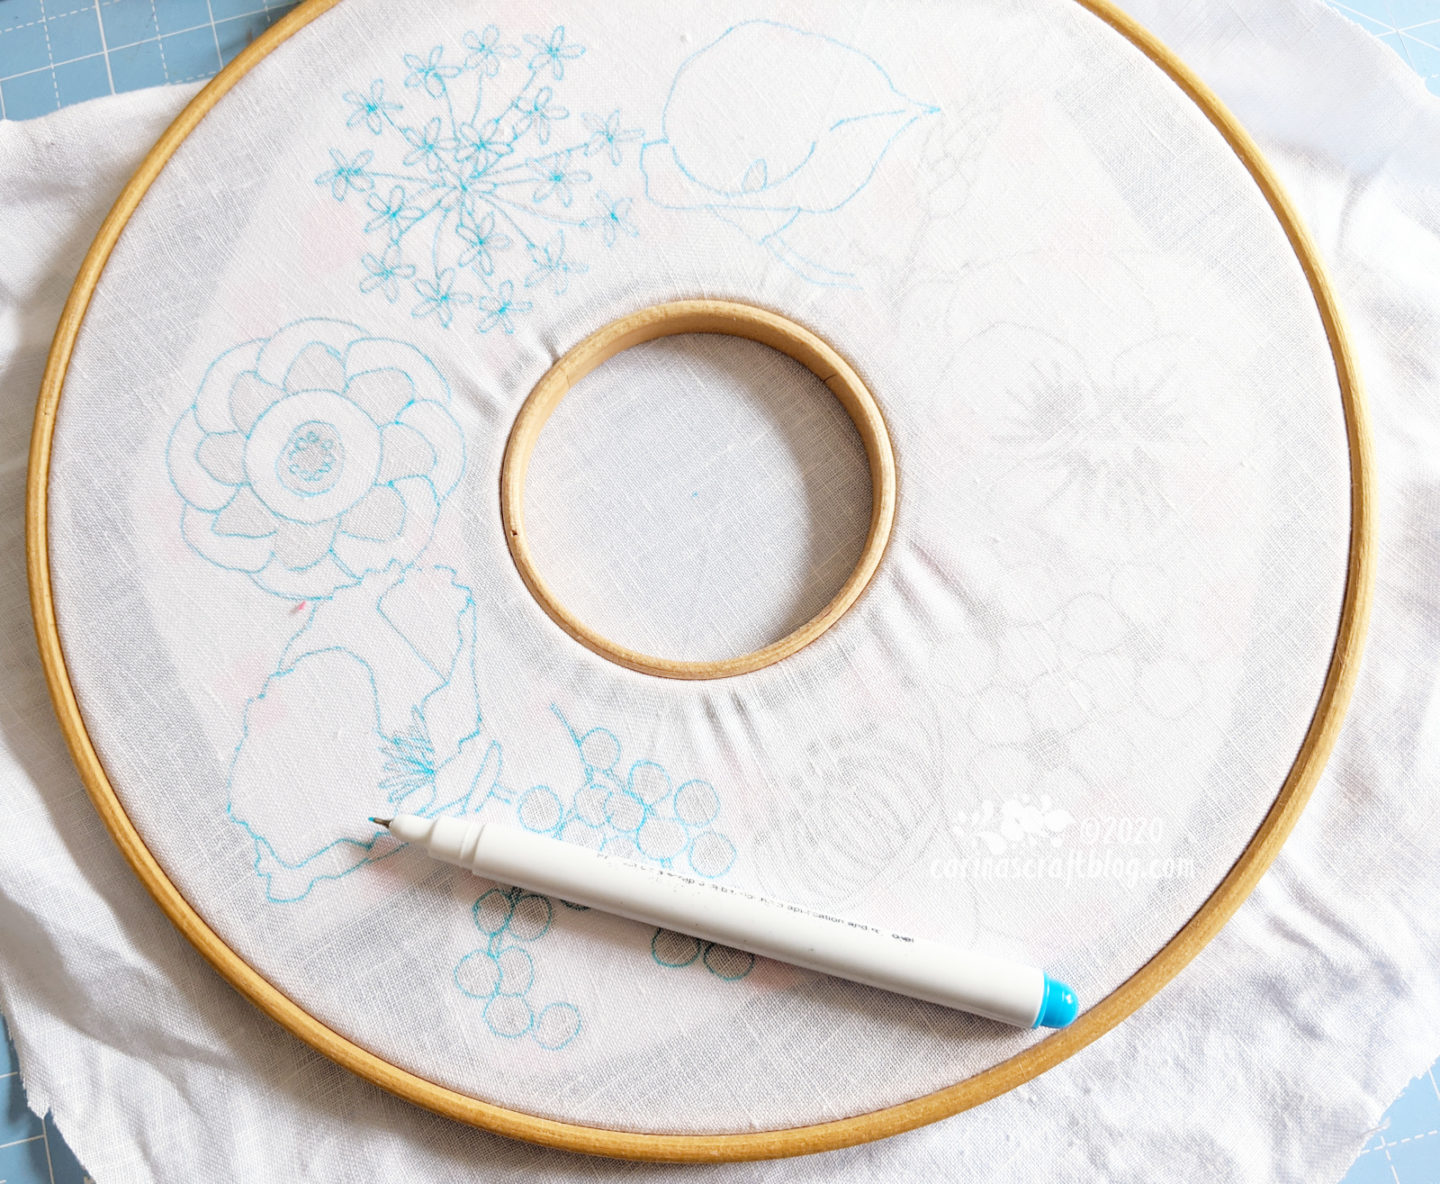
Then I transferred the pattern using a water soluble pen. It is best to do this as quickly as you can after attaching the pattern on the back so the glue doesn’t dry properly. When you remove the pattern, there may be slivers of paper on the back. I wouldn’t worry too much about it (unless it’s big chunks that will make it difficult to stitch the pattern nicely) because when you rinse off the water soluble pen the glue should dissolve too.
In this picture you can also see that my fabric isn’t completely smooth, but I’m not too worried about that. I think once I cut the fabric away in the middle hoop, I will be able to stretch it properly. But this still looks A LOT better than my attempt with 100% cotton fabric. Puckers galore! :-D

