Growing up in Denmark, making woven paper heart was/is a staple December activity. I don’t think there is a single Dane alive who hasn’t made at least one of these (ok, ok, I’m exaggerating!) in their life. I definitely made them in school when I was that age, and I imagine that people still do. They’re fun to make! You can make them all kinds of sizes and using coloured or patterned paper as you like.
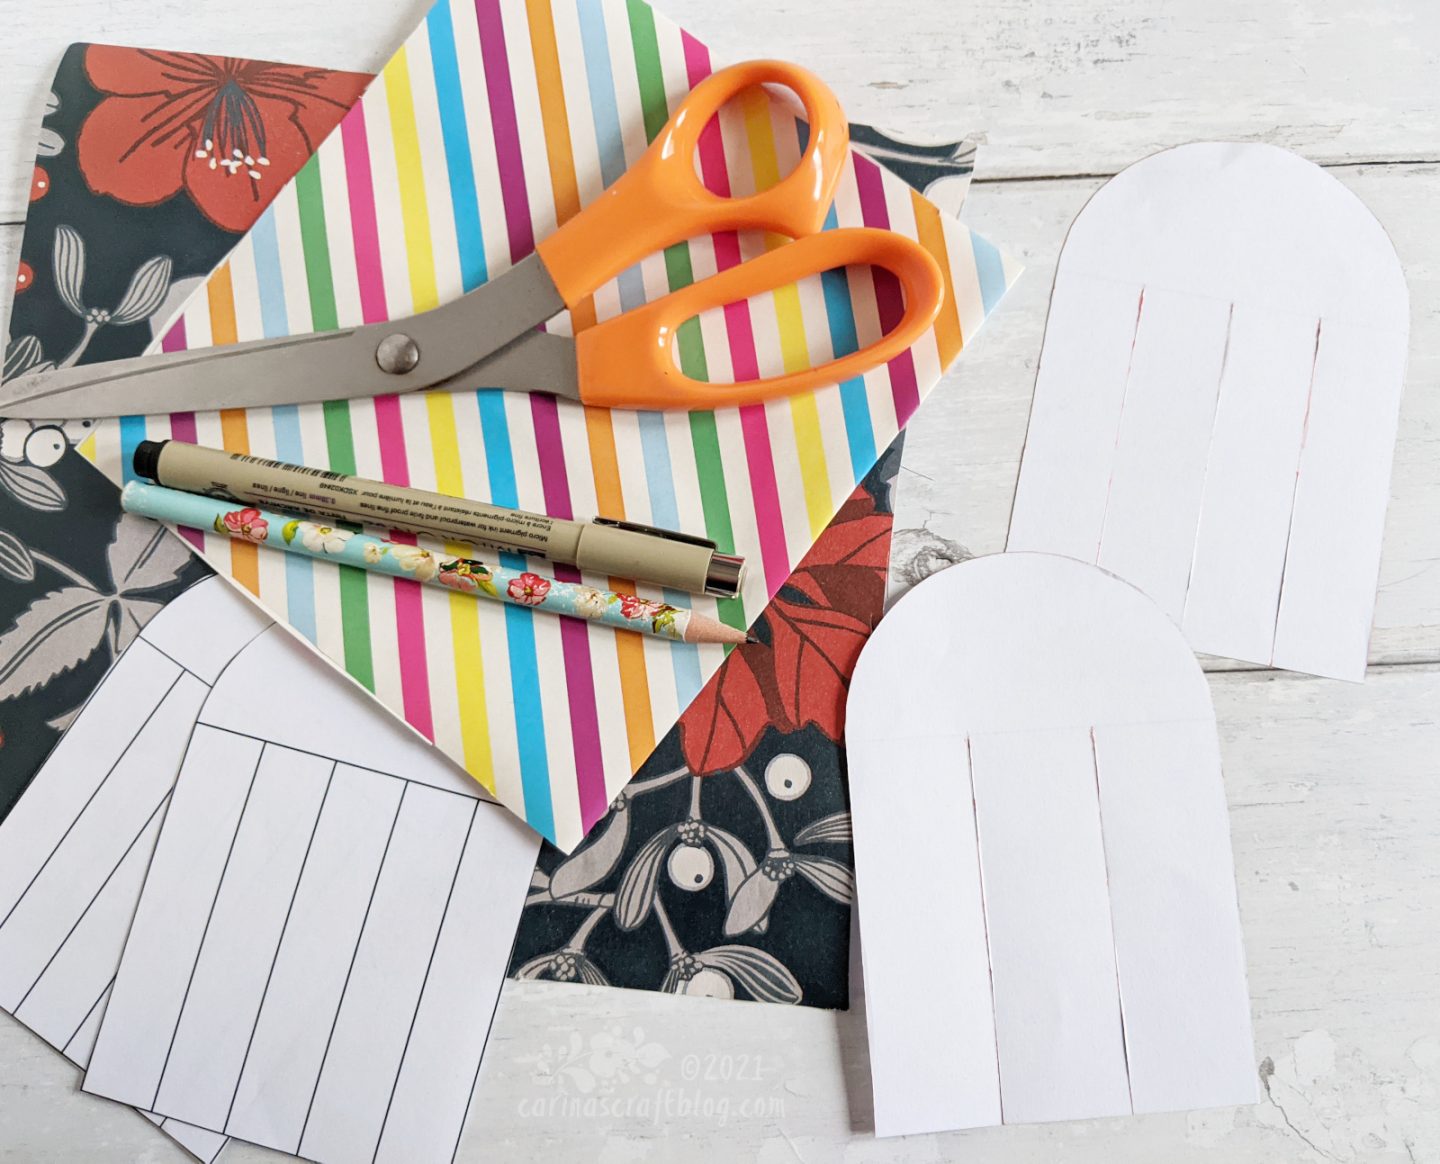
Materials needed
Paper in different colours/patterns. It is best to use the same type/weight of paper for each half of a heart. I like using gift wrapping paper but it can be a bit fiddly and prone to tearing if you’re not careful.
Scissors
Pen or pencil
Glue stick
Template – download it here.
The template includes four different versions, 3,4, 5 and 6 ‘strips’ plus 3 and 5 strips in a larger size.
If you are planning on using paper that is a bit fragile, you may want to make a test heart using printer paper, to get a feel for how to make it.
First cut out the template and cut along the parallel lines.
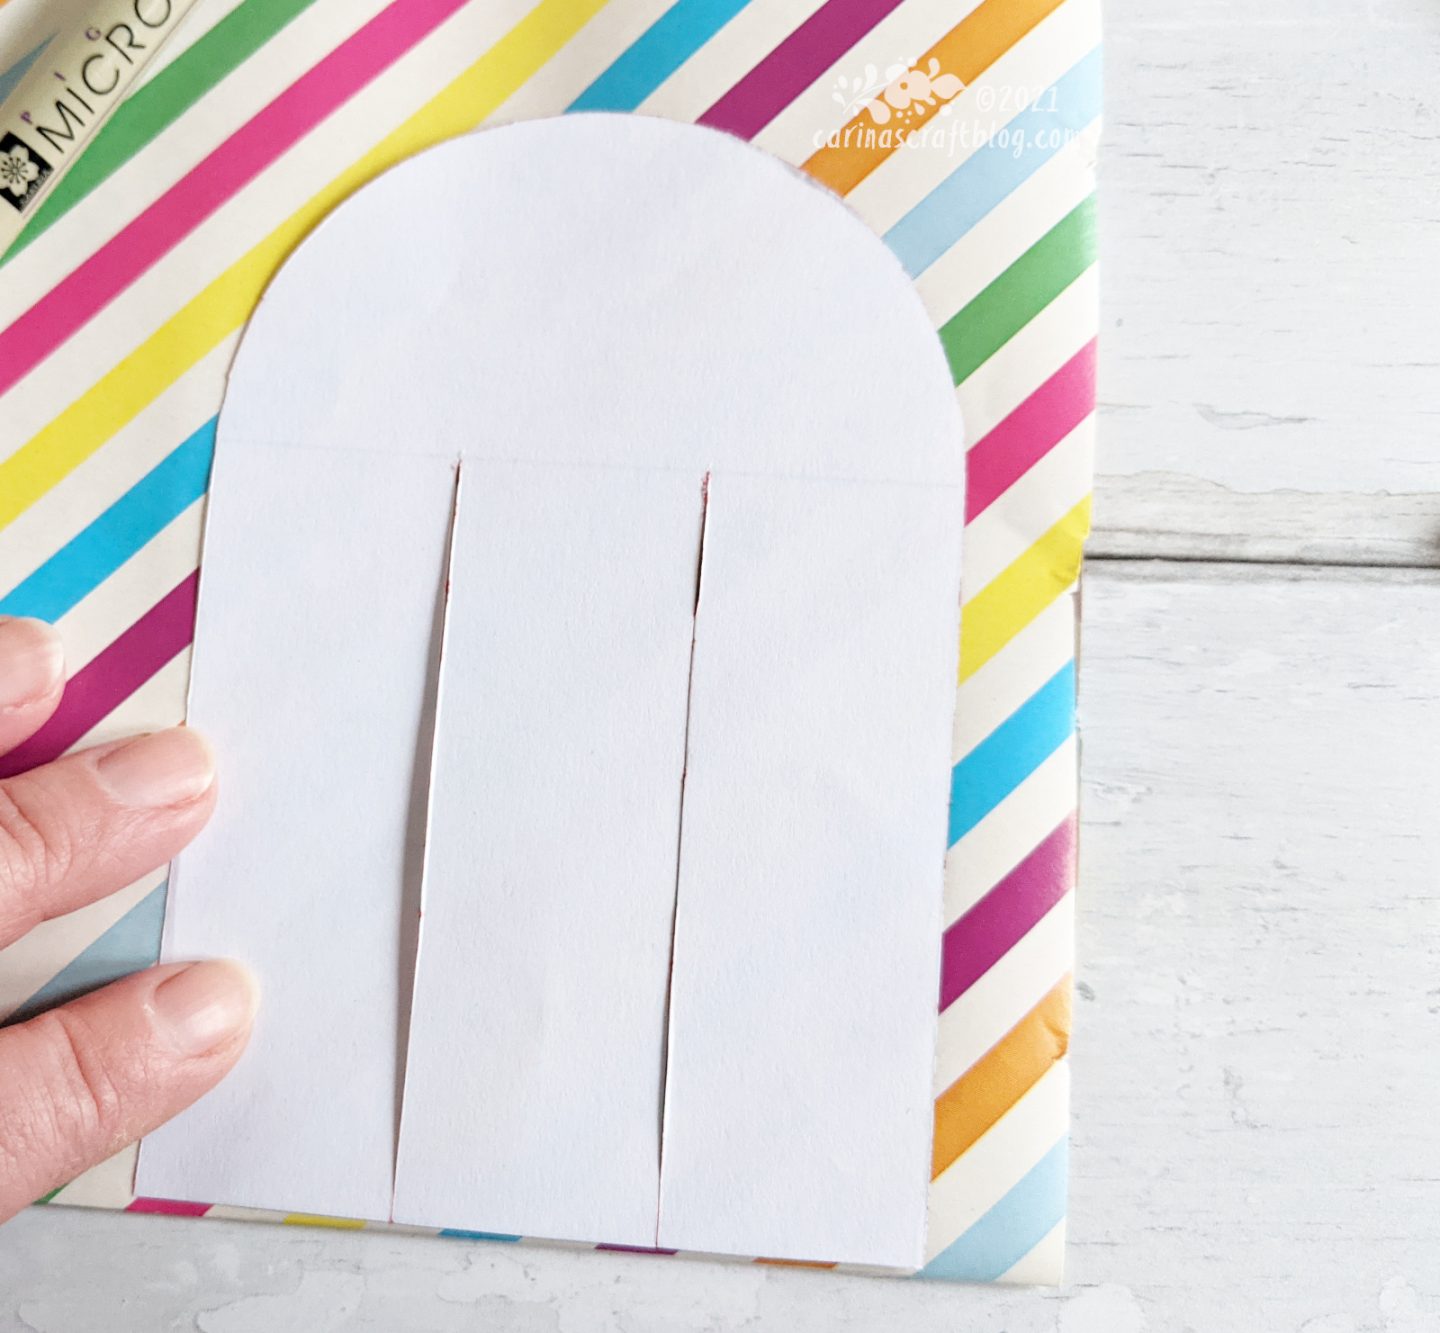
Fold a piece of paper in half. The folded piece should be large enough to fit the template.
Place the straight short edge of the template on the fold of the paper.
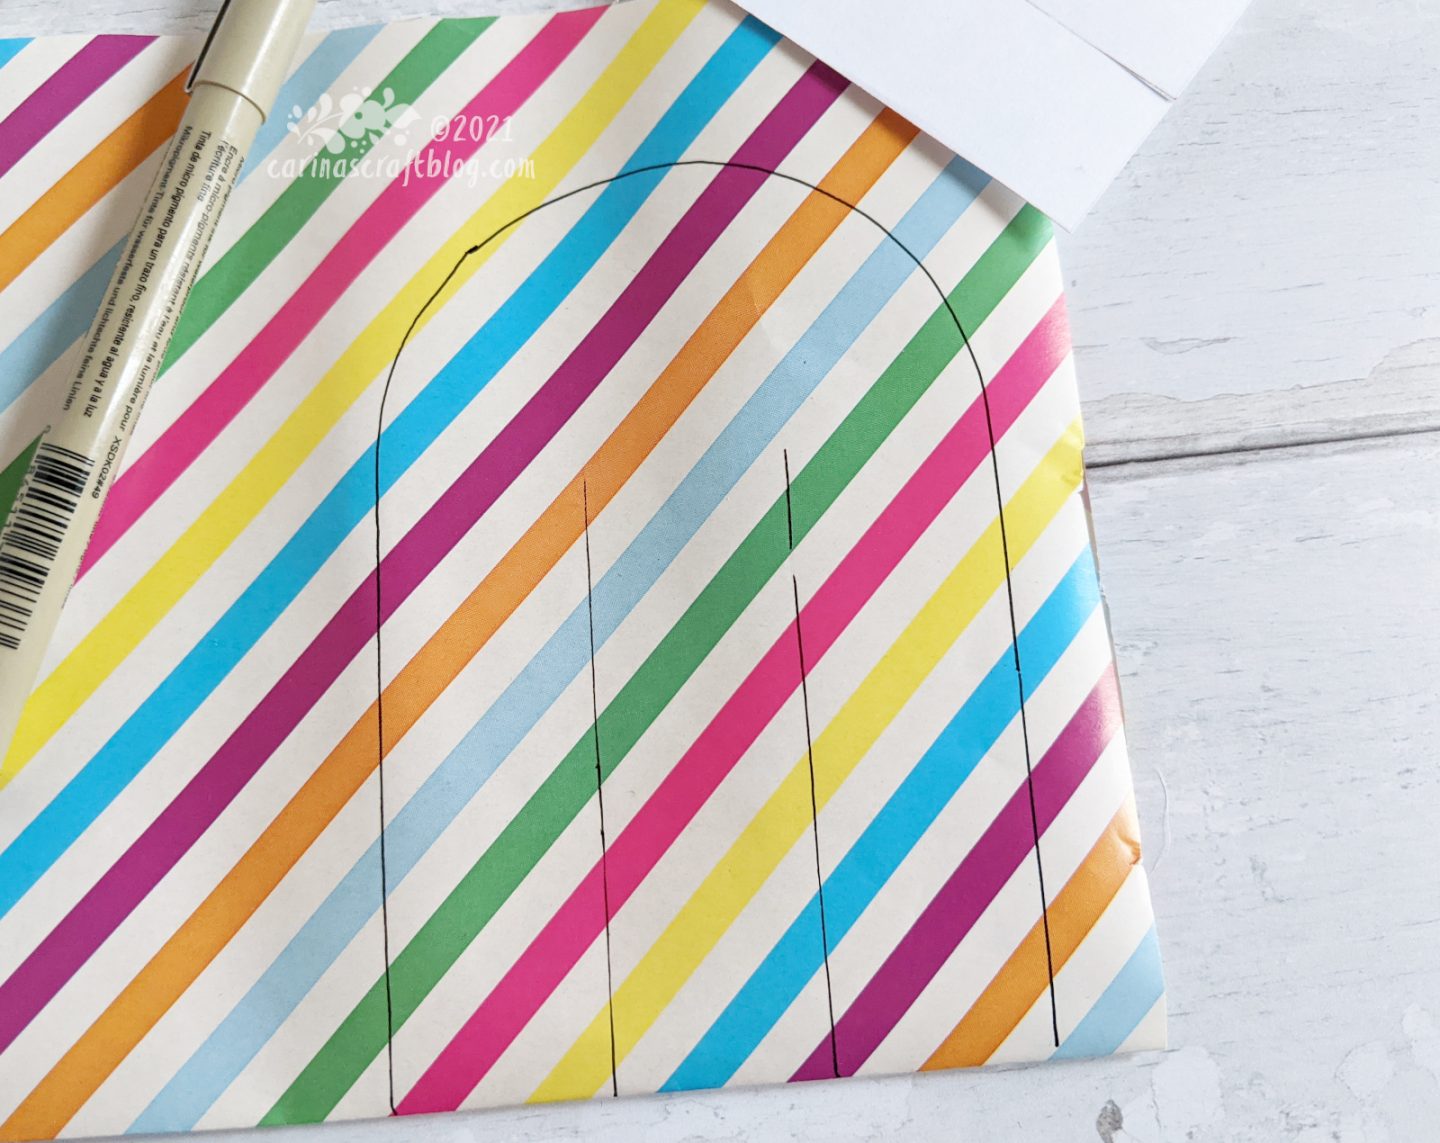
Draw around the shape and through the cut slits in the middle.
Cut out the heart shape, and cut along lines to make the slits.
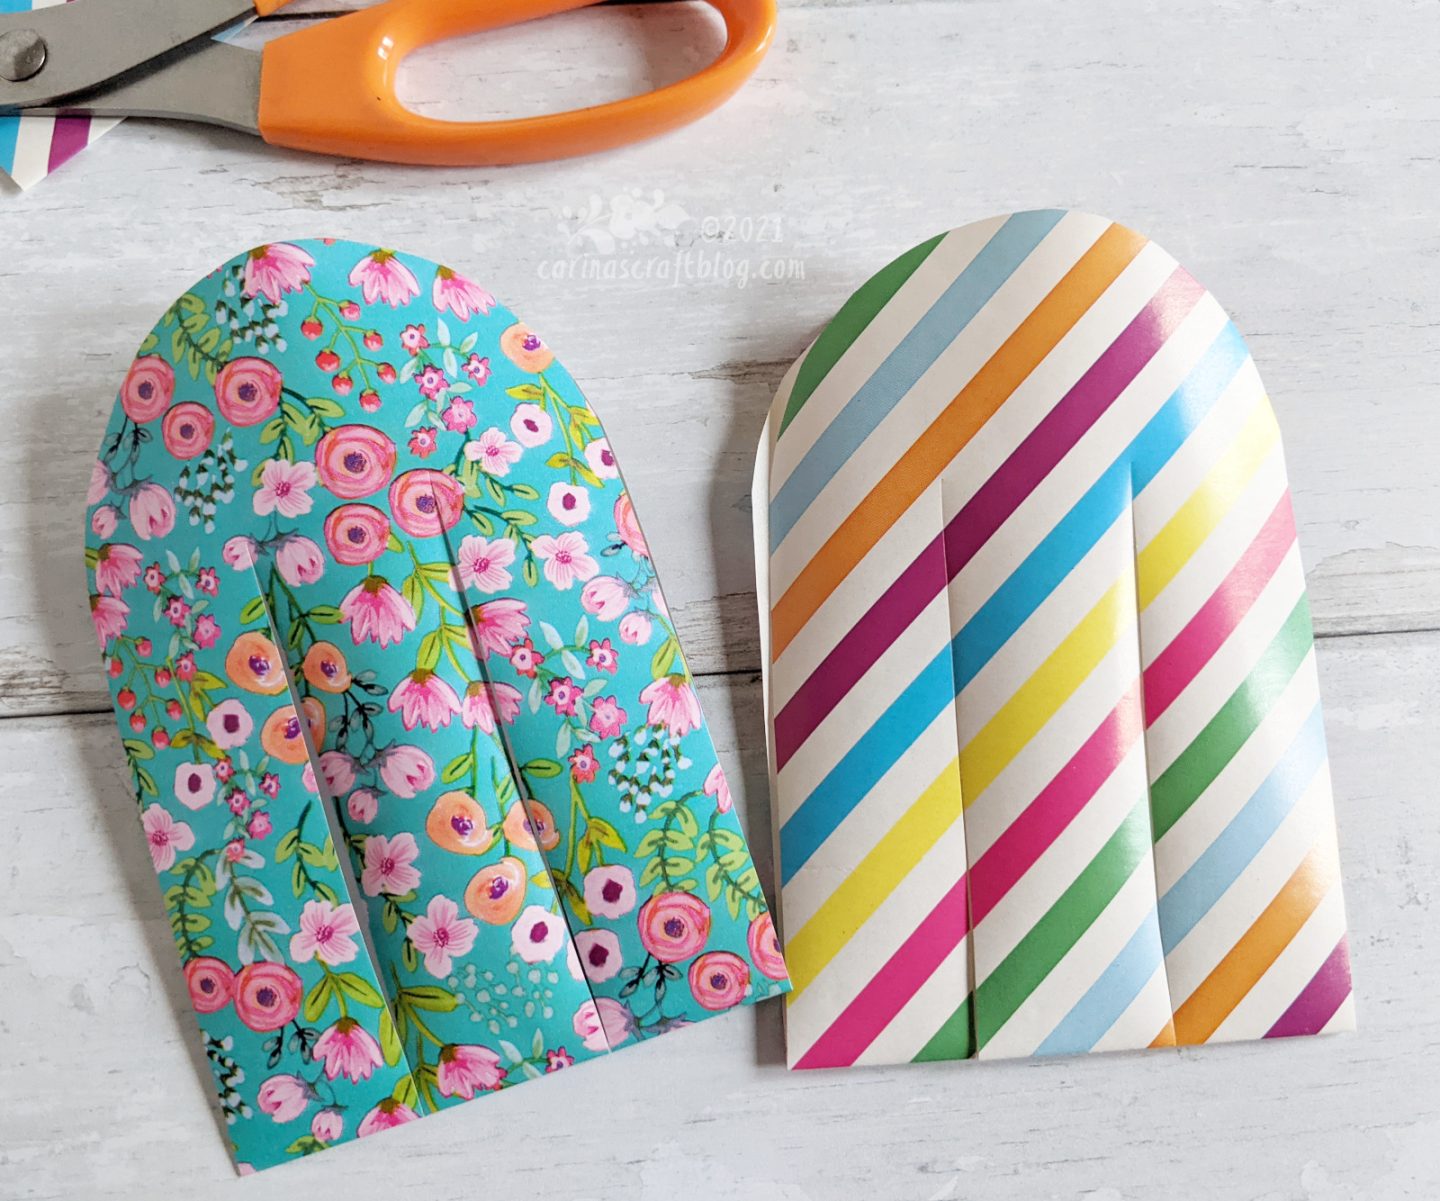
Then repeat the steps to make another heart half. You get the best effect of the weave if you use two colours or patterns that are different.
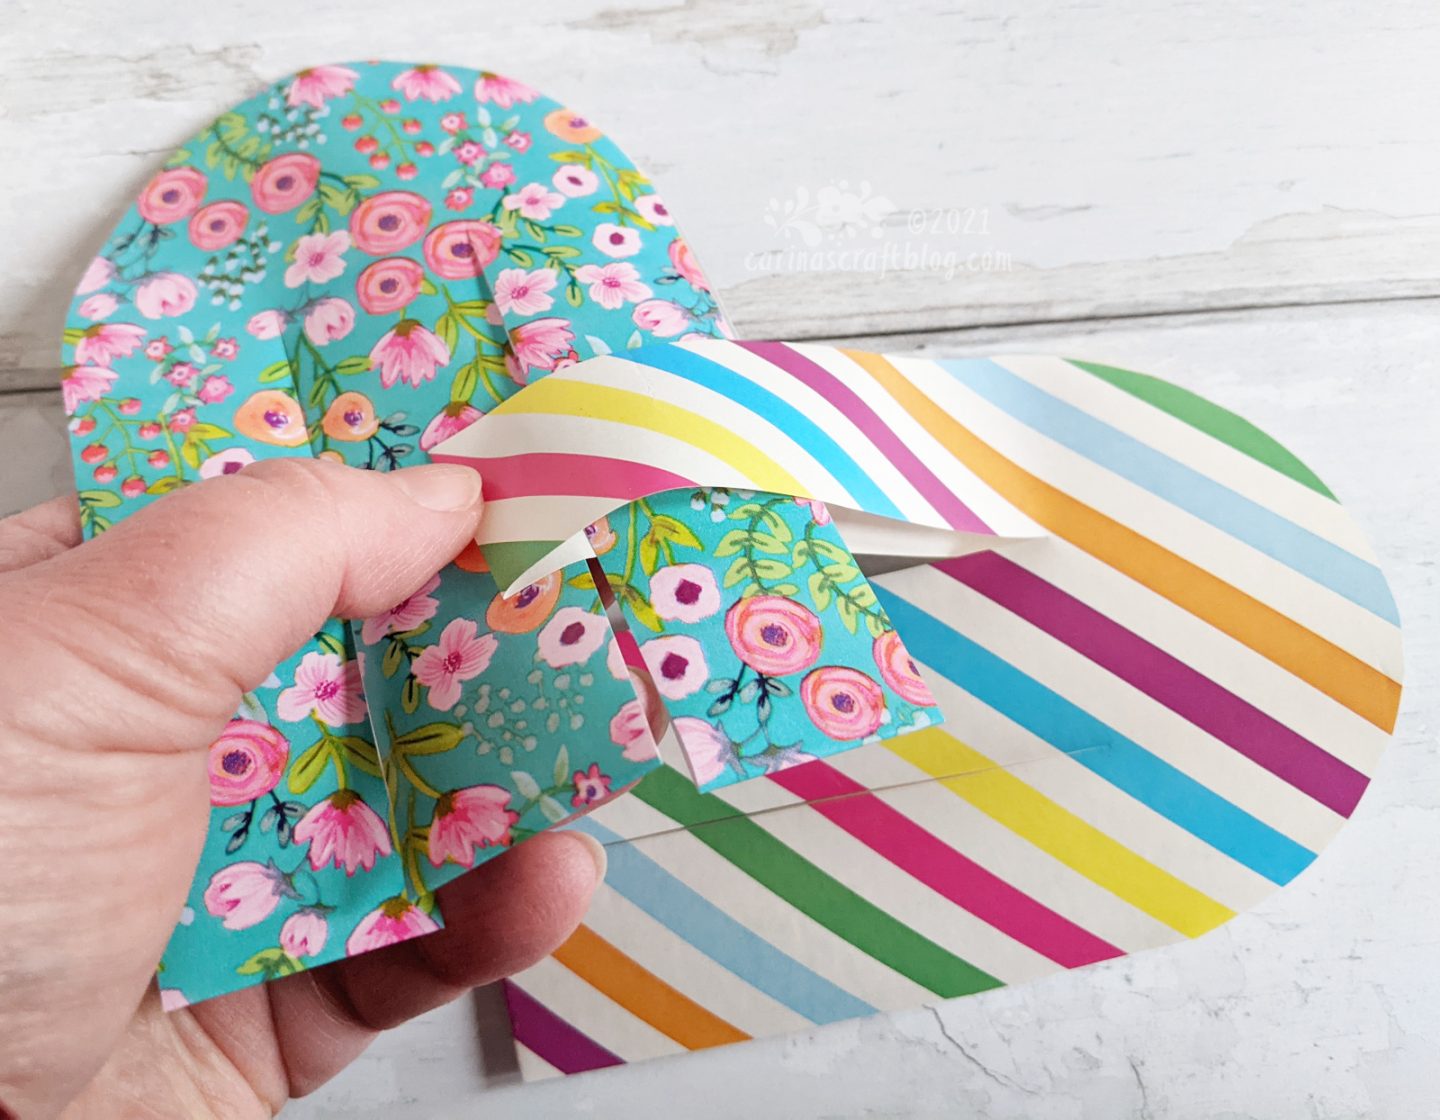
Hold the two heart halves at a 90 degree angle to each other. I’m going to refer to the stripy half and the flower half below, you can of course use any pattern you like, but using ‘right’ and ‘left’ when writing the description was making me confused! :-D
Slide the right strip of the flower half through the top strip of the stripy half.
Then slide the top strip of the stripy half through the middle strip of the flower half.
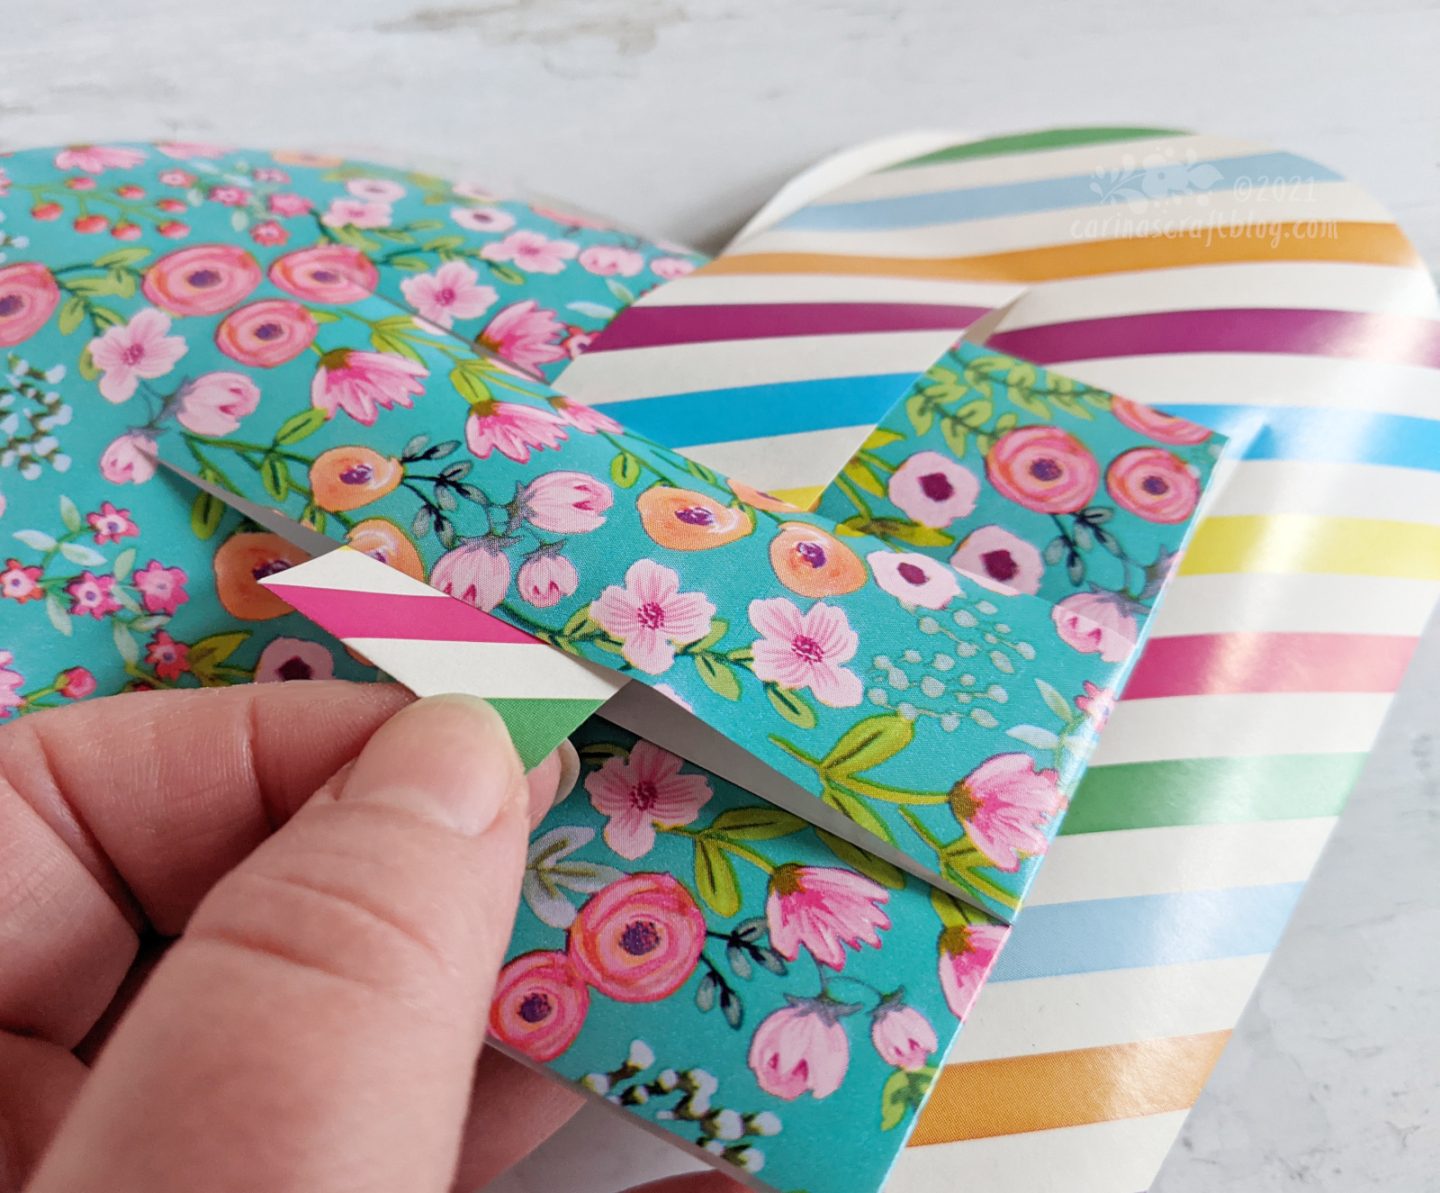
Next slide the left strip of the flower half through the same strip on the stripy half.

Now take the middle strip of the stripy half and slide it through the right strip of the flower half.
Then slide the middle flower strip through the middle strip of the flower half.
Finally, slide stripy strip through the left strip of the flower half.
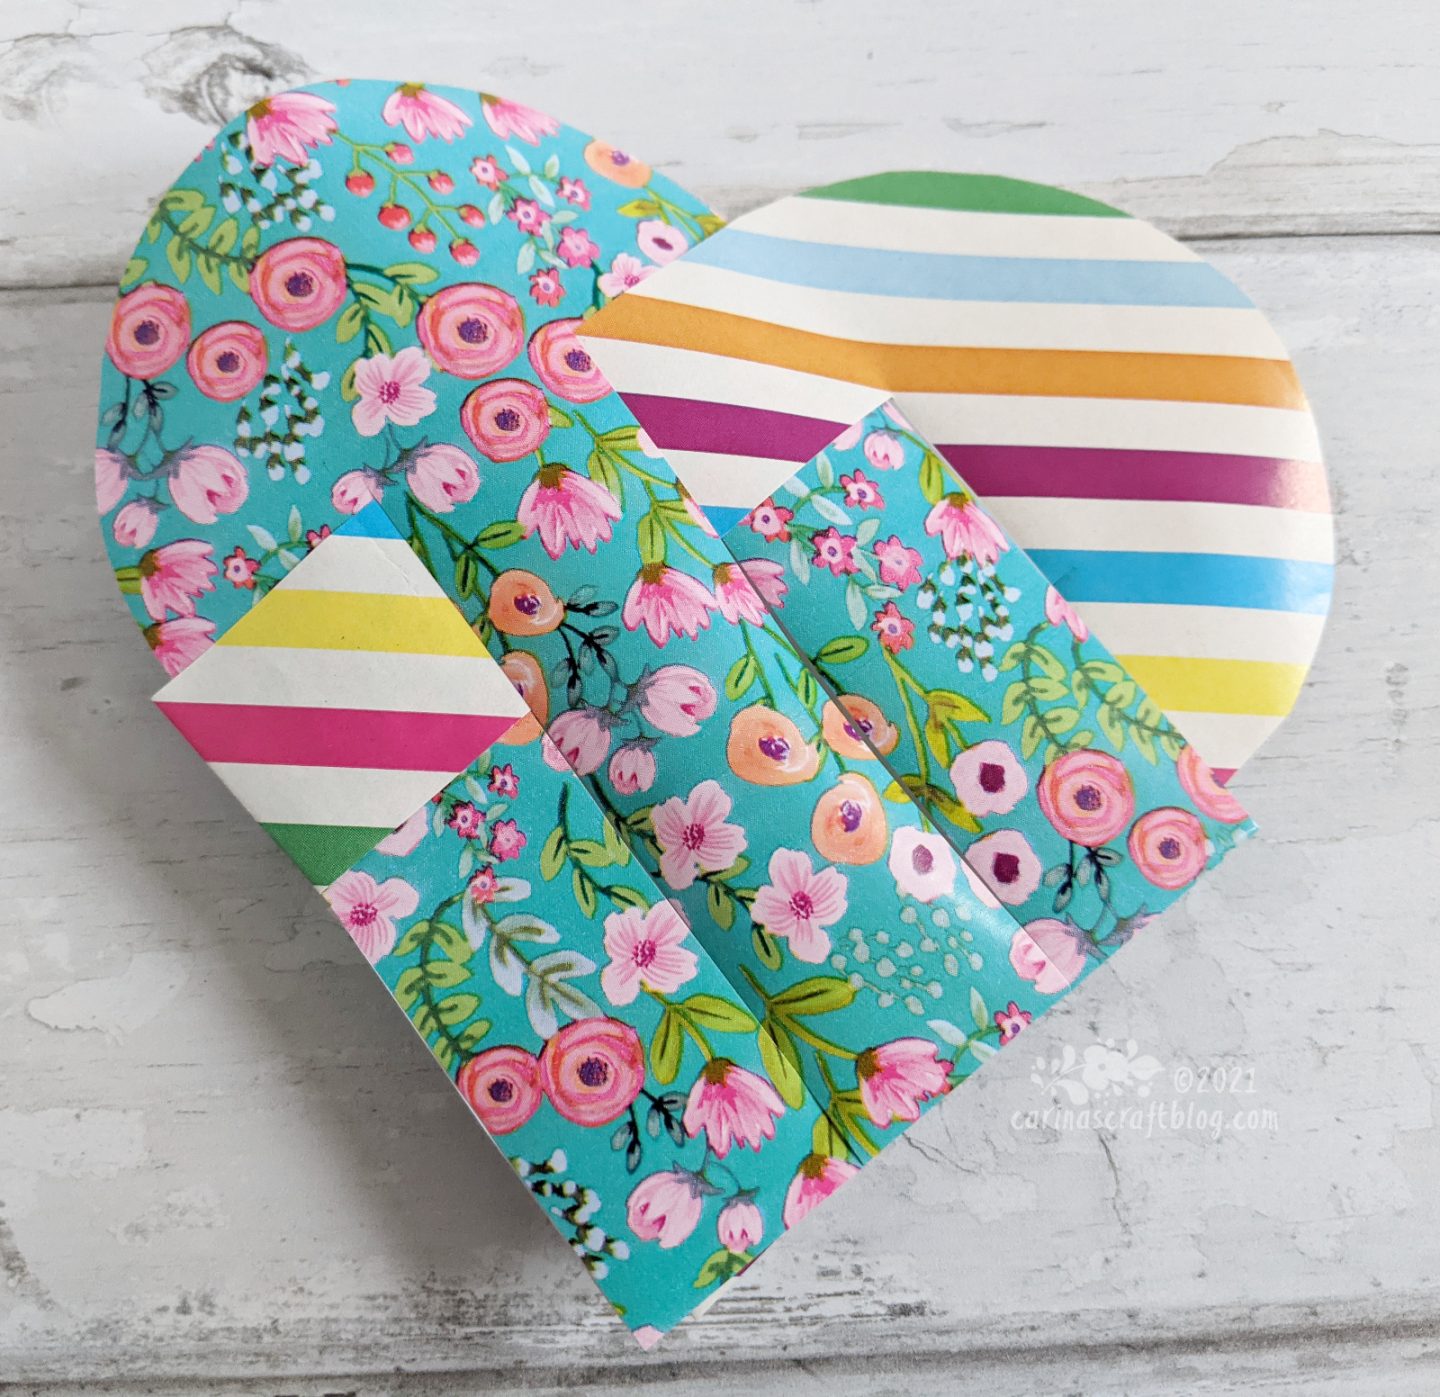
Finally, slide the right strip of the flower half through the bottom strip on the stripy half. Next slide the bottom stripy through the middle flower strip and then slide the left flower strip through the bottom stripy strip.
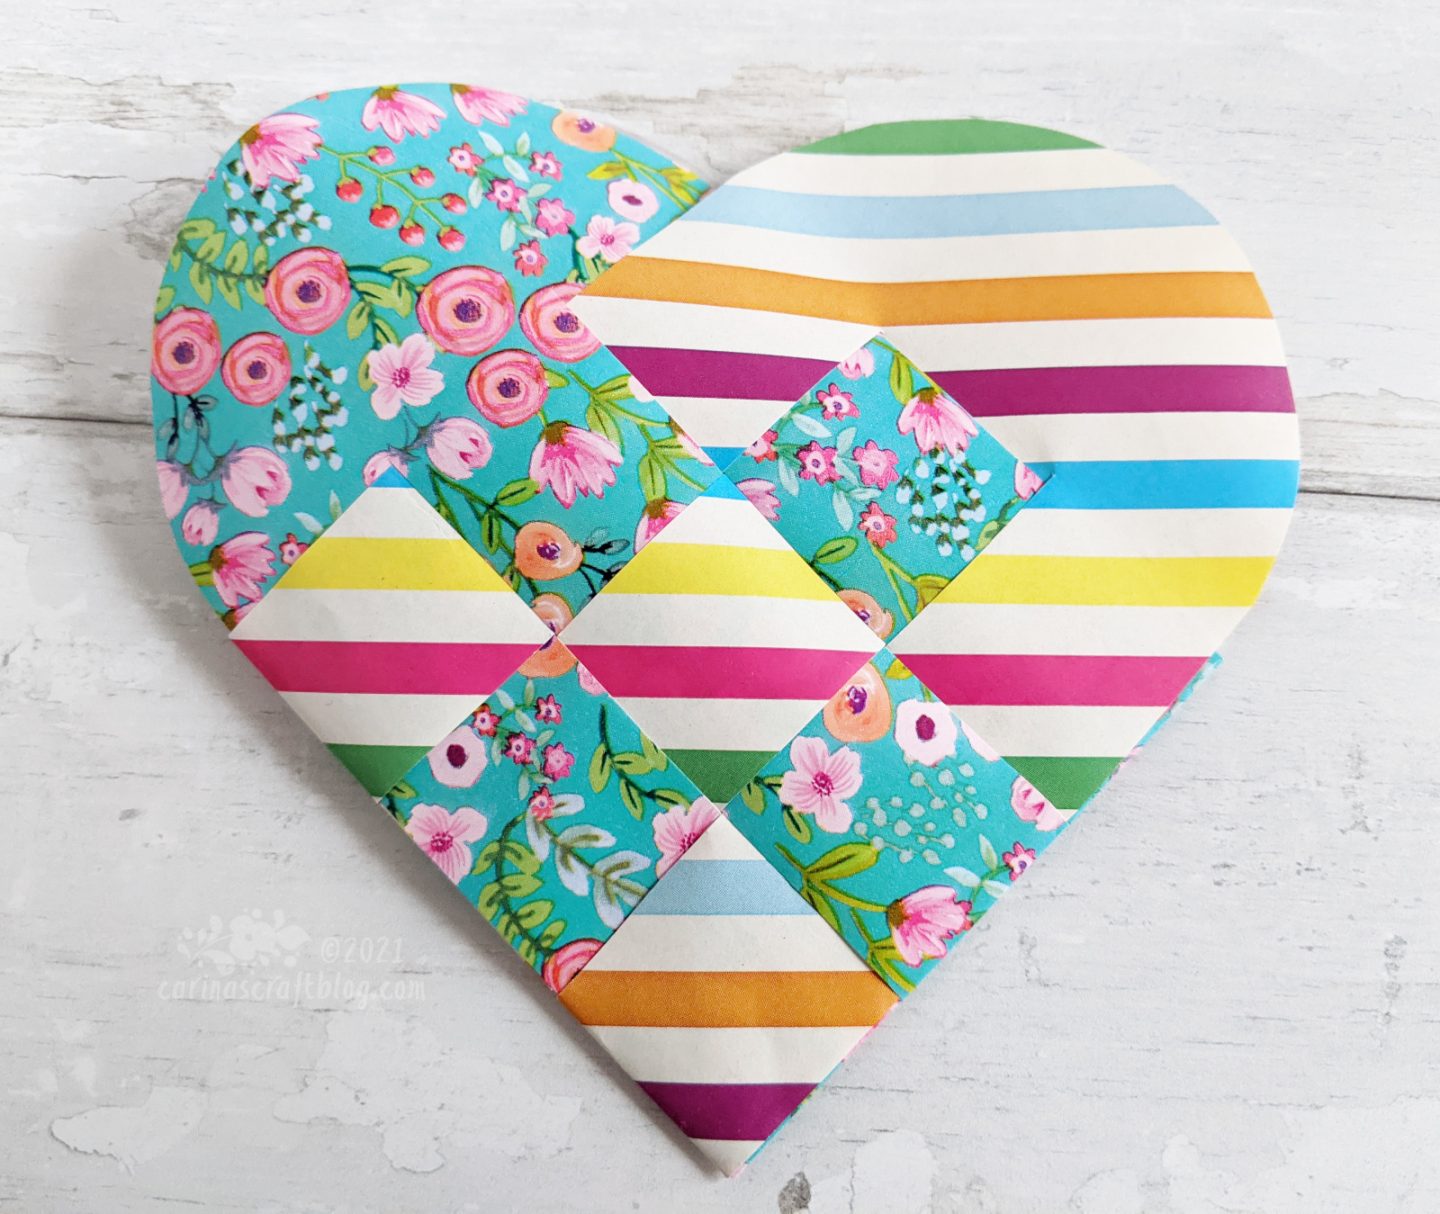
And that is the finished heart.
Phew. I hope that made sense? :-)
If your heart has more strips than three, you simply repeat the over-under pattern in both ‘directions’.
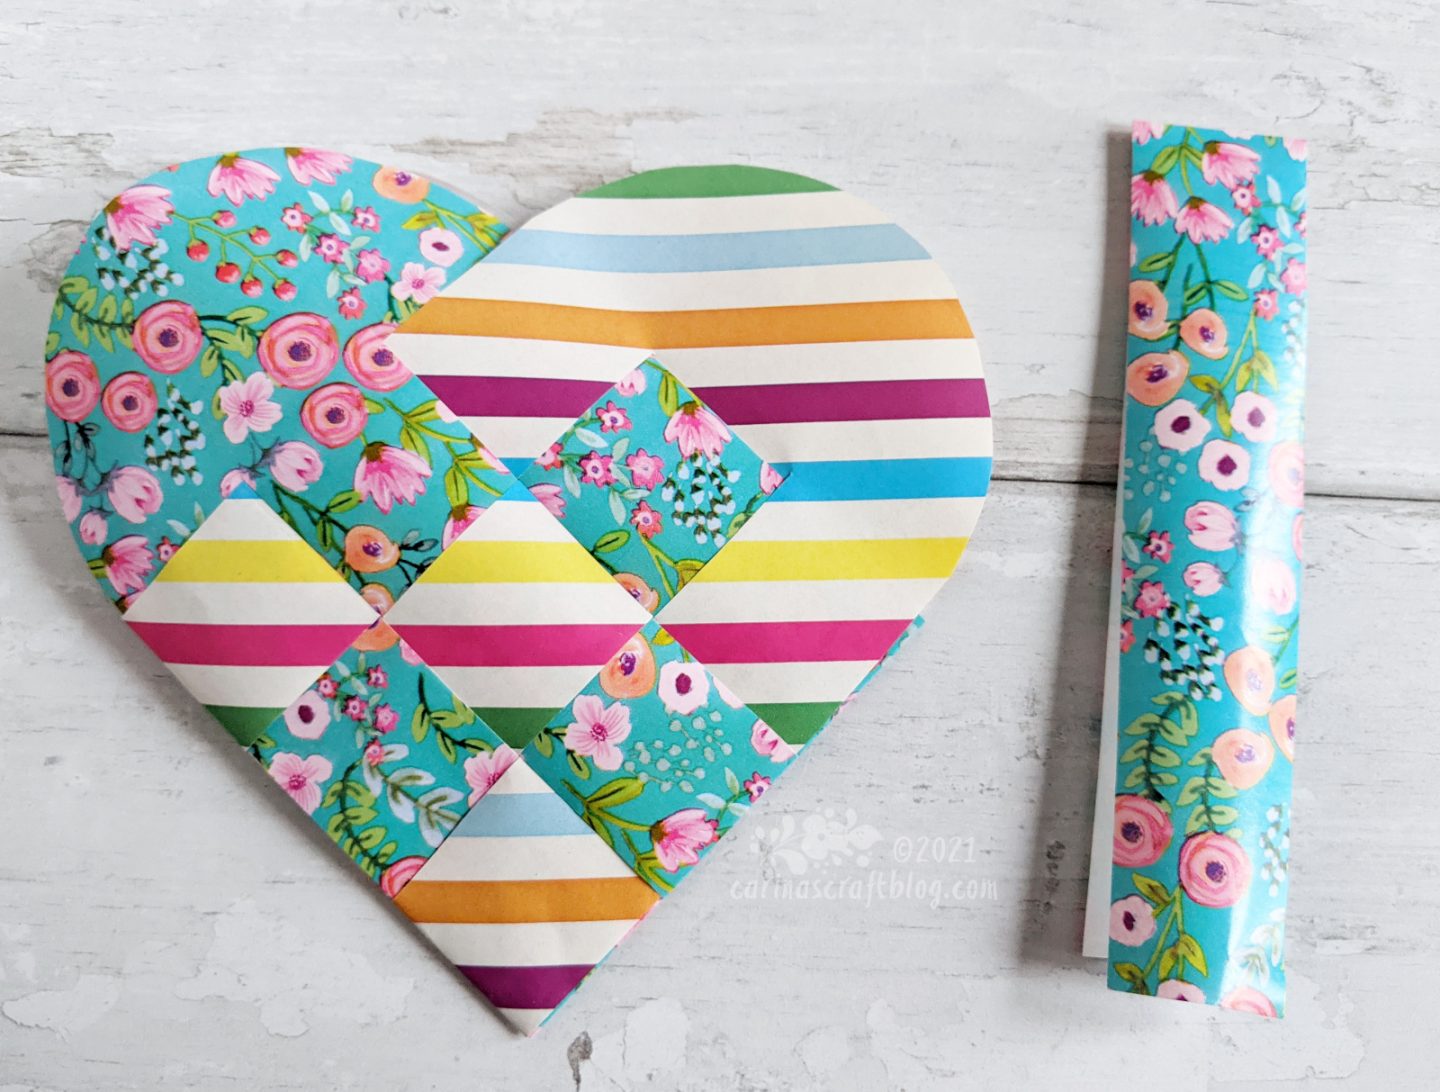
You can add a paper hanging loop to the heart if you like. In the download I have included templates for this as well. I think it looks nice when the hanging loop is the same width as the heart strips but obviously you can make them any width you like.
The hanging loop is drawn on the folded paper as well and then cut it out.

Add a bit of glue to the right side of the cut end of the paper loop and glue it just inside the heart. The template includes approximately 2cm of ‘glue allowance’. :-)
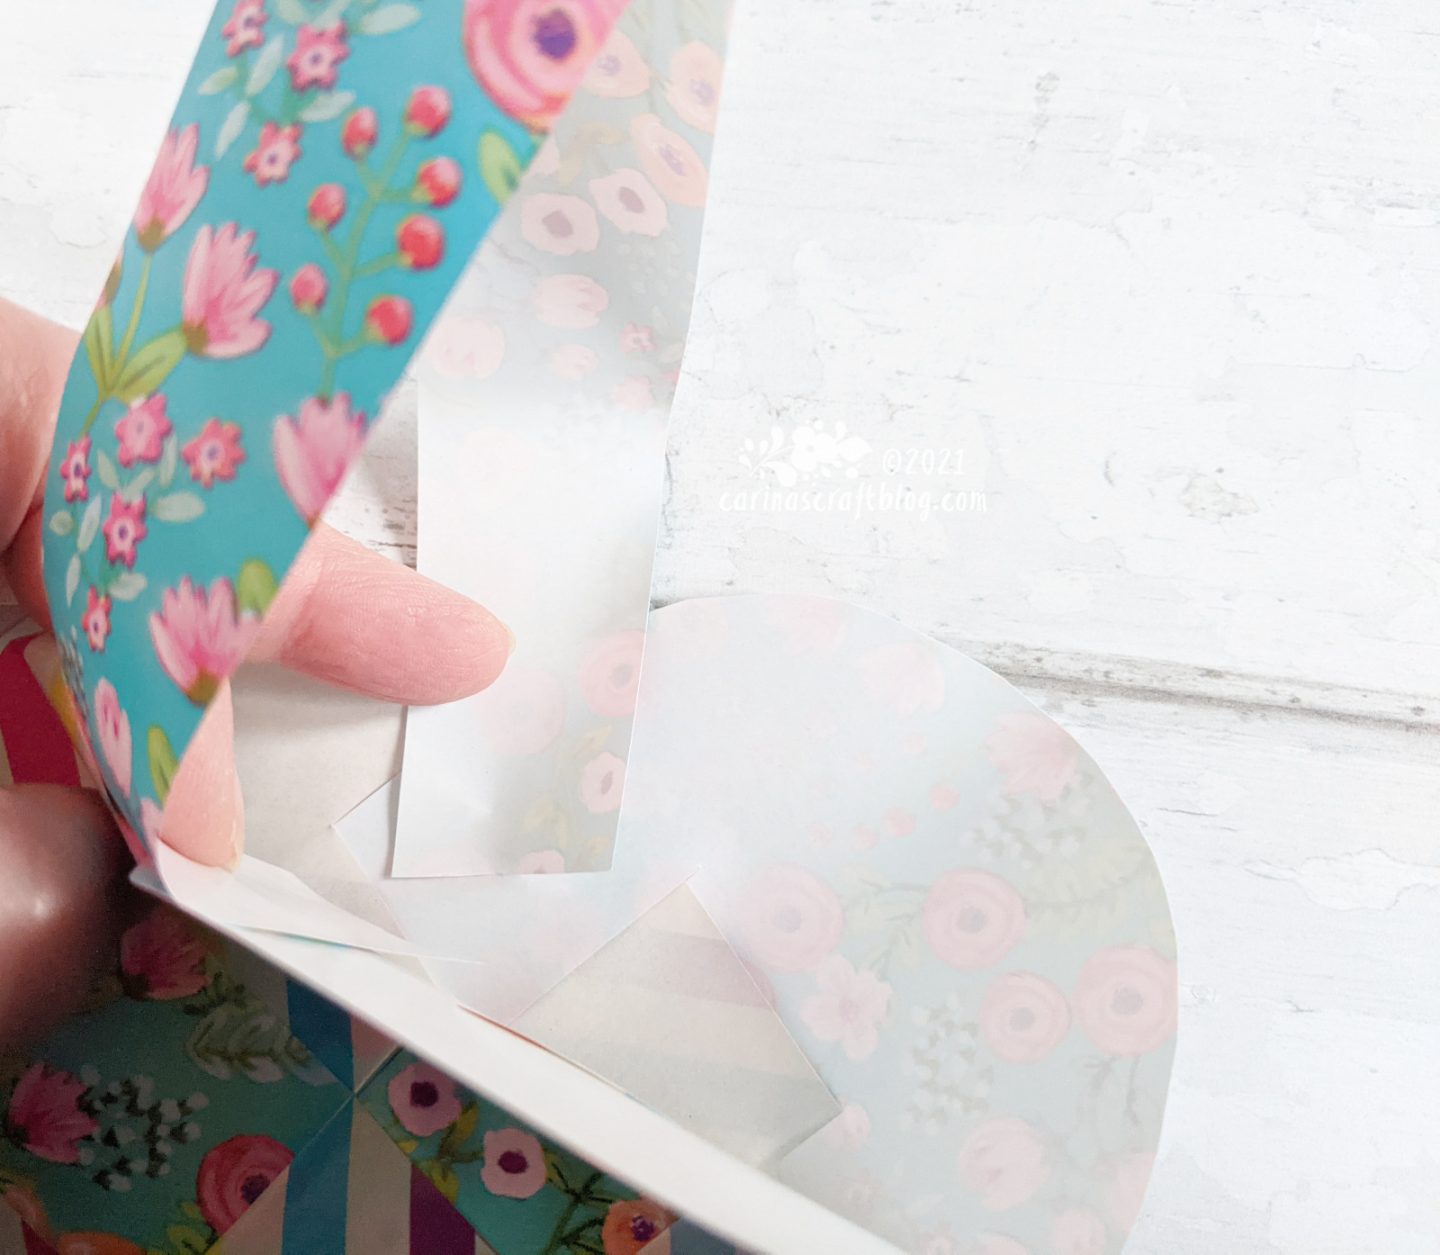
Flip over the heart and glue the other cut end to the other side of the heart.
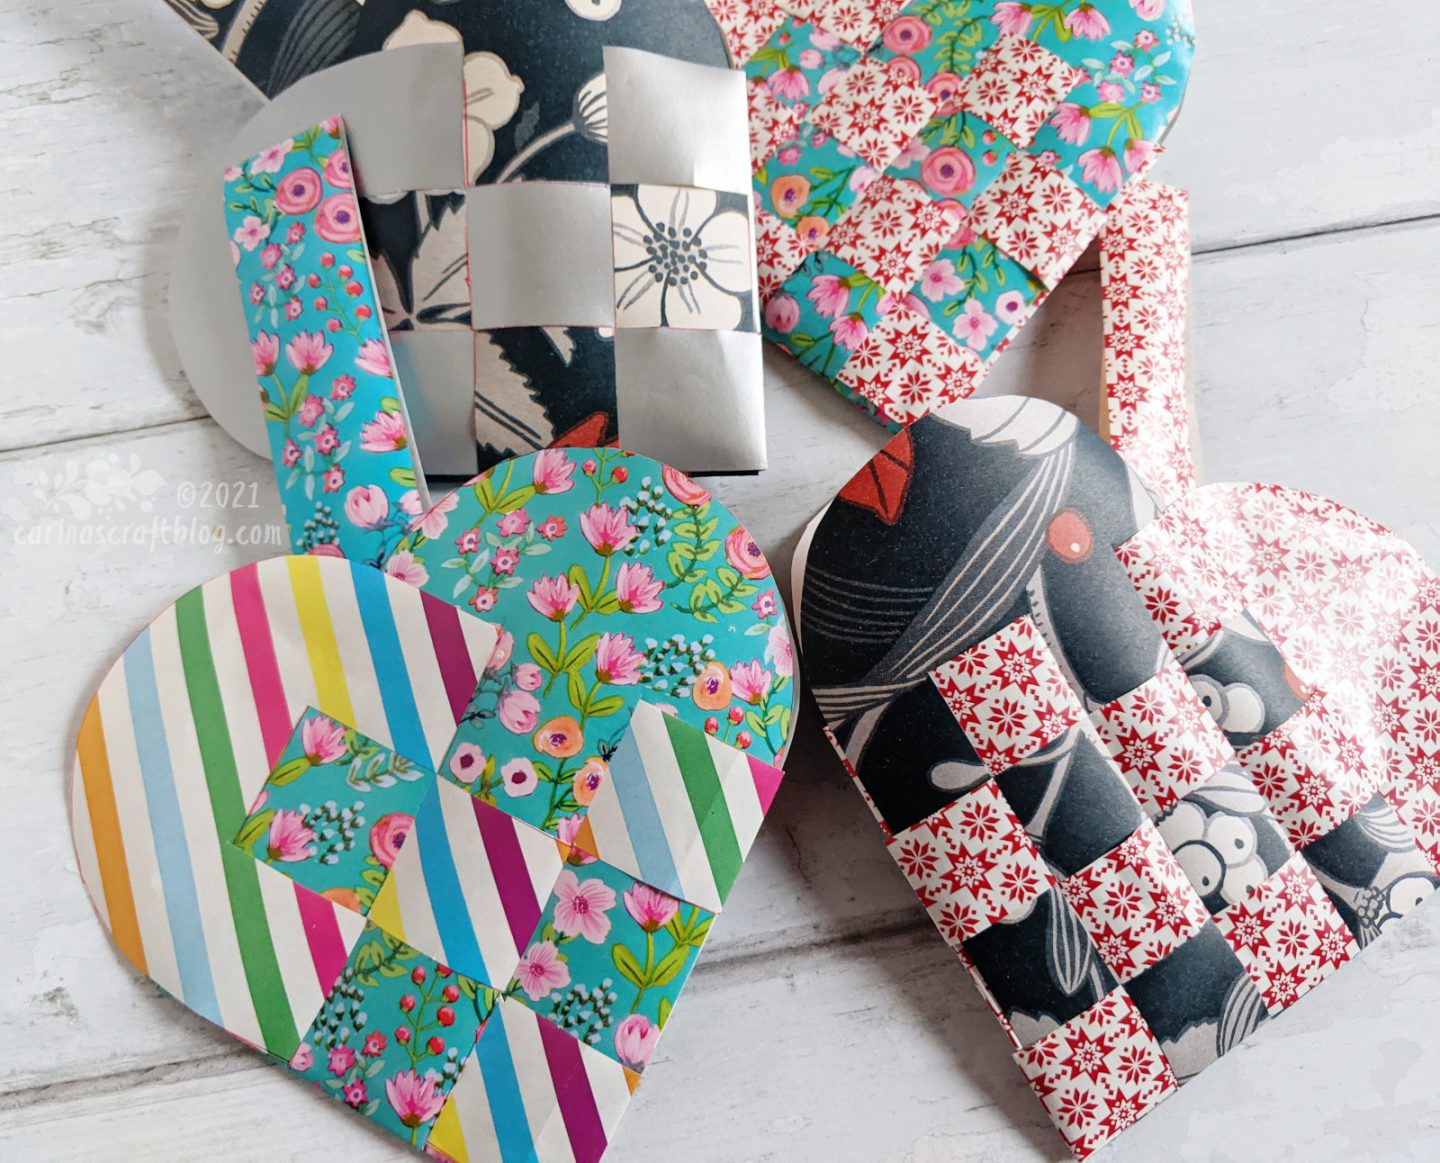
A bunch of happy woven hearts. :-)
I love that the hearts are so…flexible. You can make them to suit any style. Maybe you want old skool red and white. Or funky stripes with flowers. Or what about some over the top flocked paper? Minimalist white and silver. Anything goes.
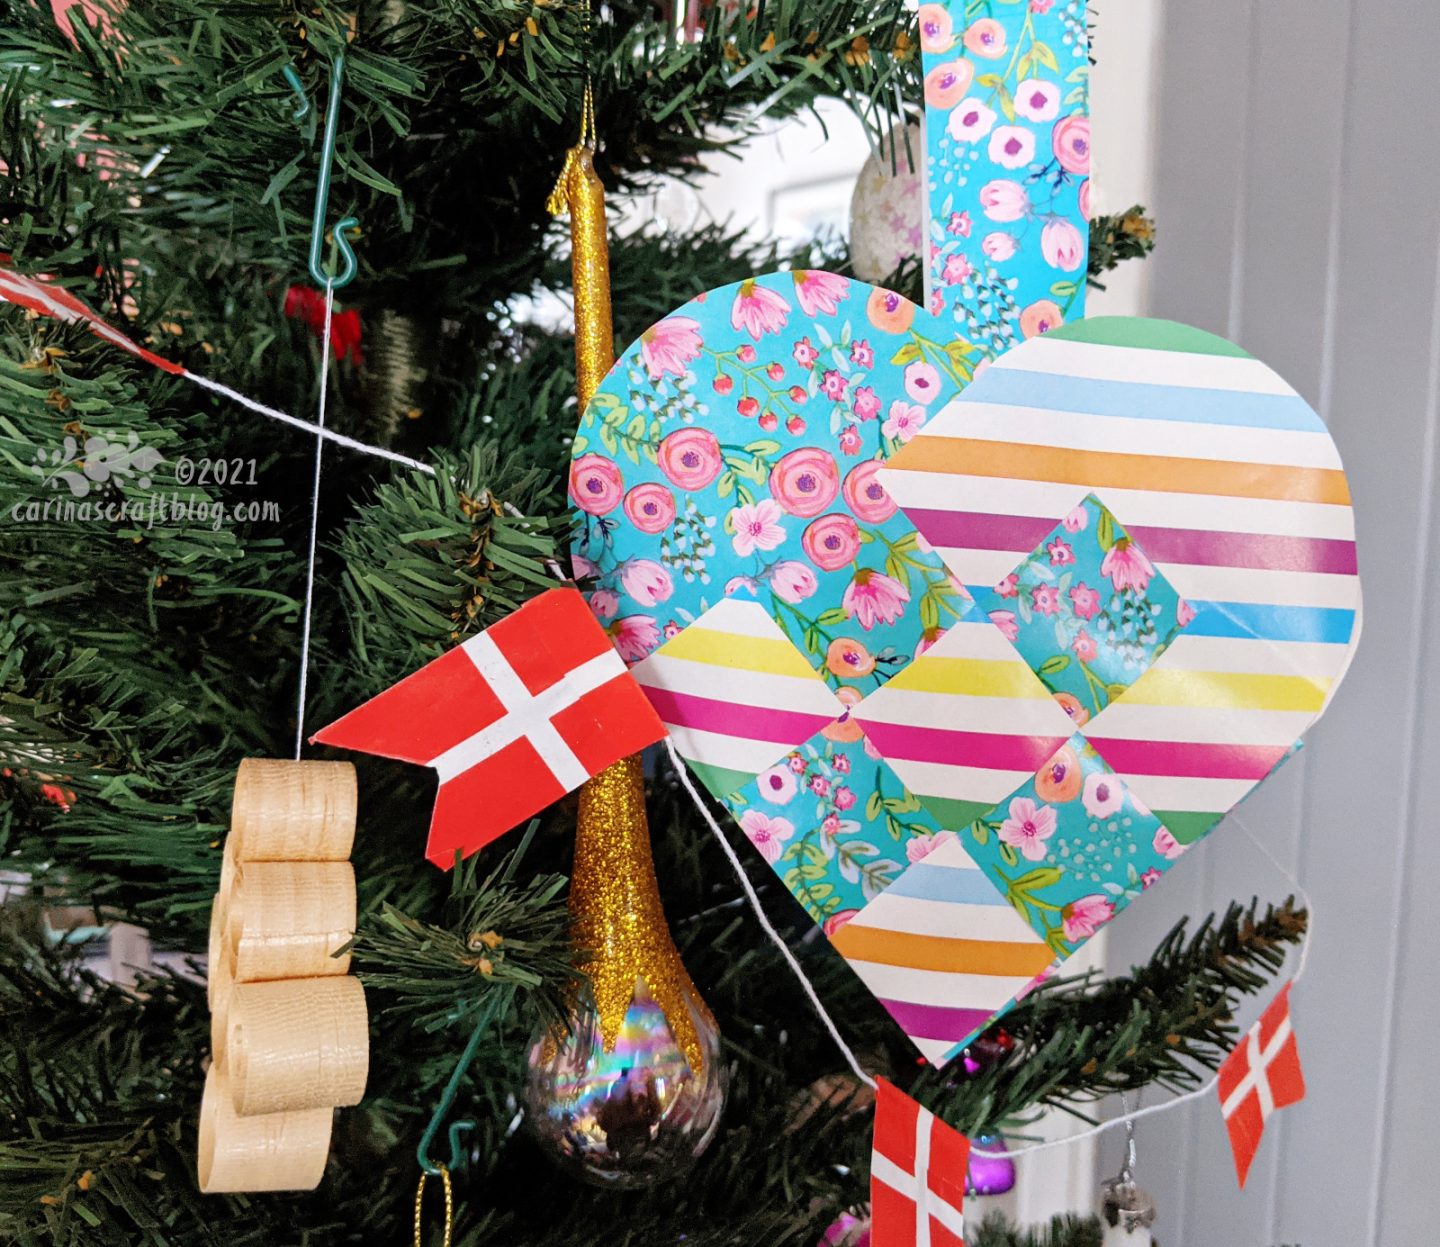
Heart on the Christmas tree. Traditionally, the hearts would be used for little treats like sweets or Christmas biscuits or chocolates.
If you like this tutorial, please consider supporting the blog:
Check out the other posts in my Ko-fi advent calendar. :-)


I’m impressed…your instructions are really clear and easy to follow.
Love your bright heart on the tree!
Author
Thank you! Happy you like it. :-)
Oh, now I see. At first I thought they were “merely” ornamental (not that there’s anything wrong with that). I thought the rounded parts on top were glued together. But when you said they were used to hold treats I then realized I’d read through the instructions too quickly and I could see it’s really a little heart-shaped bag. Even better! These are just too cute and I must make some immediately. :-)
I absolutely love this woven paper heart tutorial! The step-by-step instructions made it so easy to follow, and I can’t wait to try it out for my Valentine’s decorations. Thanks for sharing such a creative and fun project!
I tried several other sites for instructions on making these woven hearts and was so frustrated that I nearly gave up. I’m so grateful you posted these clear and wonderful instructions–thank you! You turned my frustration to fun.
Author
Thank you, Carol. I’m happy you found it useful. :-)
Absolutely love this woven paper heart tutorial! It’s such a creative and fun idea for a handmade gift. I can’t wait to try this out with my kids – they will have so much fun making these! Thank you for sharing such a lovely and easy project!