In March I was contacted by a lady, whose dog had used a blanket as chew toy, asking if I could mend the blanket for her. Which I agreed to and so a good chunk of April was spent working on mending the blanket. It turned out to be quite the challenge!
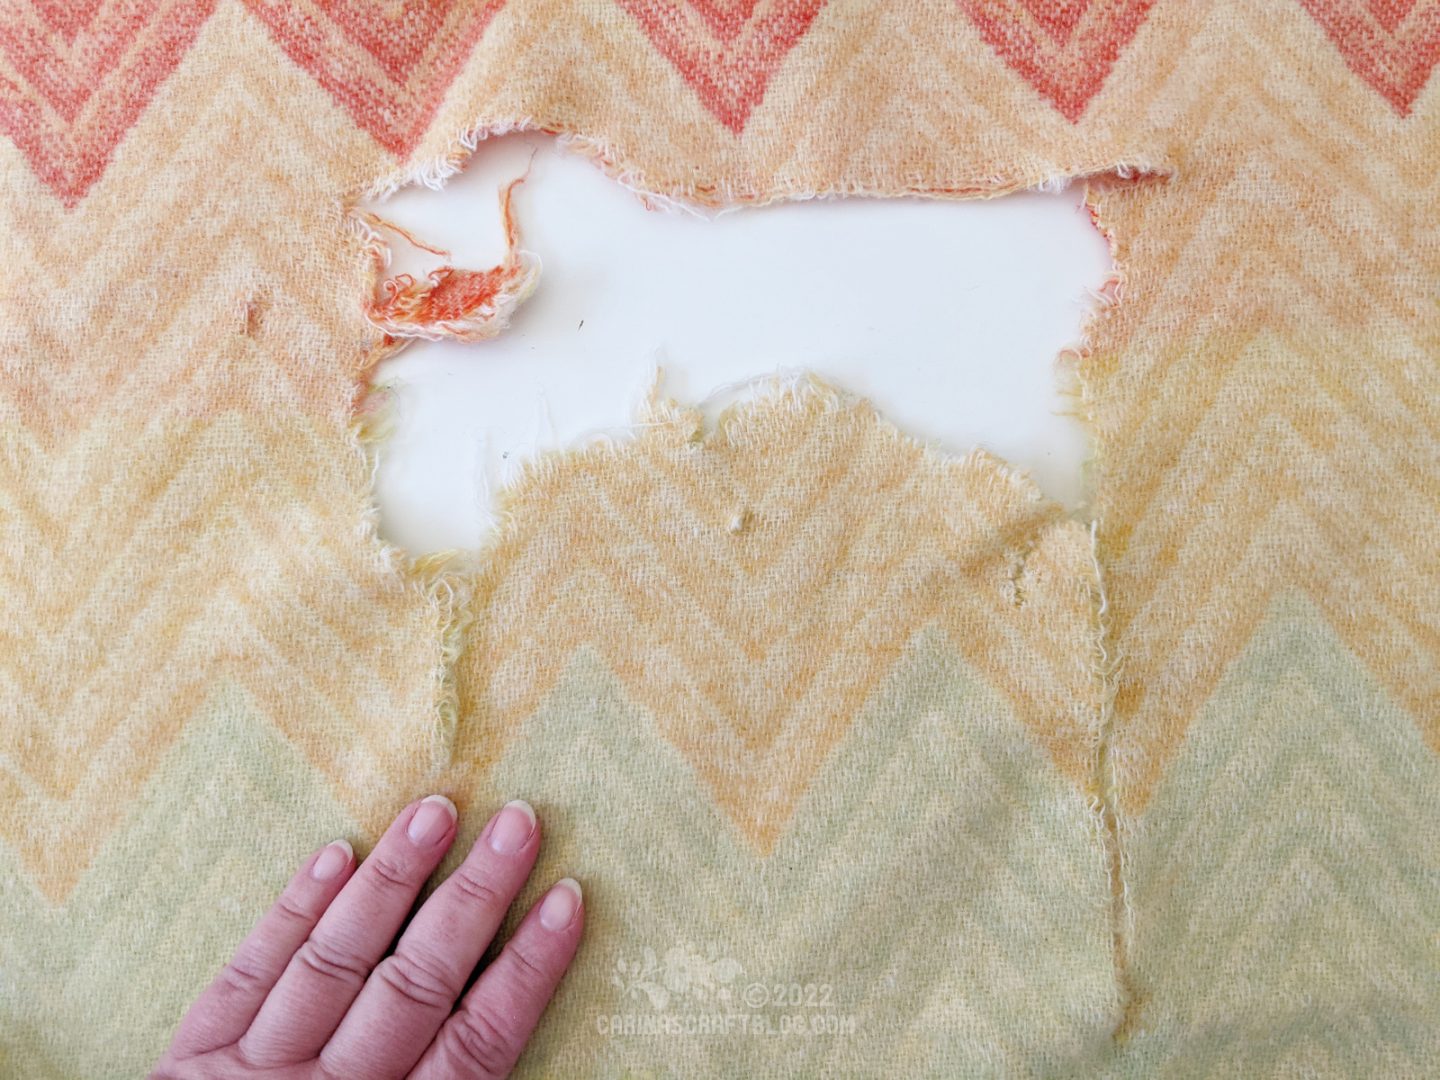
Here’s the blanket before I started working on it. Not only did it have a large hole but also two long-ish rips radiating from the hole and a couple of smaller holes. It took me a little while to decide exactly how to go about it.

I started by mending the two rips, to help stabilise the whole thing.
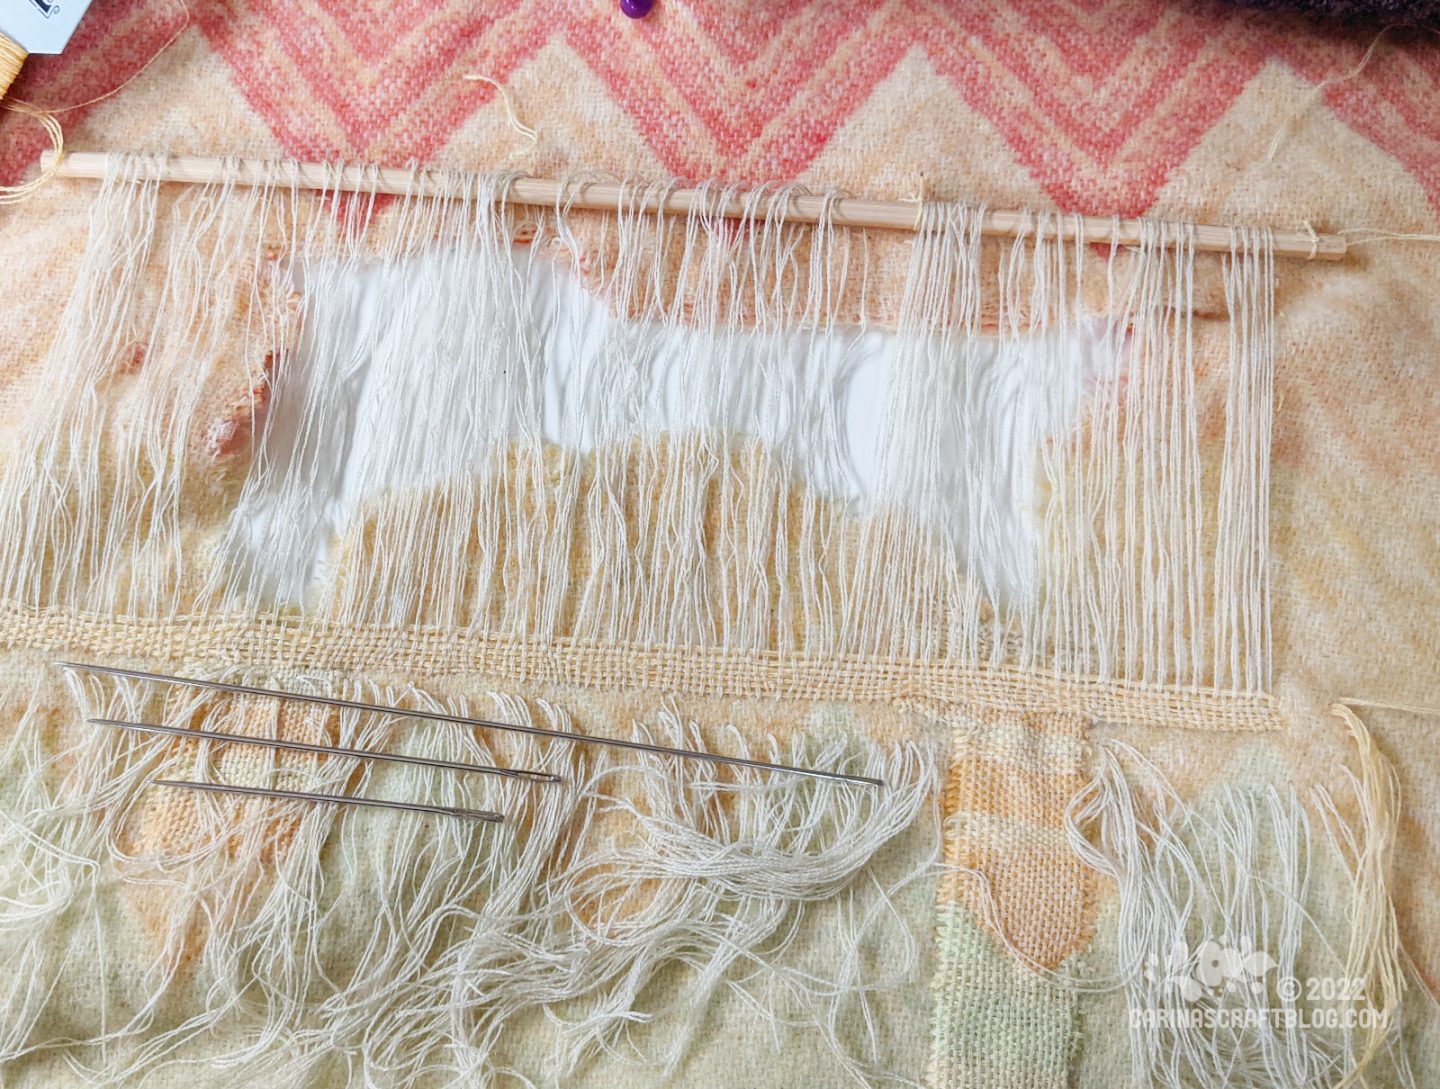
Time to get started on the large hole. As you can see, I basically had to set it up like a little loom, with a wooden skewer to hold the warp threads. There are other types of darning that would have closed the hole, and much quicker, but weaving it felt like the best option. And although the weave wouldn’t replicate the zigzag pattern of the blanket it would be similar enough that it would more or less blend into the surrounding blanket.
To give you an idea of the size of the hole/mend, that large needle is almost 6 inches long!
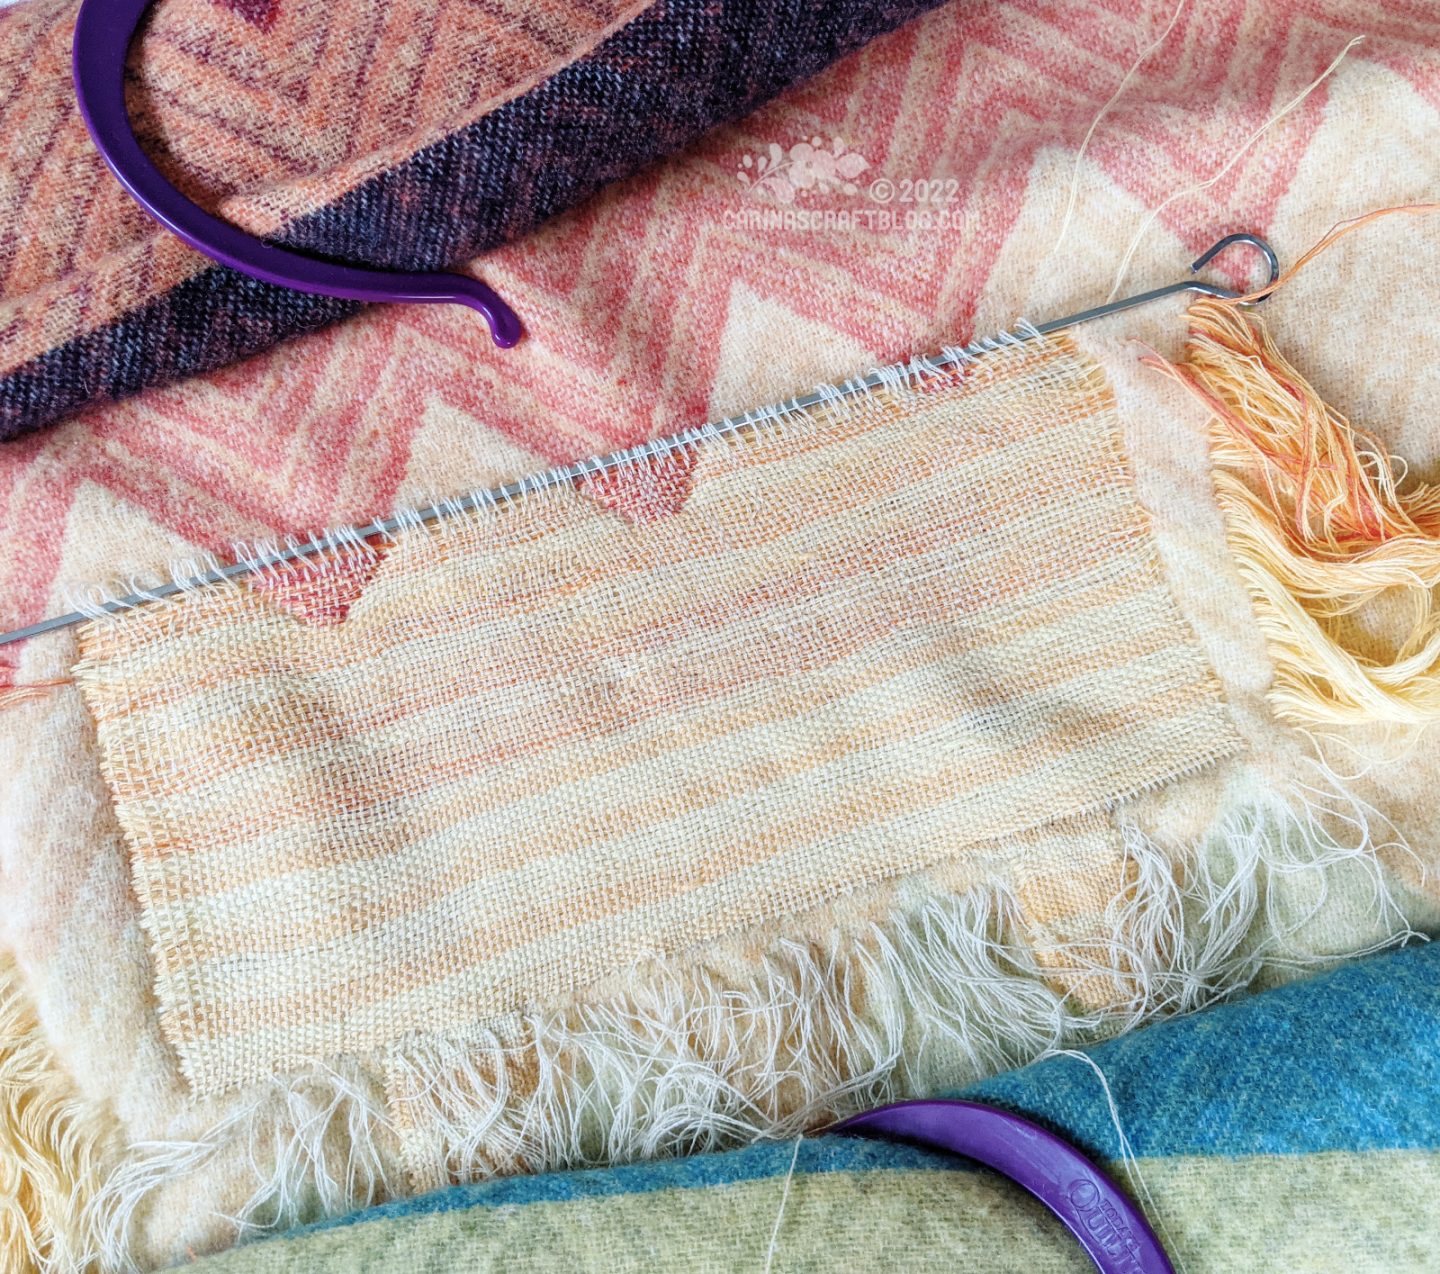
This is right when I was finishing the weaving. I had to replace my wooden skewer for a metal one because the wooden one was too big to let me get right to the edge.
I was happy to get to the end of weaving the patch but a you can see, there was a gazillion ends to be tied off. I was *not* looking forward to that part of the process!
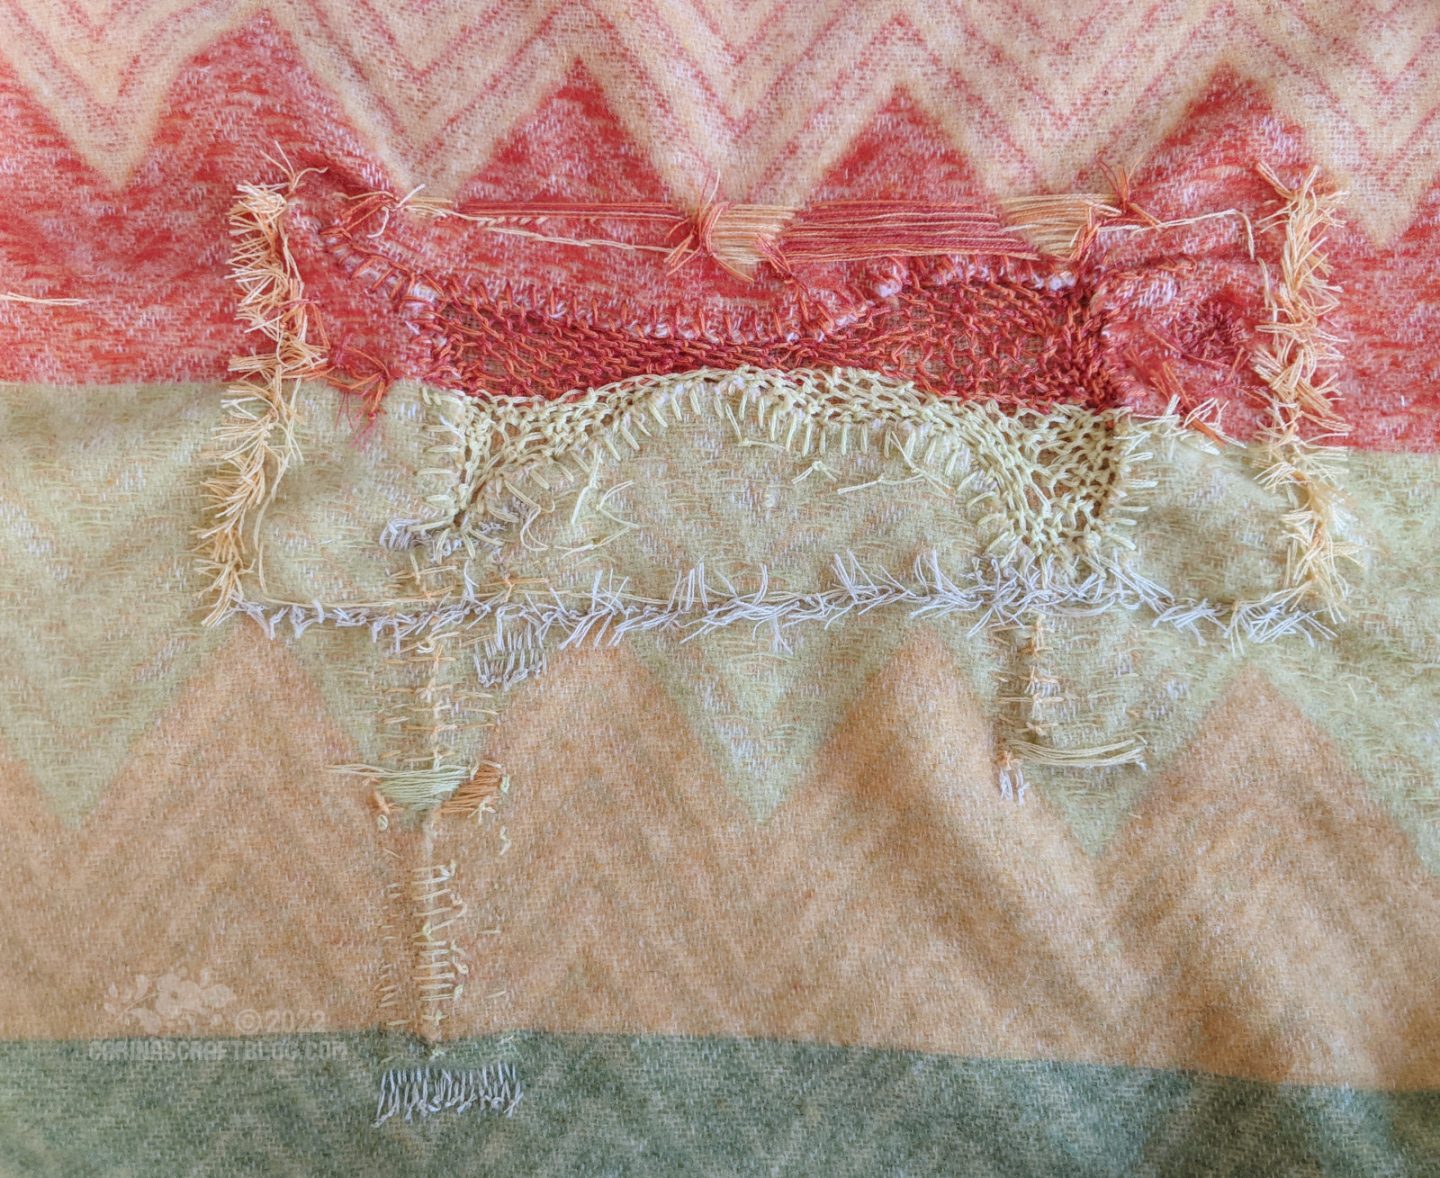
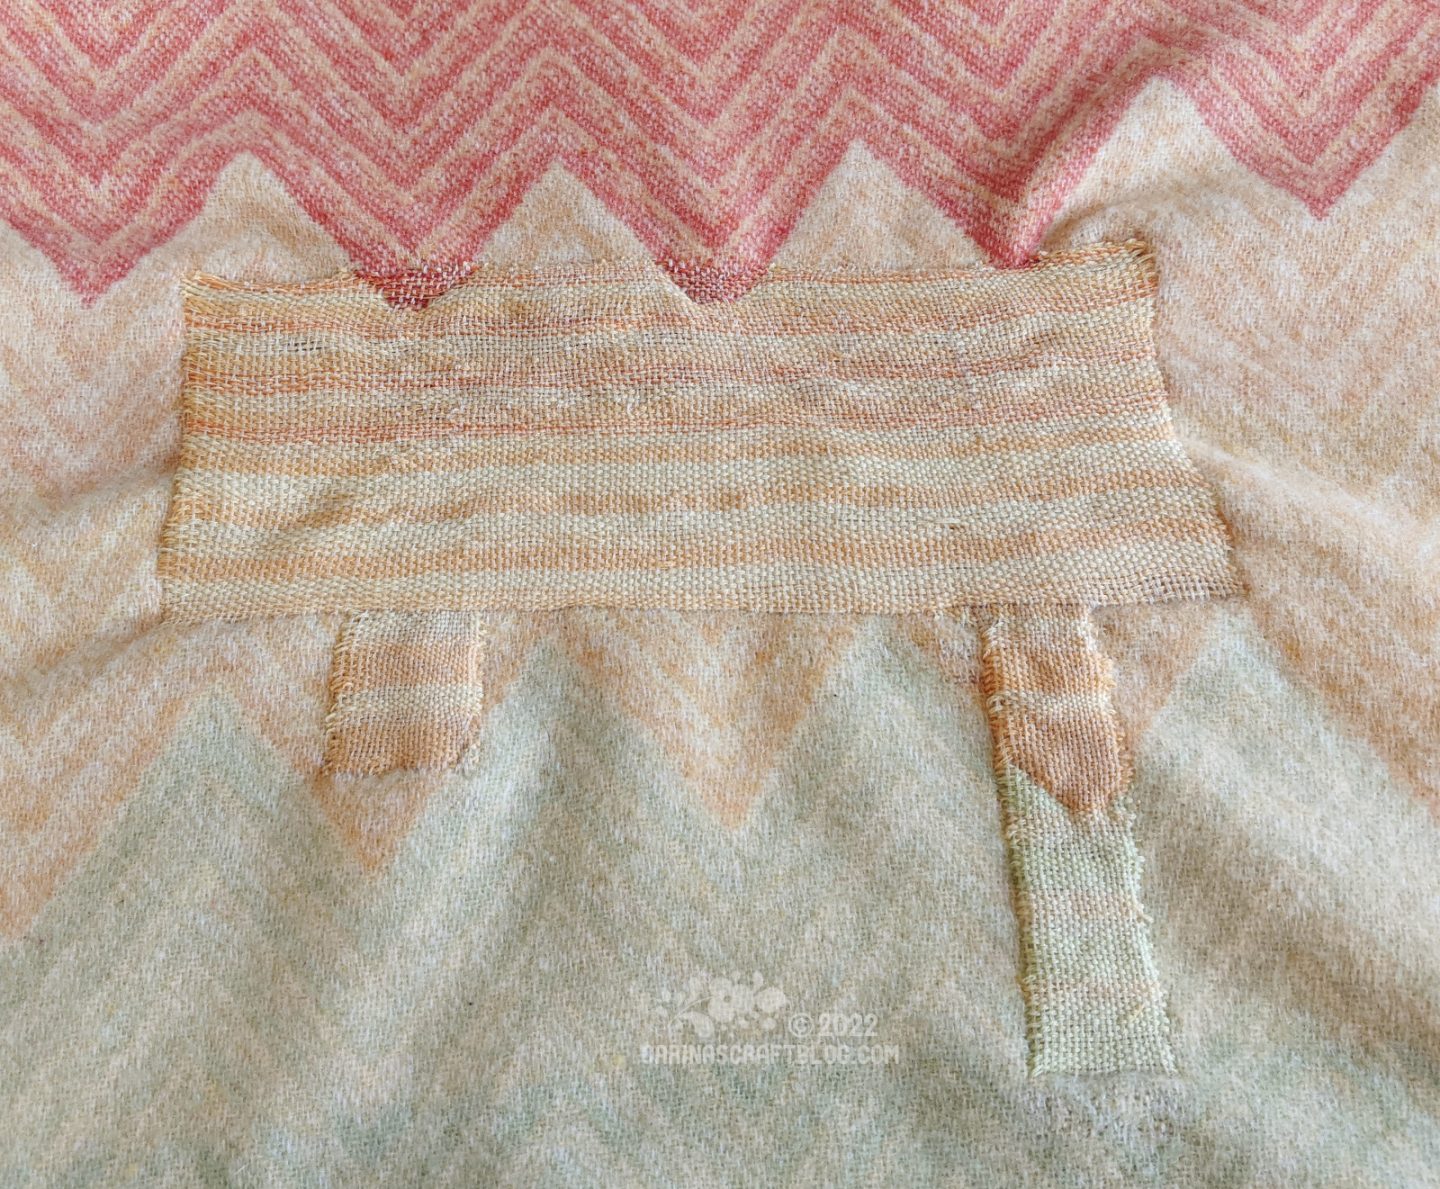
This is the back of the mend. It looks a bit rough! Usually, the back of a mended project is not visible but obviously it can’t be hidden on a blanket in the same was as a cardigan or a hat or whatever. I closed the hole on the back using blanket stitch darn. It is a lot quicker than the weave on the front but closing the hole on the back still took about 3 hours!
For all the thread ends I quite literally tied them on the back. It would be possible to do it more subtly than the knots but it wouldn’t have been as secure. The reason I left most of the knots with longish tails is to keep the knots from unravelling. Knots can unravel with wear, but when there is a bit of tail, that will take some of the friction from use and prevent the knots from unravelling.
Here is the finished mend. It took more time to finish than I had expected. A couple of times I had to rip out several hours’ work because the colours looked wrong. Of course I was swearing over it at the time but I also knew it had to be done. Just grit your teeth and get on with it! :-)
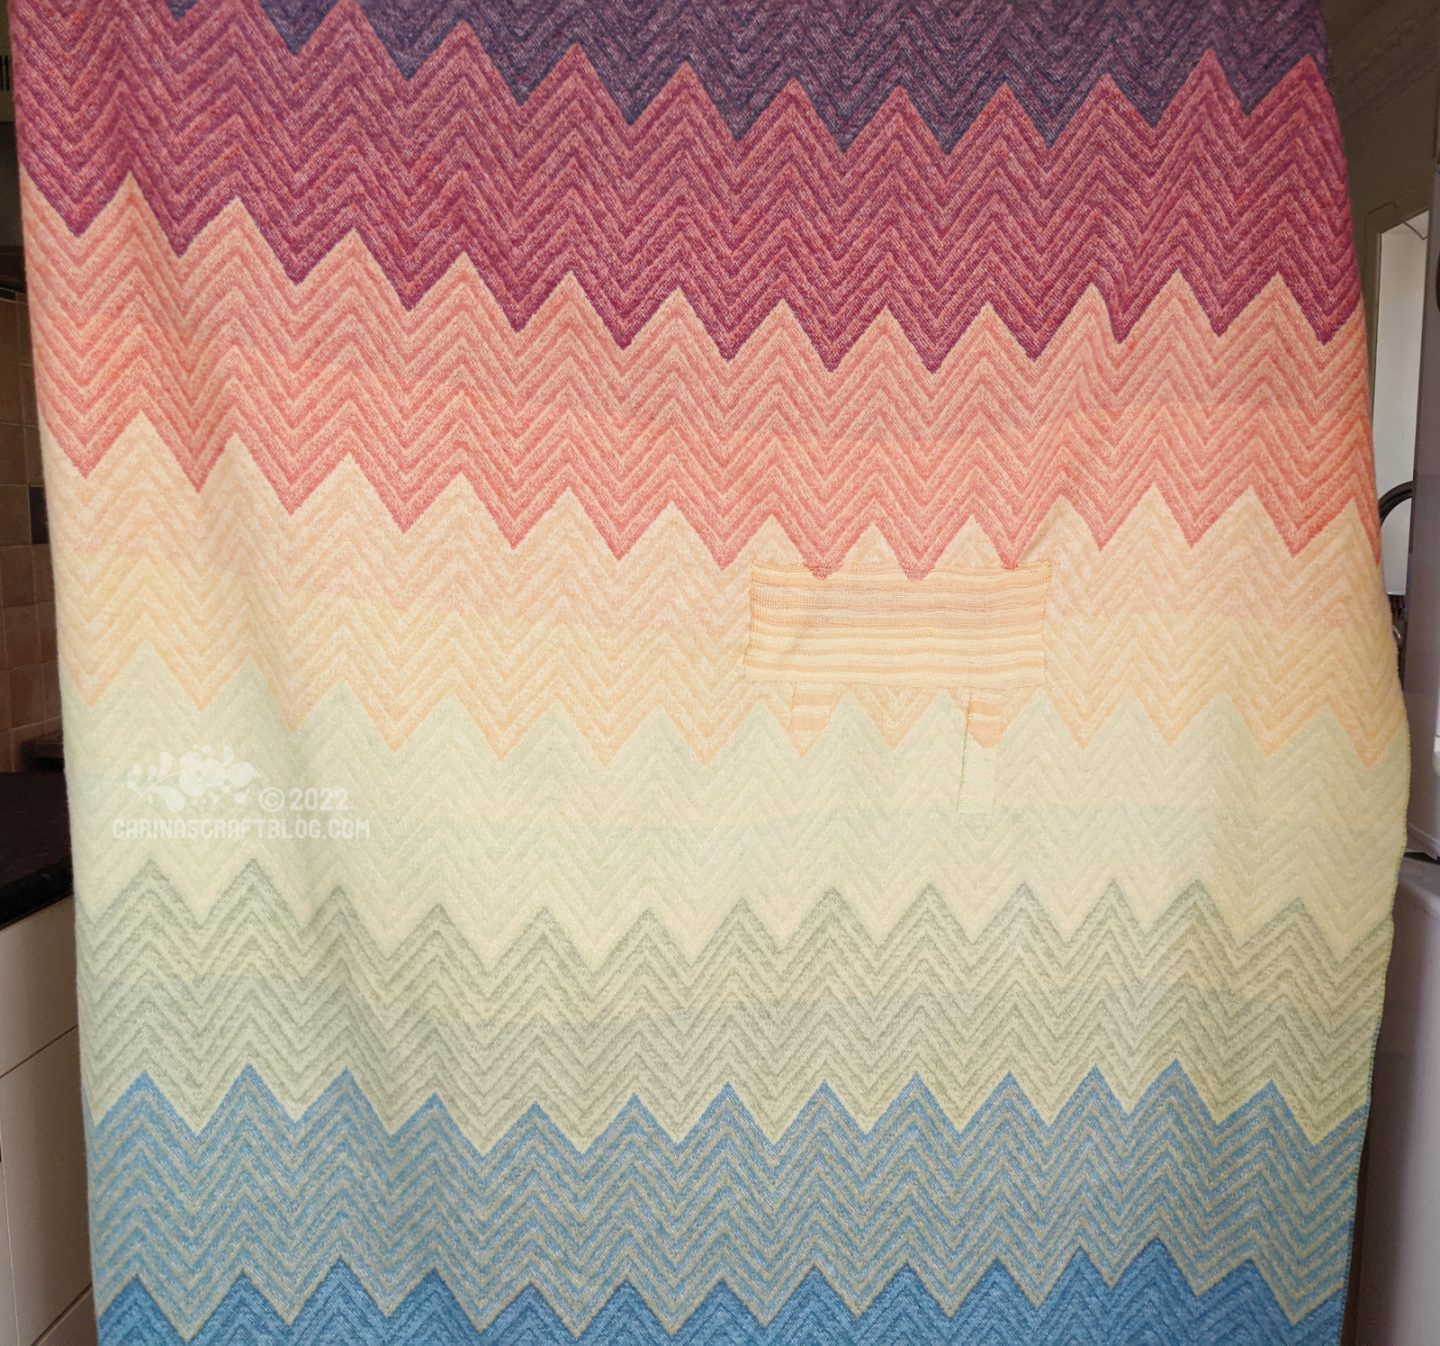
I’m really happy with how it turned out. A bit surprised even. It’s fairly seamless, even considering that the mend doesn’t follow the zigzag pattern of the blanket (it would have been more complicated and too time consuming, i.e. expensive, to do that).
It was a fun challenge and I learned a lot about how best to go about this sort of thing! Not least that I should have charged more! :-D But I knew this was going to be one of those ‘learn while you’re doing it’ projects so it’s fine.
I enjoyed working on it and I’ll definitely take on more mending projects in the future. So hit me up if you need something mended. Anything really, I enjoy saving textiles! :-)


Excellent repair work. You must be very patient. Just reading your process exhausted me. I hope the client was pleased.