This is my favourite method of binding a quilt. Self binding. It is pretty simple – but not exactly easy-peasy. And unless you can really spread out and lay your quilt flat, I wouldn’t recommend this method for large quilts. I used it on a quilt for a king-size bed. It ended up slightly wonky because I didn’t have the room.. It’s great for mini quilts and smaller size quilts, though!
Prepare your quilt top as usual. When it comes to cutting the backing, make it about 3″/7.5cm wider than the top (and batting) on all four sides.
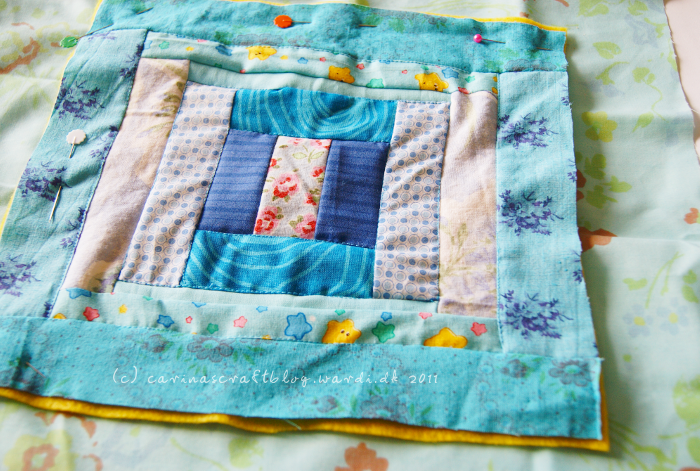
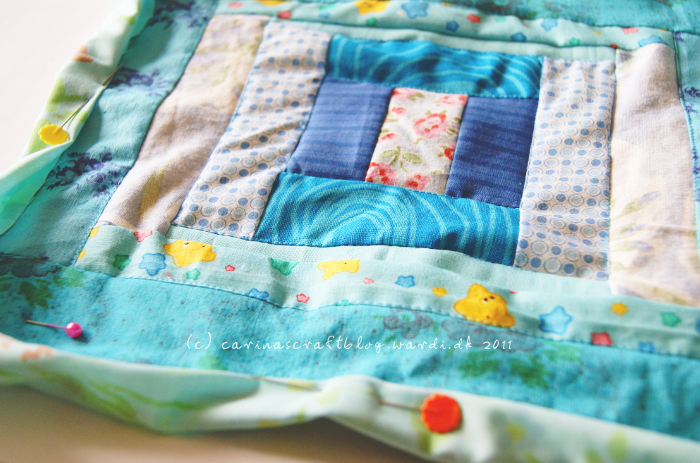
Pin and/or baste the quilt sandwich, then do the quilting magic so all three pieces are stuck together.
In this example, I only quilted it towards the middle because this quilt is so very small. But you can of course go almost to the edge of the quilt if you fancy.
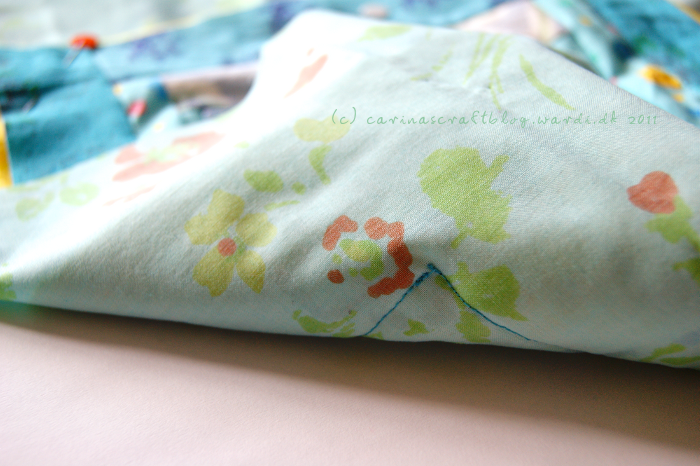
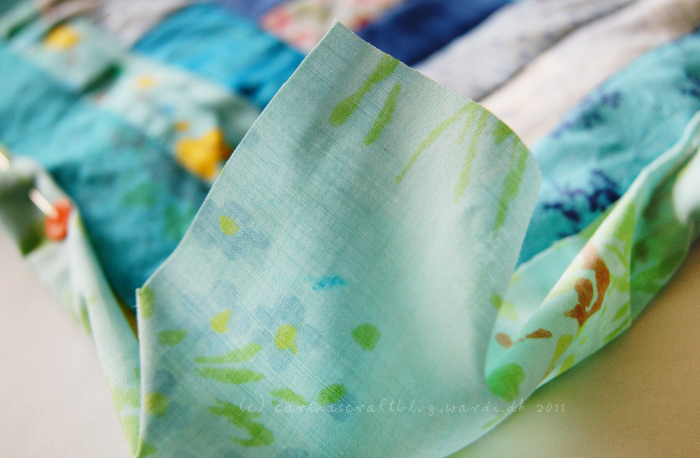
Starting at the middle of one side, fold the excess backing fabric towards the edge of the quilt so the two edges meet.
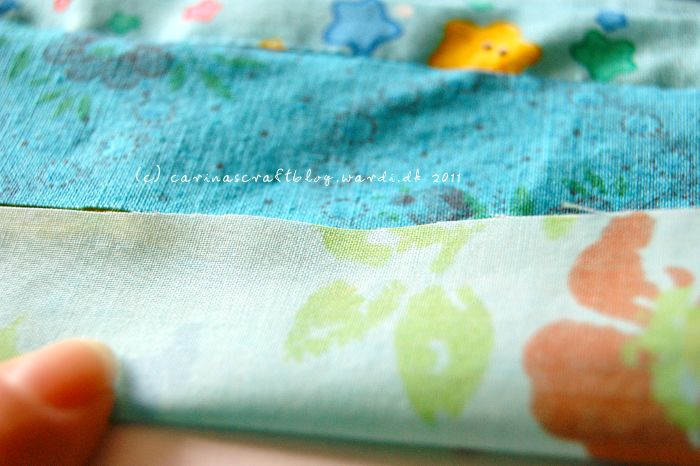
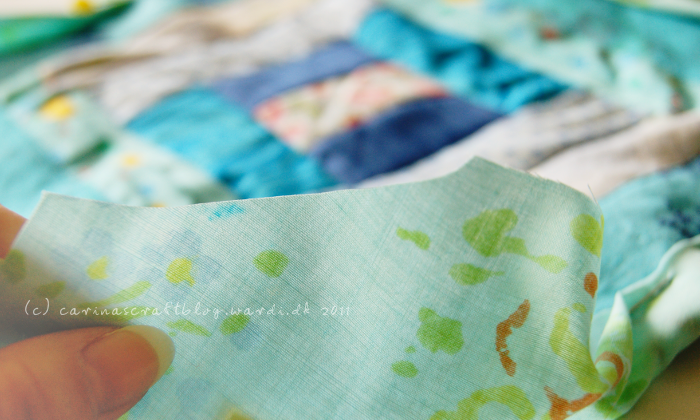
Then fold it again so you have a nice folded edge just overlapping the quilt top edge.
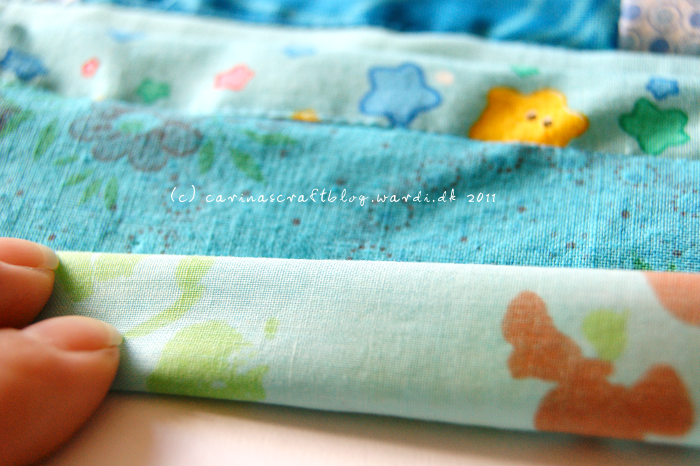
Do this edge folding business along all four edges and pin everything down.
When you get to the corners it gets a wee bit tricky. There’s way more fabric there than we need.
You will need to cut off some of the corner. But don’t cut off too much. It’s always better to cut off a little at a time than cutting too much in one go.
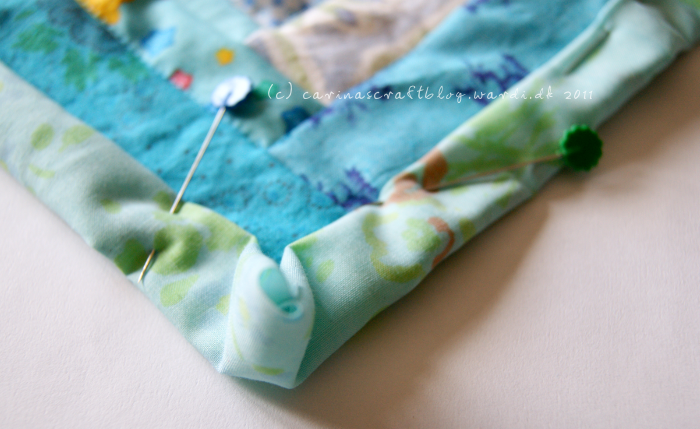
It gets even more tricky now and I hope I can explain this properly: you have to simultaneously fold the sides towards the corner and then decide which side will be on top. You will then tuck the lower one under.
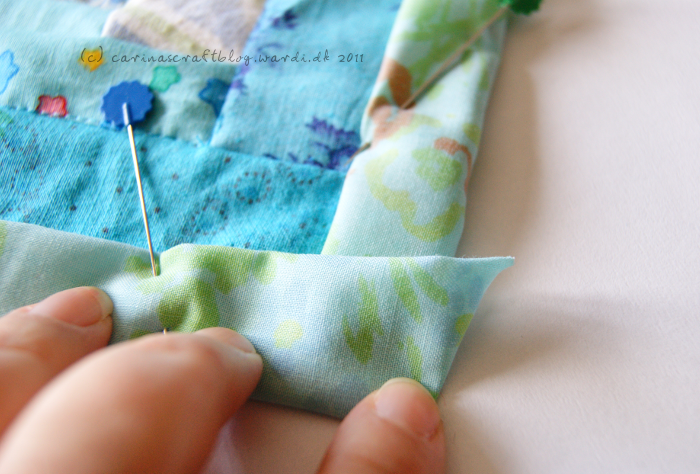
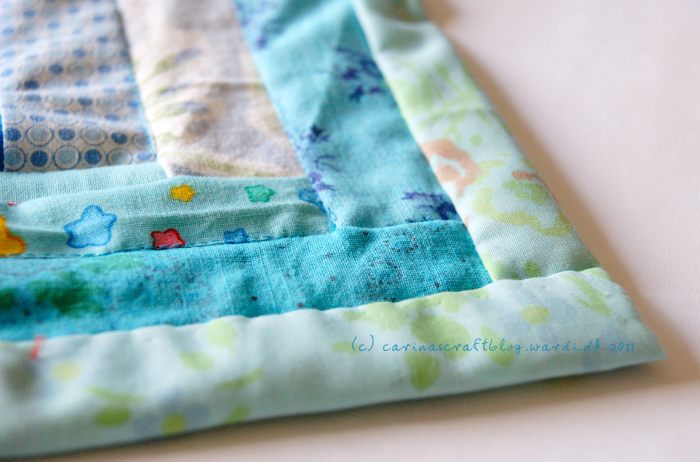
It should look something like this. That bit at the side there? Fold it under so you create a nice flush edge.
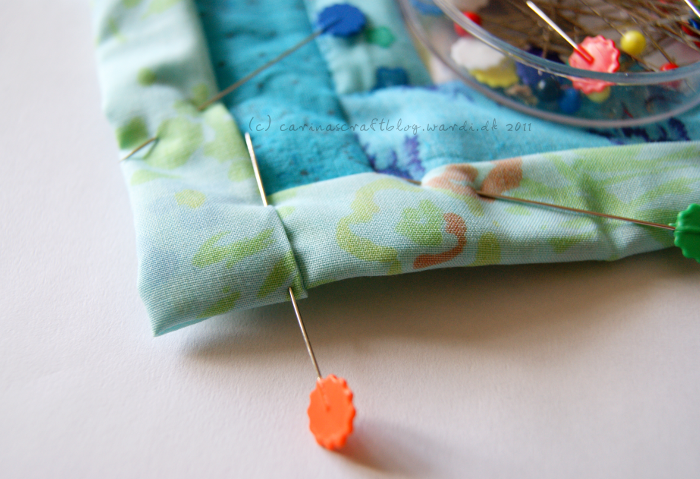
Here. Like this. In my photo it looks like it isn’t quite flush, but that’s because the pin is pulling the fabric.
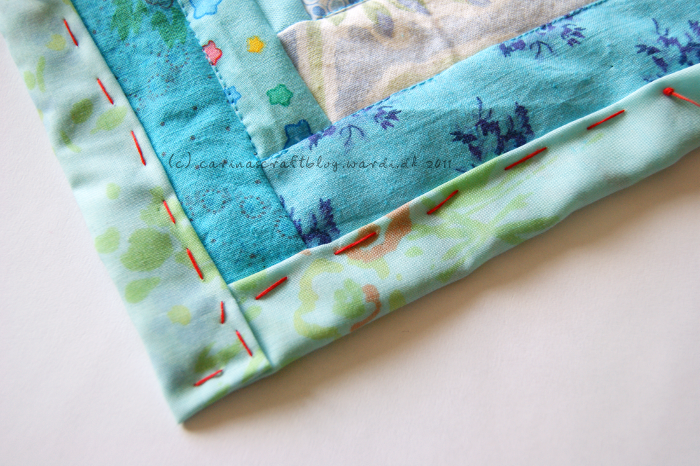
Phew! Ok. Baste everything, this will make sewing the binding so much easier. And give you a nicer looking result.
Sewing the binding: Insert your needle under the binding so the end of the thread will be invisible. Make sure you grab the quilt top and then push the needle through the fold of the edging. (I hope that made sense!)
It is best to start the sewing along one side of the quilt, not a corner.
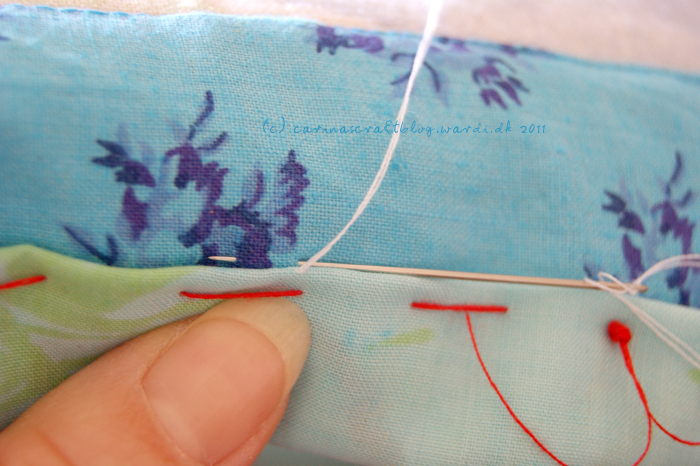
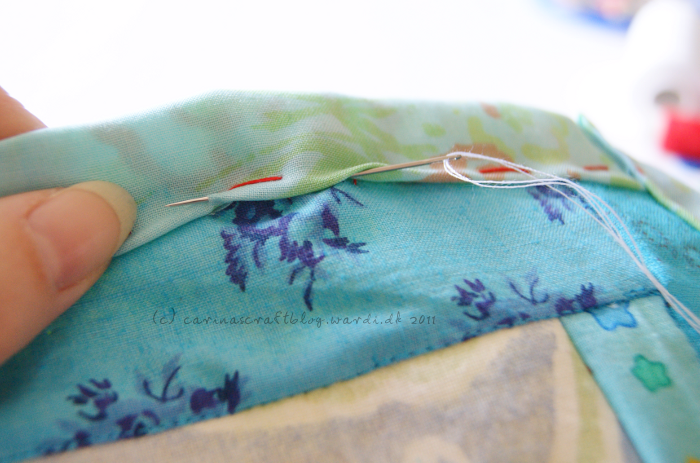
Pull the thread through and then take a small stitch parallel with the folded edge, through the quilt top and the batting.

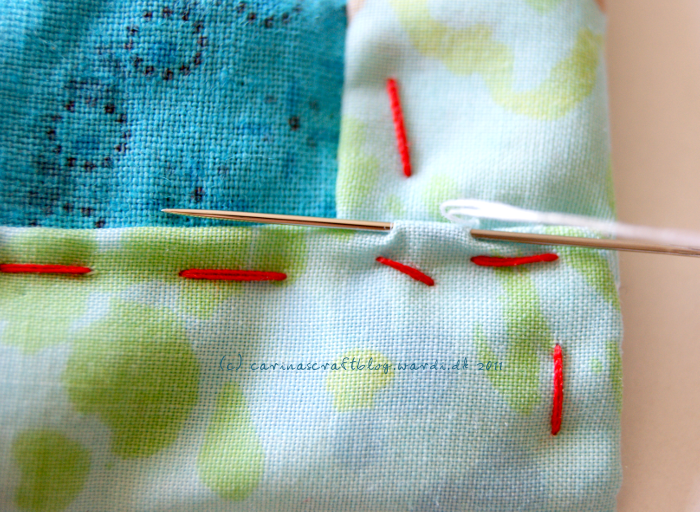
Next make a similar stitch along the fold of the edging. Continue like this, alternating the stitches between the top/batting and the edging.
Bonus tip:
This method of stitching it together (called invisible stitch or invisible closing seam) is also really great for sewing together stuffed toys and cushions. Simply sew on the inside of the folds so the stitching is on the inside and (almost) invisible on the outside.
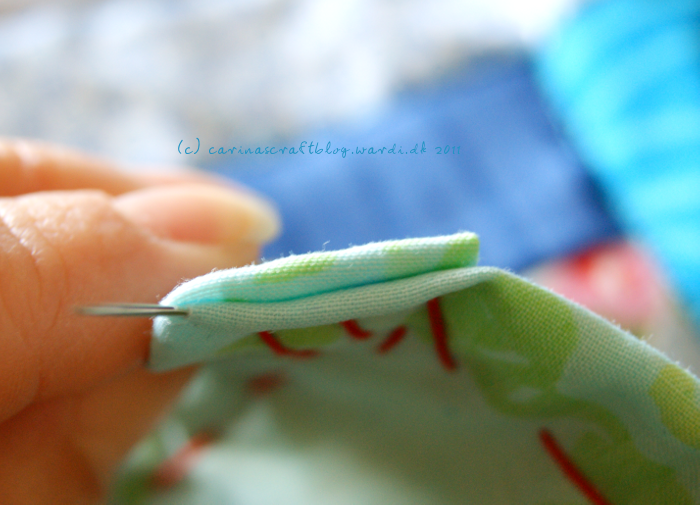
When you get to a corner, push the needle through inside the layers of the corner fold so it exits right in the corner.
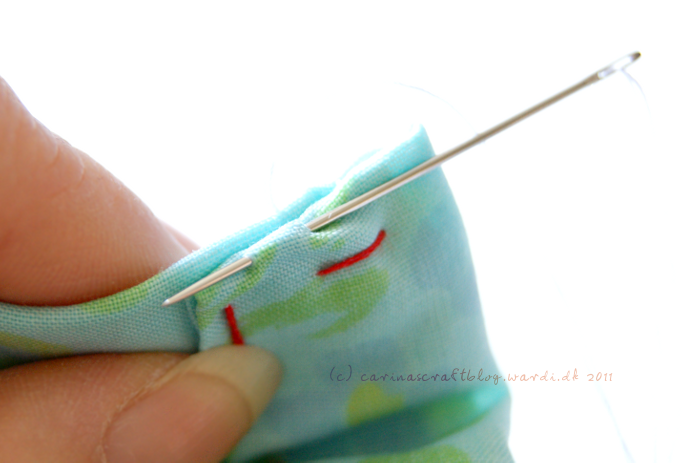
Then make the same kind of alternating stitching to sew down the the outside edge of the corner.
And use the same sewing down technique on the ‘inside’ of the corner. Then continue along the next side of the quilt.
Continue all around the quilt in the same manner.
Once you’re done, remove the basting stitches and admire your work!

Just a quick note to let you know that a link to this post will be placed on CraftCrave today [06 Apr 01:00am GMT]. Thanks, Maria