This is the last in the mini series about clipping and notching Corners & Curves. Previously we’ve looked at inward corners, outwards corners and convex curves. Today it’s about concave curves.
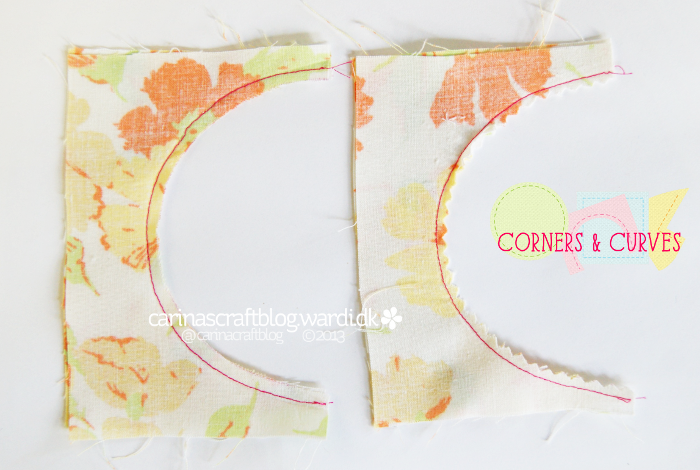
Here’s a concave seam. Example on the left is not touched, but the one on the right has been trimmed with pinking shears. But you can do something similar by cutting little triangles with a small pair of sharp scissors if you don’t have pinking shears.
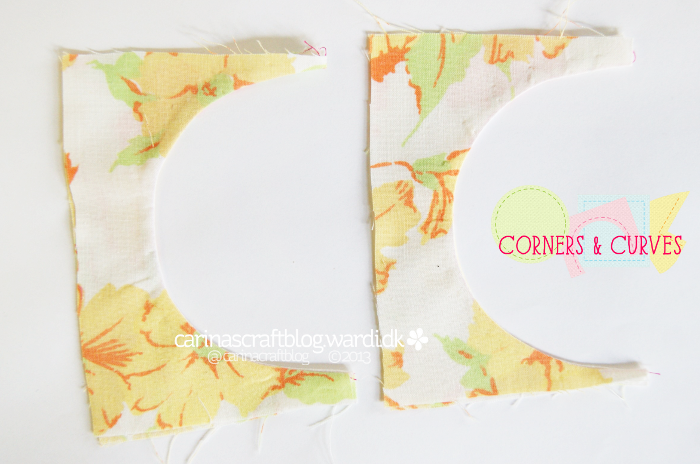
Here the two examples are turned right sides out. And you’re probably wondering, “well, what’s the point of notching the seam allowance when there’s no difference?”
I am so glad you asked that question! ;-)
This is a fairly large concave curve, so there is actually room for the seam allowance to lay pretty flat. But what I reaaaally want you to get out of this series is to get into the habit of clipping and notching because you’re not always lucky that the fabric is fairly thin and the curve is large enough to fit the fabric of the seam.
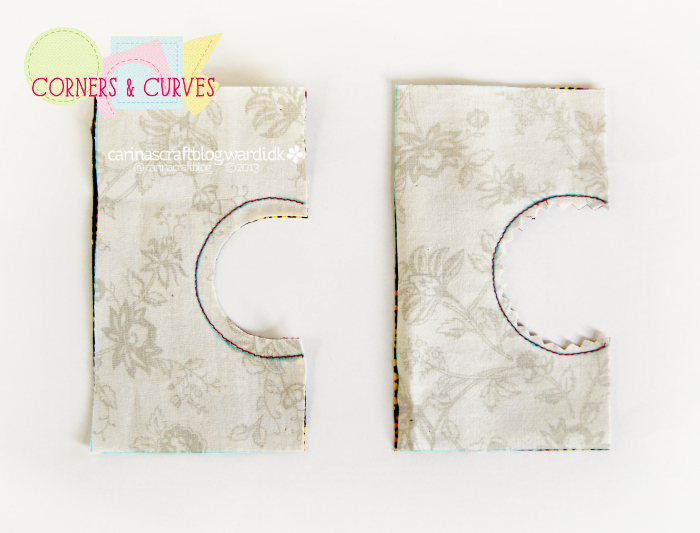
Here’s another example, with a concave that is quite a bit smaller than the first one. Not doing anything to the left seam allowance, but the right one has been notched.

Here’s the result. Ouch. The two seams were basically identical, but see how different they look now! The one on the left doesn’t even look as bad in the photo as it really is.
I hope I have convinced you that clipping corners and notching curves is soooooo worth it! :-)
