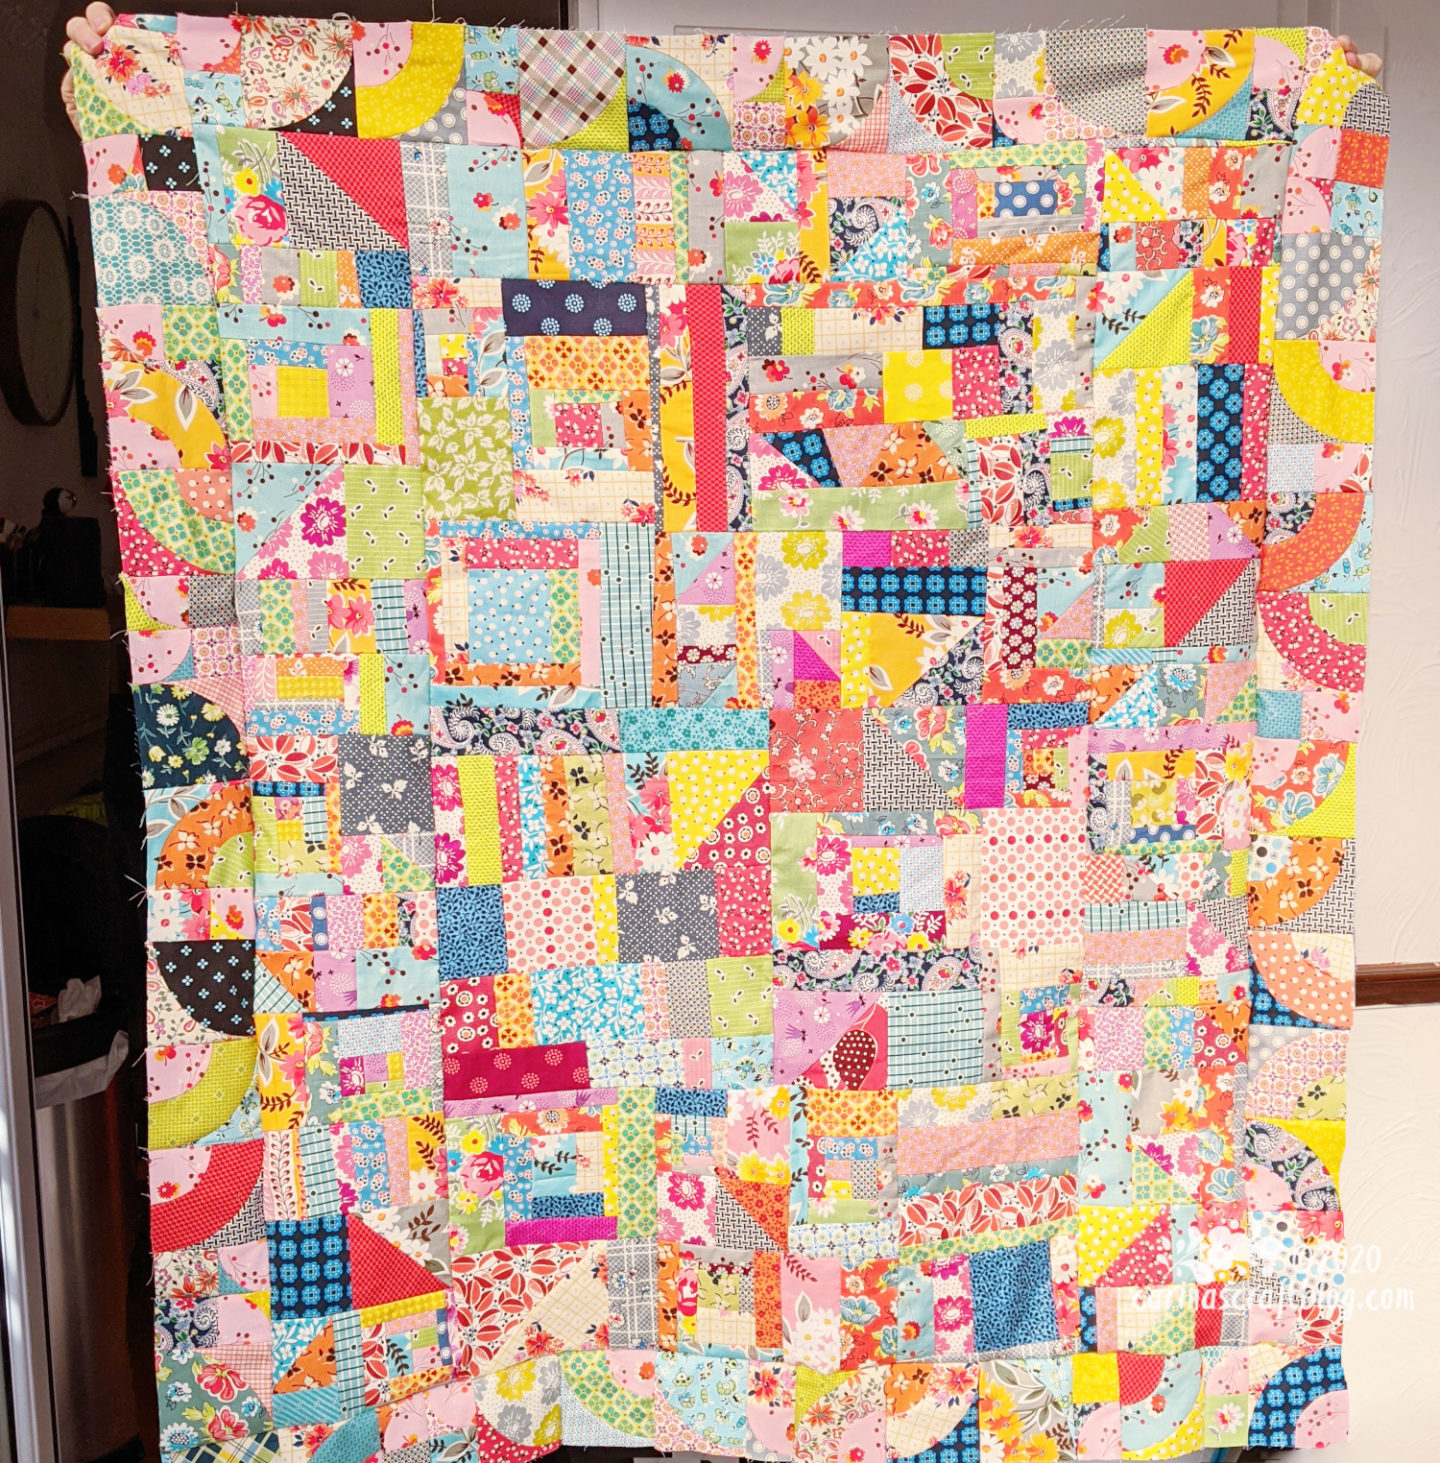
A little while ago, I decided that I *really* had to do something about all the Denyse Schmidt fabric scraps I have accumulated. So I started making a scrap quilt top! Which is a very satisfying thing to do. And fun. And a little bit addictive. :-)
I started by just sewing strips together to make rectangular-ish blocks but that got a little boring. So I started making wonky log cabin blocks and those are the really dangerous ones because I just. couldn’t. stop!
I also made a whole bunch of drunkard’s path block because I had a lot of unused pieces cut out for those already. As well as some half square triangles with any triangular pieces I had. Maximize those square centimetres!
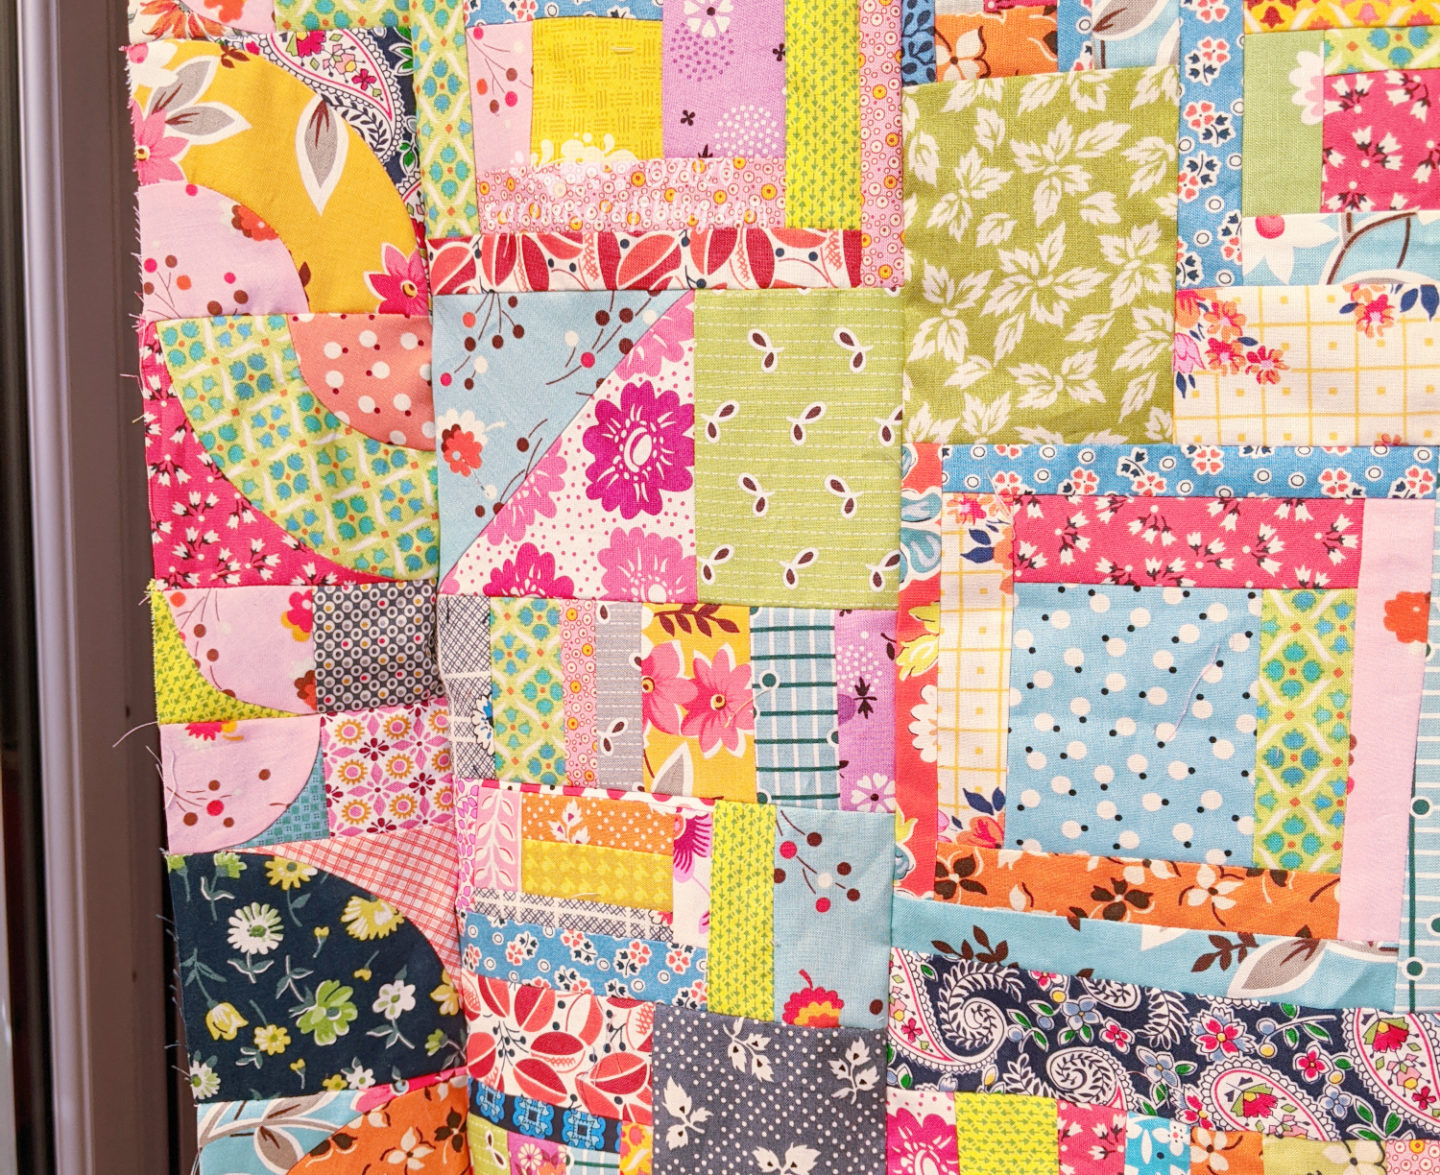
Here’s a little closer look at the quilt top (although, I think I’ll probably use it in the backing for the DS Steps quilt). I love the scrappyness!
I posted a quick wonky log cabin tutorial on Instagram and I thought I’d share it here too, you may just be in need of a scrap busting project! Wonky log cabins are easy to make AND super forgiving because they are SUPPOSED to be wonky!
What you will need:
Fabric scraps, minimum 3/4″ (8.5 mm) on all sides
Fabric Scissors + small thread snips
Quilting ruler and rotary cutter (although you won’t be using these a whole lot!)
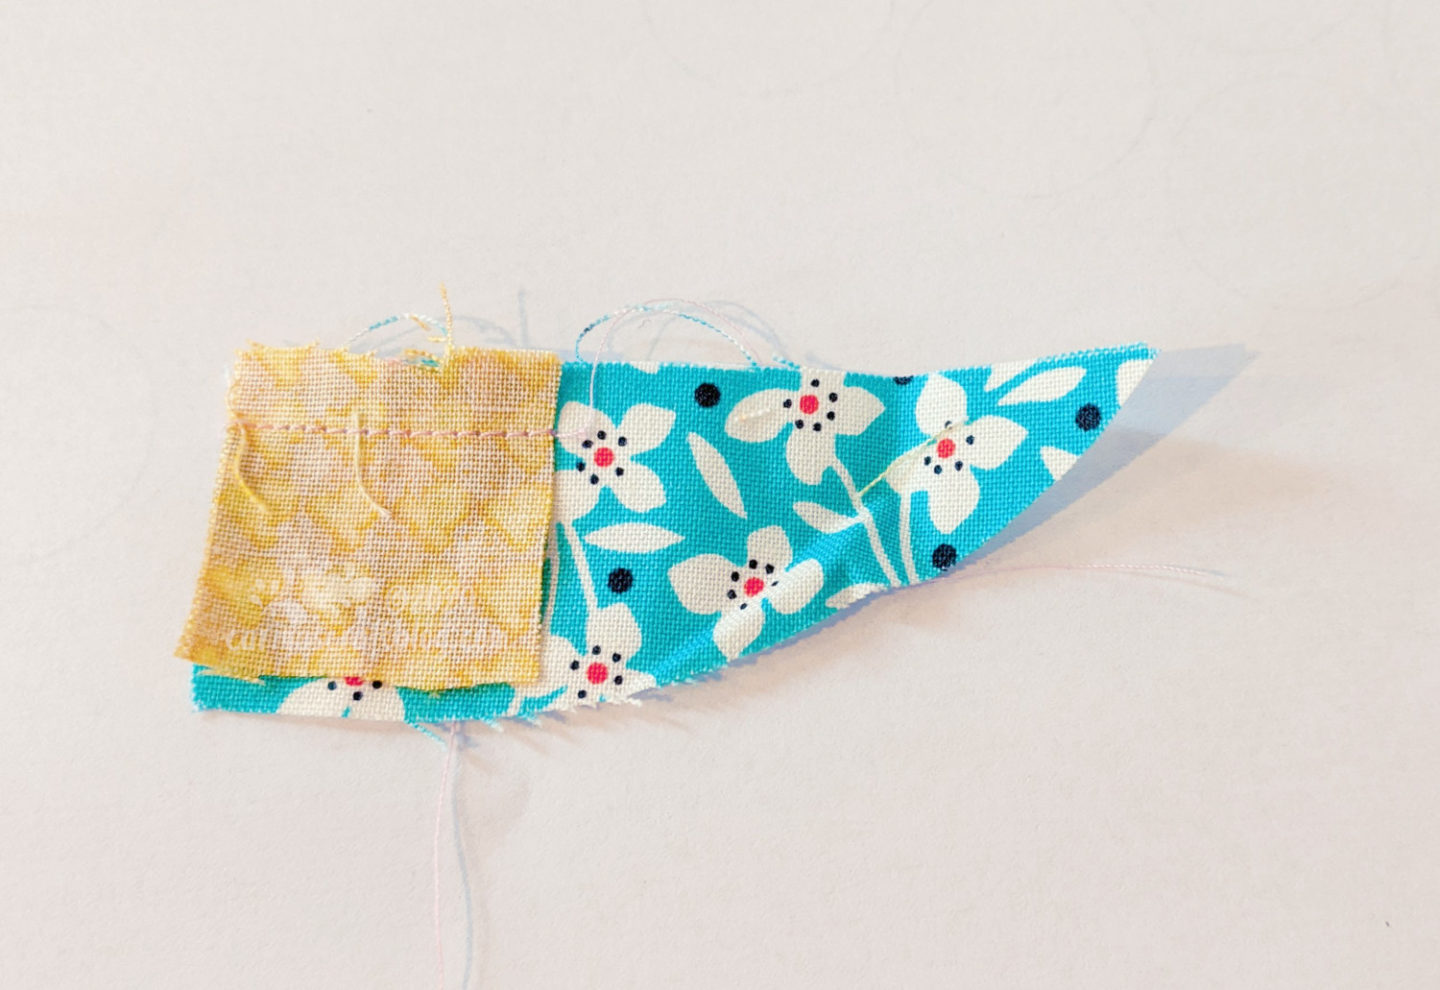
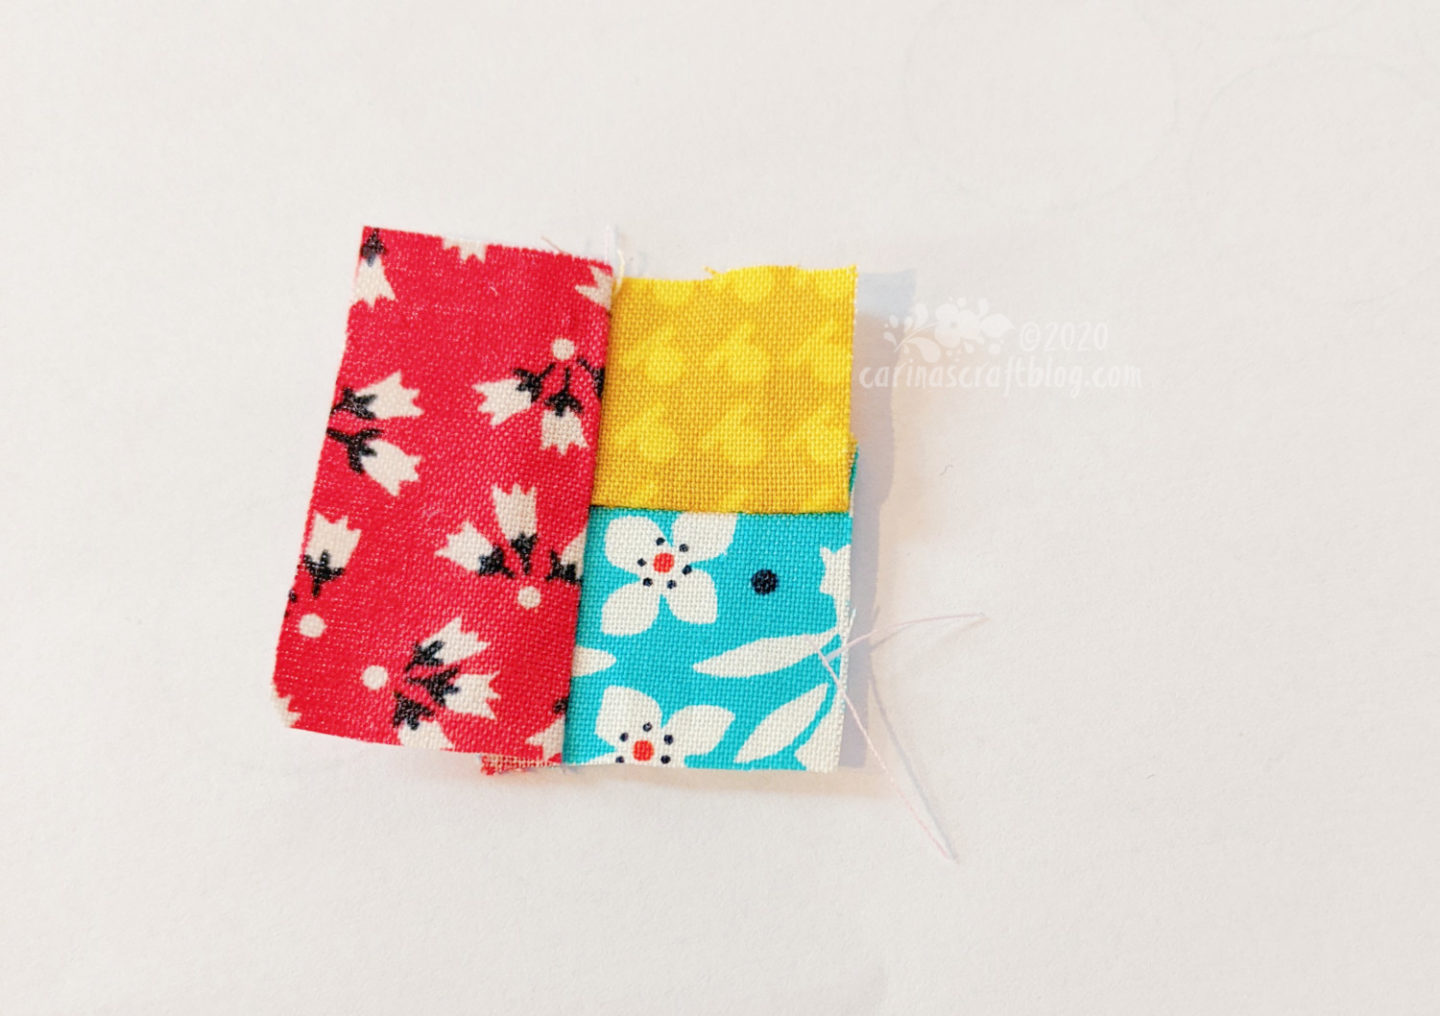
1. Sew together two scraps that are roughly the same size. I wouldn’t use anything smaller than 3/4″ (8.5 mm), because if your scraps are smaller than that, you won’t see much of the actual fabric if you use the standard 1/4″ seam allowance.
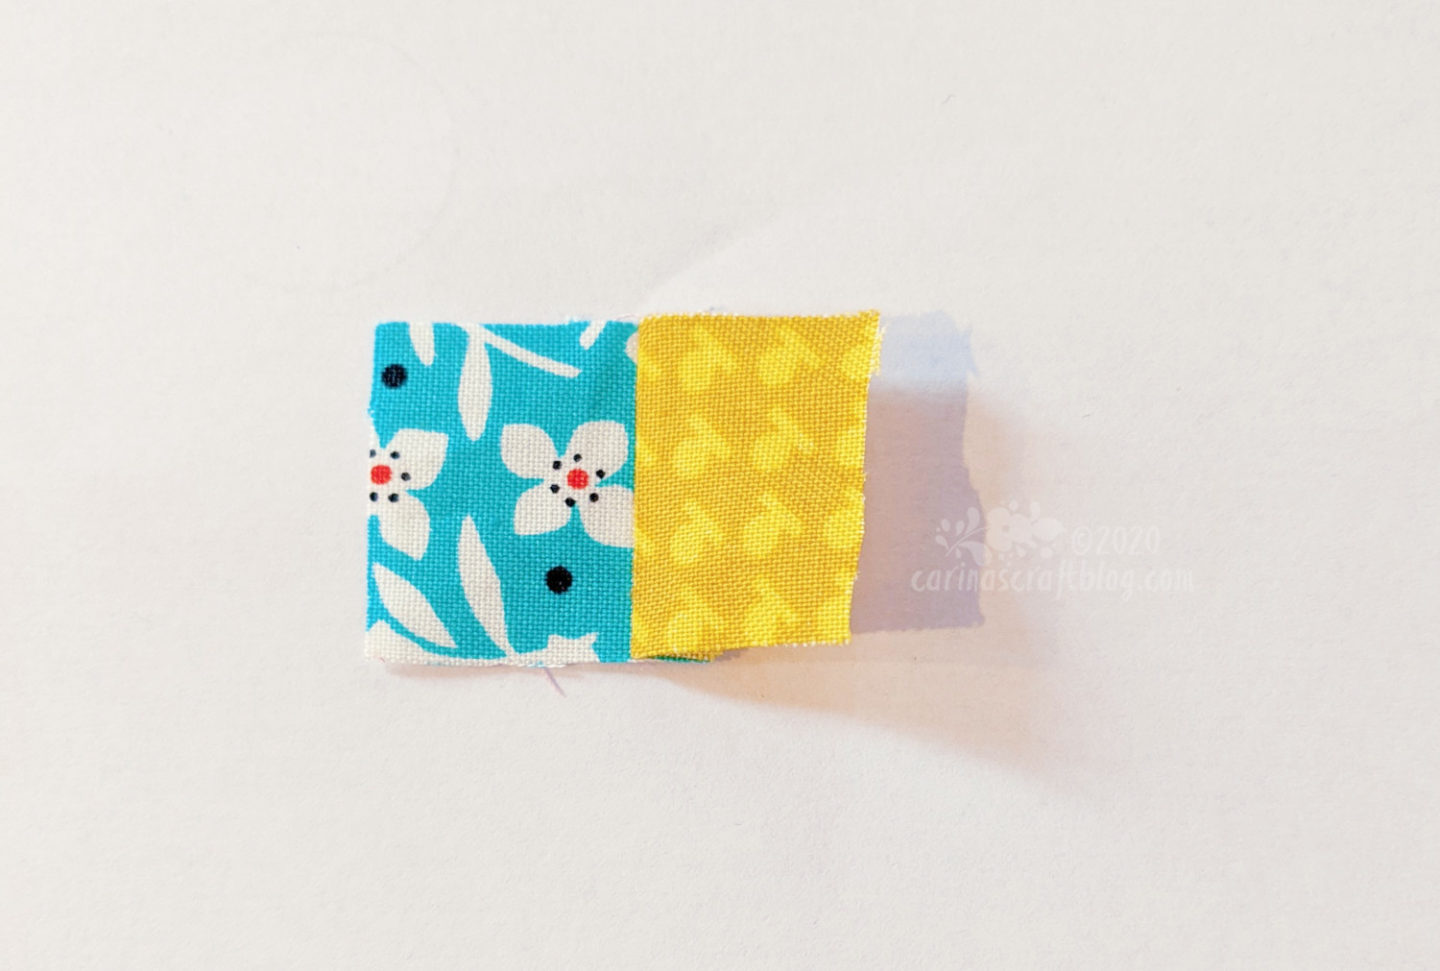
2. Trim the two so it’s more or less rectangular. Use your fabric scissors, not the rotary cutter. Unless you absolutely can’t stand the wonky edges! But I really think the blocks have more character when they aren’t trimmed to exact straight edges.

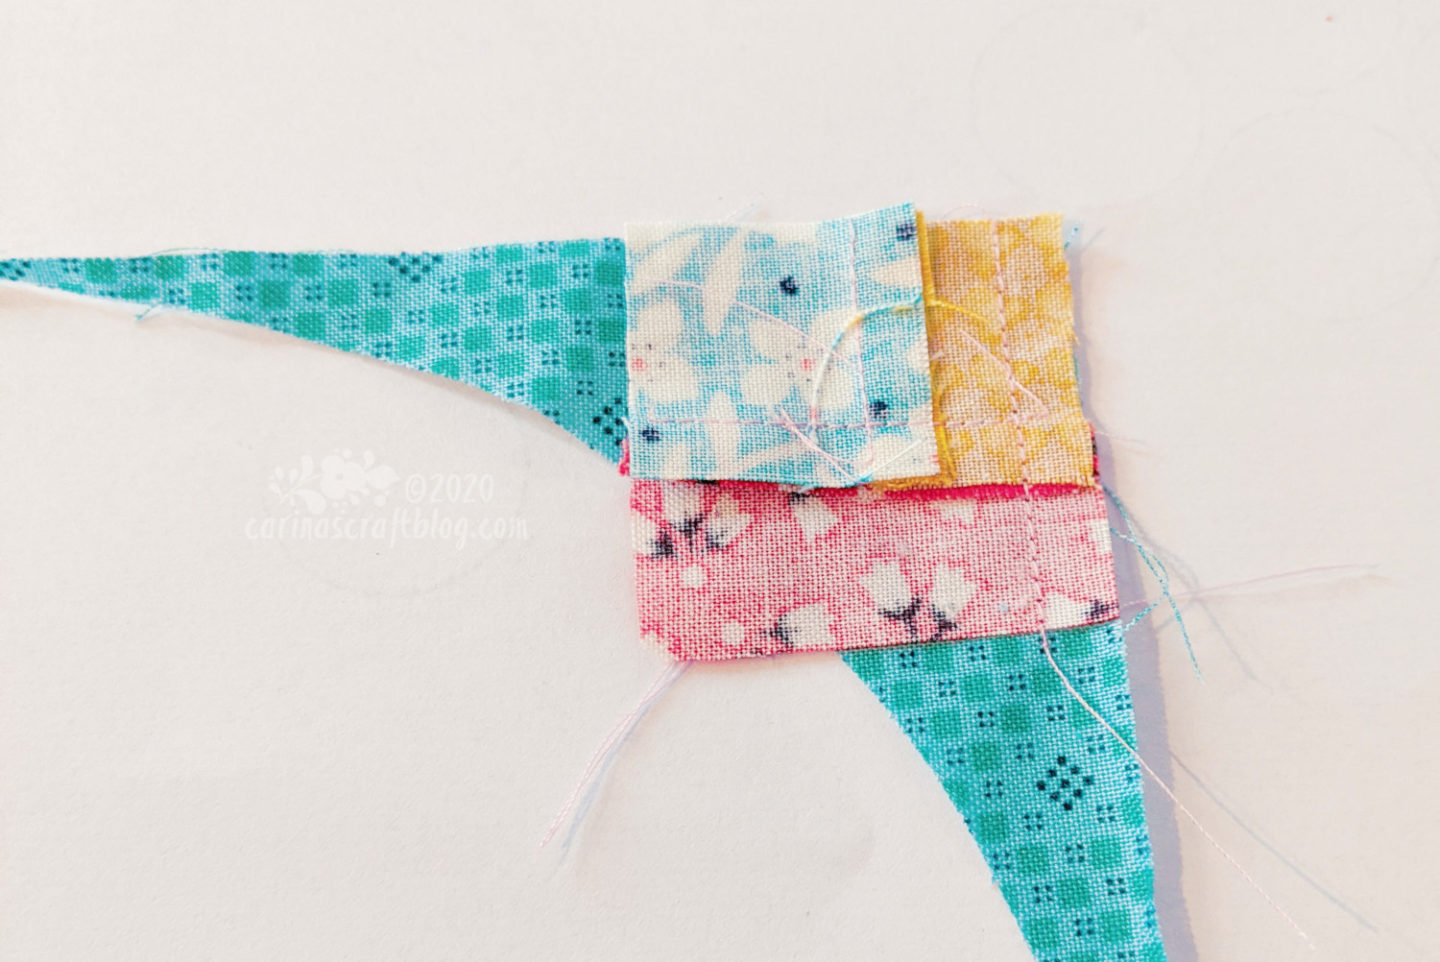
3. Sew another scrap to the first two, across both of them. Don’t worry if doesn’t have a straight edge, you can trim it after. The scrap should of course be as long as the previous two and a minimum of 3/4″ deep.
4. Again, trim the block so it is more or less rectangular. From now on, always keep the piece you just added on the left so you will sew the next one across it.
5. Add another piece like in step 3 and keep on adding and trimming until you run out of scraps that will fit! Or until the block is the desired size.
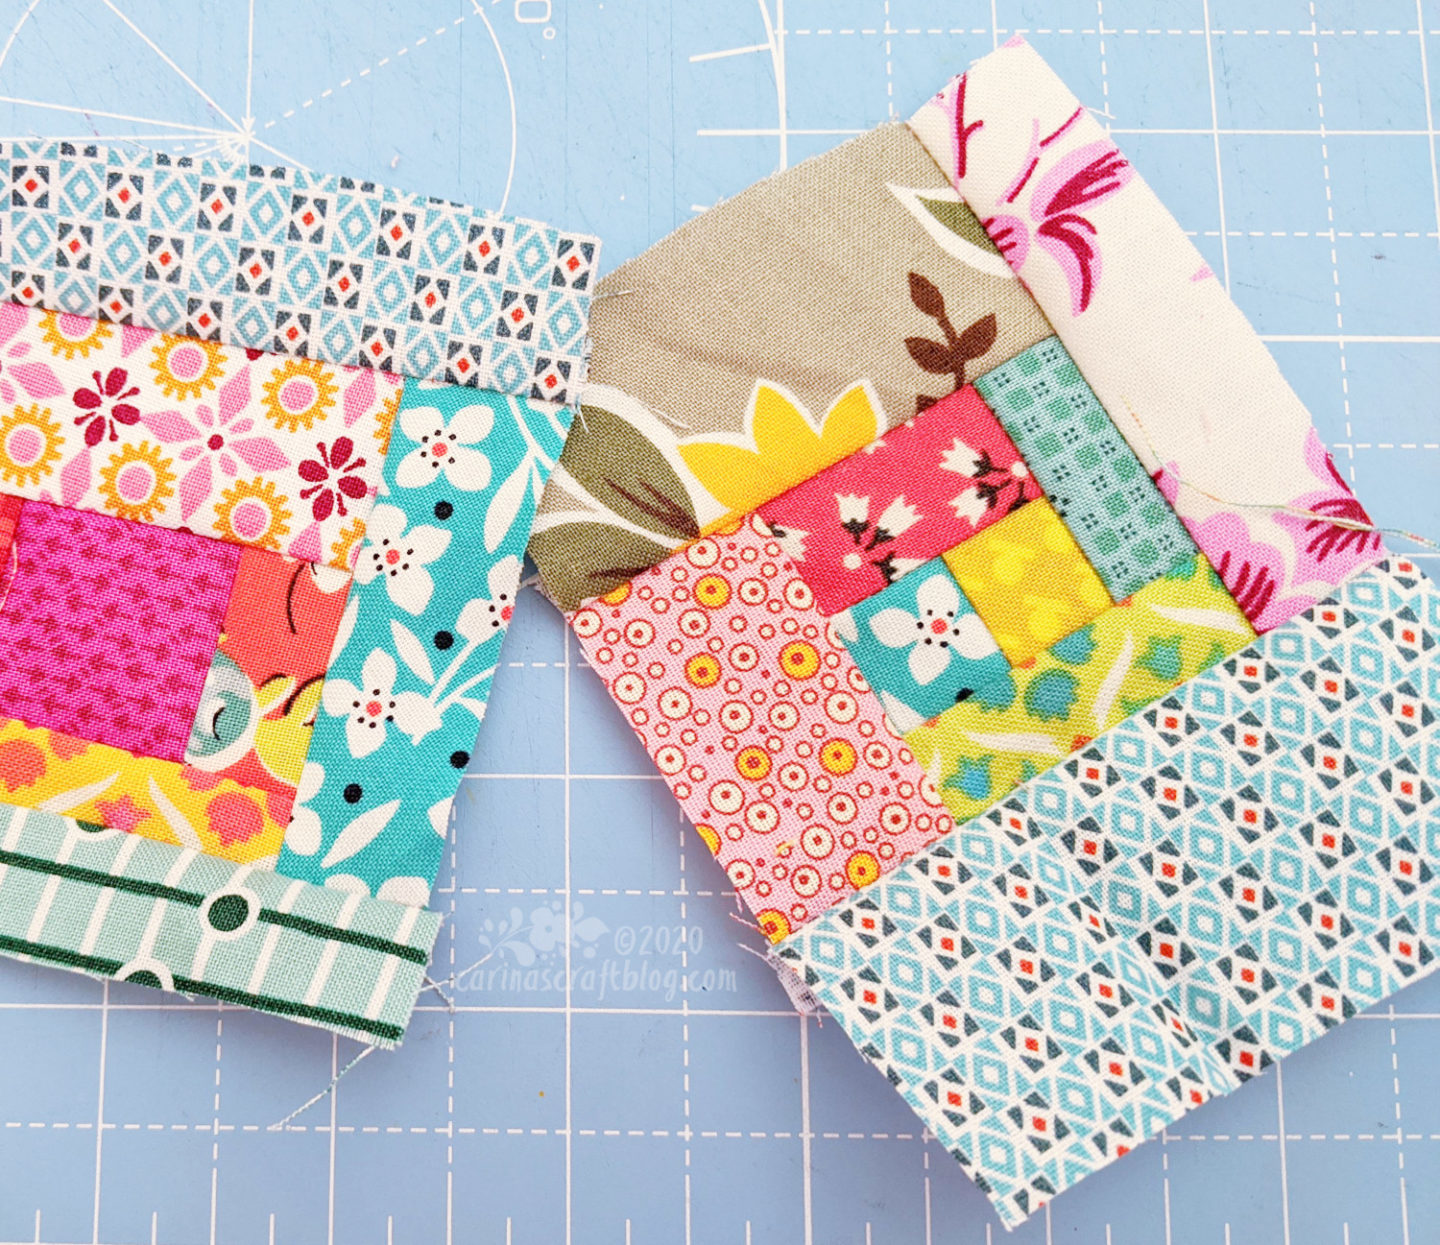
Here’s my finished block along with a friend. These are not very big, as you can probably tell. In the quilt top my blocks are approximately 6″ or 7″ along the longest edge. But where I needed to make up for size, I just sewed another strip or square onto it.
[Tips]Have fun using narrow and wide pieces, it’s more fun if the scraps aren’t all the same size.
Try not to think about what will go together, just pick the next scrap that will fit. Once you have a bunch of the blocks it will all be a happy scrappy fun project!
The only ‘editing’ I do of the scraps is so I don’t end up with a block that is mostly blue or pink or whatever, I want my blocks to be mixed!
I don’t use a ruler and rotary cutter when making these, I want them to be wonky! However, when the blocks get to a certain size, 6″-7″ or so, I do trim them so they are truly rectangular. It will be easier to sew them together and the blocks won’t be all…bobbly. (Is that even a word?)
~ * ~ * ~ * ~ * ~ * ~ * ~
Find this tutorial useful? :-)

