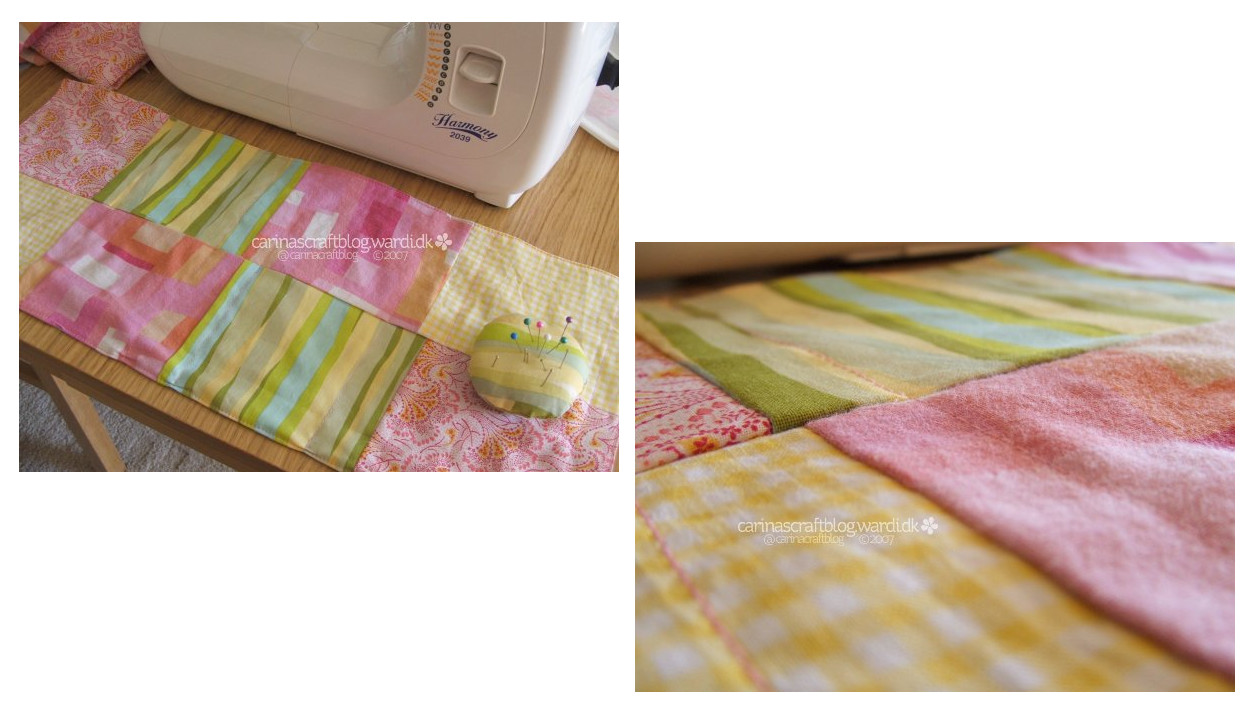
Today I made a mat for my sewing machine. When I push the machine across the table, it leaves black marks, you see, and that’s not so good. The mat is really easy to make, but I’m going to tell you how anyway. I added a pincushion, just because that seemed practical. Especially because it is stuck down with velcro, so it stays put. Staying put is an excellent quality in a pincushion if you ask me.
What you will need: fabric (yeah, I know, you didn’t see that one coming, eh?!), velcro (whichever kind works best for you, I only have the sew-on kind), stuffing.
If you have any problems with this wee tutorial, don’t hesitate to email me; I’ll be happy to help!
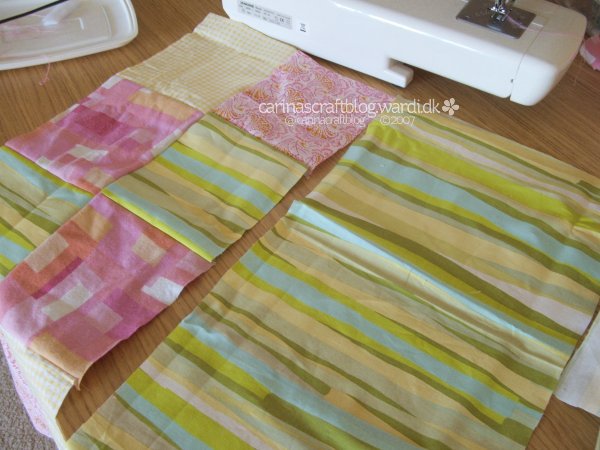
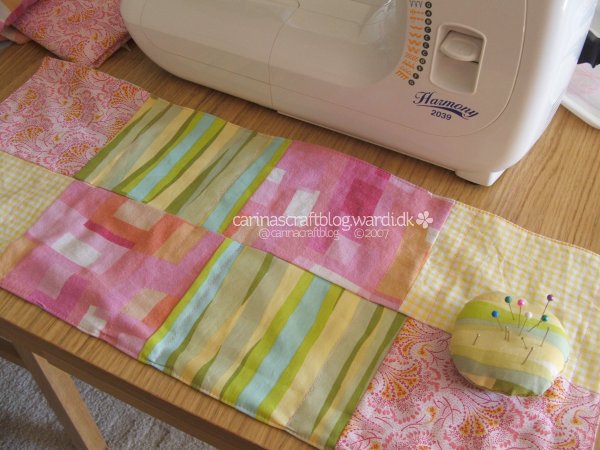
Measure the length and width of your sewing machine, then add an extra 5 cm (2 inches) to the measurement of the width and 10 cm (4 inches) to that of the length. Cut out two pieces of your chosen fabric(s). Or you can make a patchwork like I did for the top because I couldn’t decide on what fabric to go with!
Sew your two pieces of fabric together with right sides facing each other. Remember to leave a gap so you can turn the thing! Before turning, snip the corners as close to the seam as possible (but without cutting it!), so you get nice sharp corners. Now turn inside out and stitch the opening together.
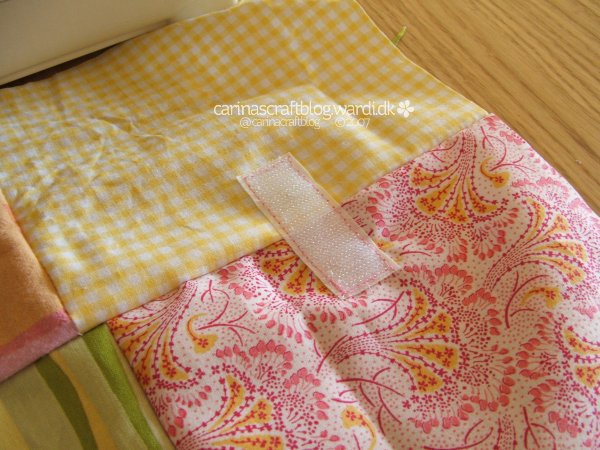
You can skip this, but it definitely looks nicer if you iron the mat now, so the edges are flat. Then sew on (or iron, or whatever your kind calls for) a piece of one half of the velcro, about 5 cm (2 inches) from the edge.
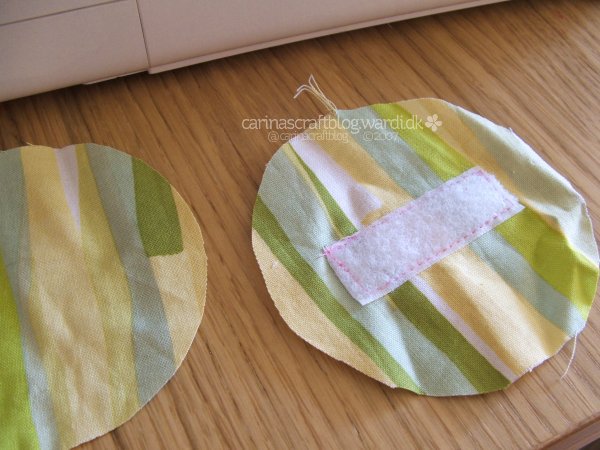
Now cut out two circles, or a square or whatever you like, for the pincushion. Sew the other half of the velcro to one of the circles, then sew them together with right sides facing each other. Again, leaving a gap so you can turn it inside out.
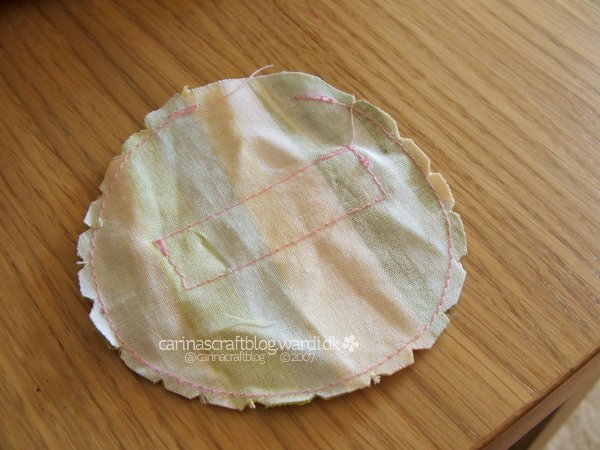
Before turning it, though, make triangular snips all the way round the seam, but don’t cut into the seam. This will make the pincushion go nice and round. I think doing this has a proper name, but I can’t remember what it is, so I just call it triangular snipping.
However, if you’re making a square or rectangular shape, you have to snip the corners like you did with the mat before…
Ok, done snipping? Then turn that baby inside out and stuff it to your heart’s content. Then sew it together and you’re pretty much done!
You might want to do a few seams across the mat, just so the two pieces don’t slide about, but you don’t have to do this.


I just wanted to let you know that I have linked to this tutorial in my blog post Project ideas.